Table of Contents
Advertisement
Quick Links
Introduction
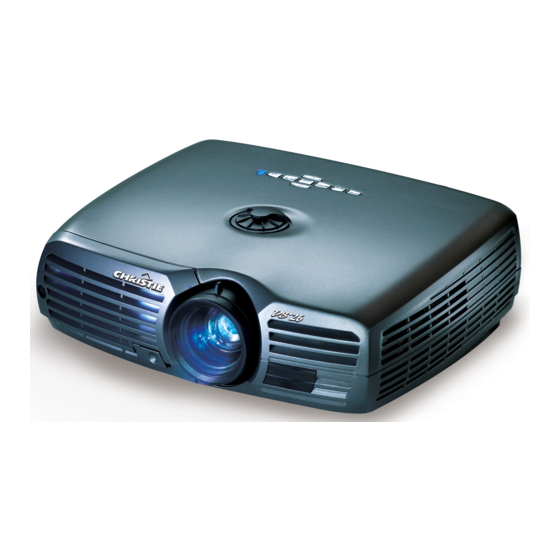
Use the following instructions when replacing the lamp on the projector model listed in
Table 1, below. The lamp is located at the front of the projector and can be accessed by
removing the front cover. Use only a Christie approved Lamp Kit for the specific projector
model.
Table 1. Projector Models
Projector Model
Christie DS
Warnings
Lamp replacement MUST be performed by a qualified service technician.
Cool the lamp completely (approximately 60 minutes) and handle by the housing
only.
Install the correct wattage lamp, supplied by Christie (Refer to Table 1. Projector
Models) and read the Lamp Replacement Procedure in its entirety before proceeding.
Do not touch the glass surface of the lamp. Fingerprints left on the surface can lead
to an intense accumulation of heat known as a "hotspot", which could potentially
cause the lamp to shatter. It is recommended to wear clean, lint-free gloves and a
face shield when working with the lamp.
In the unlikely event that the bulb ruptures, small glass fragments may come loose.
The lamp module is designed to contain the glass fragments; however, it is advised
that extreme caution is exercised when removing the lamp module.
013-100357-02 (Rev. 1)
Lamp Replacement Instructions
Model Number
+
26
115-003101-01
1 of 5 Pages
Required Lamp Kit
003-120181-01
Advertisement
Table of Contents

Subscribe to Our Youtube Channel
Related Manuals for Christie DS+26


Summary of Contents for Christie DS+26
- Page 1 Use the following instructions when replacing the lamp on the projector model listed in Table 1, below. The lamp is located at the front of the projector and can be accessed by removing the front cover. Use only a Christie approved Lamp Kit for the specific projector model.
- Page 2 Lamp Replacement Instructions Lamp Replacement Procedure Please read before proceeding WARNING Always power down and unplug the projector prior to servicing. Allow the lamp to cool before handling. STEP 1 - TURN THE LAMP OFF Press (power) to turn the projector OFF. Allow the cooling fans to stop automatically (approximately five minutes) before proceeding with Step 2.
- Page 3 Lamp Replacement Instructions STEP 4 - REMOVE THE LAMP MODULE Unscrew the three mounting screws securing the lamp module. Refer to Figure 2. Release the handle. Refer to Figure 2. Remove the lamp module from the projector housing. Refer to Figure 2. Figure 2.
- Page 4 Lamp Replacement Instructions STEP 6 — REPLACE FRONT COVER IMPORTANT The lamp module is calibrated for maximum performance and brightness in this projector. Do not attempt to re-align or adjust the lamp module. Replace the front cover and tighten the front cover screw to secure the cover to the Figure 4 projector housing.
- Page 5 Lamp Replacement Instructions Technical Support NORTH AMERICA CHRISTIE Digital Systems, Inc. CHRISTIE Digital Systems, Inc. 809 Wellington St. North 10550 Camden Drive Kitchener, Ontario, Canada N2G 4Y7 Cypress, CA 90630 Tel. 519-744-8005 (General) Tel. 714-236-8610 (General) Toll Free 1-800-221-8025 (Technical Support)
Need help?
Do you have a question about the DS+26 and is the answer not in the manual?
Questions and answers