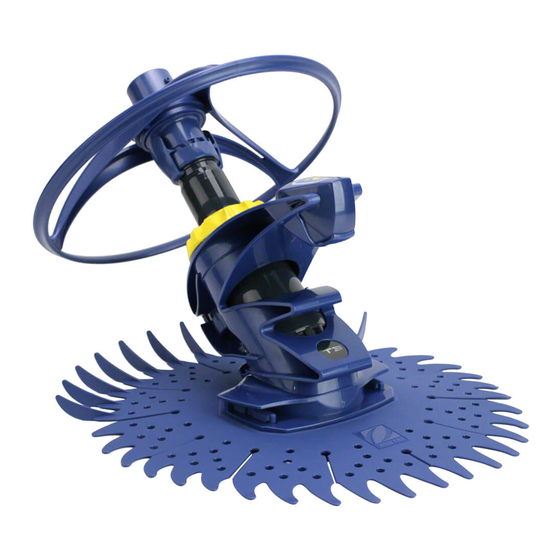
Zodiac T3 Instructions For Installation And Use Manual
Hide thumbs
Also See for T3:
- Owner's manual (39 pages) ,
- Quick start manual (2 pages) ,
- Quick start manual (2 pages)

Related Manuals for Zodiac T3


Summary of Contents for Zodiac T3
- Page 1 Instructions for installation and use - English Hydraulic cleaner Translation of the original instructions in french More documents on: www.zodiac.com H0379400_REVA - 2018/06...
- Page 3 • Zodiac® heat pump, filter pump and filter appliances are compatible with the most commonly used types of pool water treatment systems. • Do not touch the fan or moving parts and do not place objects or your fingers in the vicinity of the moving parts when the appliance is in operation.
-
Page 4: Table Of Contents
The distribution or modification of this document in any way is prohibited, without prior • authorisation from Zodiac®. Zodiac® is constantly developing its products to improve their quality. The information • contained herein may therefore be modified without notice. CONTENTS ❶... -
Page 5: ❶ Specifications
❶ Specifications 1.1 I Description 6 5 4 3 2 1 0 B3 / R3 T5 Duo Cleaner Wheel deflector with quick connector Wheel deflector Set of 1-metre Twist Lock hoses x 10 x 10 x 12 Flow switch Valve cuff Hose counterweight Quick connector Automatic flow regulation valve... -
Page 6: I Technical Specifications And Parts List
Flat bottom, gentle slope slope 1.2.2 Parts list : Cleaner body : Disc : Float T3 - R3 - B3 : Quick connector : Wheel deflector (with quick connector for T3 / R3 / B3 models) : Hose section T5 Duo... -
Page 7: ❷ Installation
• Measure the length between the skimmer or suction port and the most distant point in the pool. • Add 1 extra metre to the length measured. • If the total length is greater than 10 metres (T3 / R3 / B3) or 12 metres (T5 Duo), contact your retailer to purchase additional hose sections. -
Page 8: I Installing The Wheel Deflector And Quick Connector (Depending On The Model)
The wheel deflector helps the cleaner move around steps and other obstacles in the pool. For the T3 / R3 / B3 models, the quick connector is integrated into the wheel deflector: • Assemble the wheel deflector on the end of the last hose section by twisting a quarter turn to position the catch... -
Page 9: I Hydraulic Connections
2.4 I Hydraulic connections Stop the filter pump. • Clean the skimmer strainer, the filter pump pre-filter and the filter where necessary. • 2.4.1 Connecting to the suction port : Hose section : Automatic flow regulation valve : Suction port : Valve cuff 2.4.2 Connecting to the skimmer : Hose section... - Page 10 2.4.3 Connecting the Cyclonic™ Leaf Catcher (available as an optional extra) • Connect the leaf catcher to the hose the closest to the suction line or skimmer (see image • Orient the leaf catcher as instructed: "PUMP" = filter pump side / "CLEANER" = cleaner side (see image •...
- Page 11 Check that the red indicator light on the switch (viewed from the side) is positioned to setting No. 3 (see image 6 5 4 3 2 1 0 If necessary, use the pool valves to adjust the flow rate so that the indicator light is in position 3. •...
-
Page 12: ❸ Use
❸ Use 3.1 I Operating principle Hydraulic cleaners are connected to the filtration system (to a suction port or skimmer). They use the energy from the filter pump to move in the pool. The cleaner's ability to climb the sides depends on the shape of the pool and the water flow rate available. Debris is aspirated by the cleaner and captured in the pre-filter of the filter pump or in the leaf catcher (accessory available as an optional extra). -
Page 13: I Operation
3.3 I Operation • To avoid serious injury, ensure the filter pump is not operating. • Do not place your hair, loose clothing or jewellery etc. in the vicinity of the open end of the hose. 3.3.1 Connecting and immersing the cleaner •... -
Page 14: ❹ Maintenance
❹ Maintenance • The appliance must be cleaned regularly using clean or slightly soapy water. Do not use solvents. • Rinse the appliance thoroughly with clean water. • Never store the cleaner in direct sunlight. Store hoses flat, do not wind in order to retain the initial hose shape. 4.1 I Cleaning the filter pump's pre-filter •... -
Page 15: I Maintaining The Diaphragm
• Check that the diaphragm is not damaged (torn, etc.) and that it is not too worn (diaphragm has become slack, worn down or has a sticky texture, etc.). If this is the case, clean or replace the diaphragm (see §4.3.2 Removing the diaphragm for cleaning or replacement and §4.3.3 Re-assembling the diaphragm). T3 / R3 / B3 T5 Duo... - Page 16 4.3.2 Removing the diaphragm for cleaning or replacement • For the T3 / R3 / B3 models, unscrew the clamping nut, remove it by sliding along the external output hose (see image ) and set aside. The seal is designed to stay inside the nut for removal in one piece.
- Page 17 • Screw the external output hose onto the cartridge and tighten (see image • For the T3 / R3 / B3 models, check that the seal is still in place inside the nut. Insert the cartridge inside the body of the cleaner, slide the clamping nut above the external output hose and tighten (see image For the T5 Duo model, insert the cartridge into the body of the cleaner and tighten the nut (see image •...
-
Page 18: I Storing And Winterizing
4.3.4 Restretching the diaphragm After several years of use, you may notice that the diaphragm has become slack (see image ) and that the cleaner cleans the pool very slowly or not at all. This does not mean that the diaphragm must be replaced. -
Page 19: ❺ Troubleshooting
❺ Troubleshooting • If a problem occurs, before you contact your retailer, please carry out these few simple checks using the following tables. • If the problem continues, contact your retailer. 5.1 I Appliance behaviour • Use the flow switch to control the flow rate (see §2.4.4 Testing and adjusting the flow rate). - Page 20 Your retailer Modèle appareil Appliance model Numéro de série Serial number Pour plus d’informations, enregistrement produit et support client : For more information, product registration and customer support: www.zodiac.com ZODIAC® is a registered trademark of Zodiac International, S.A.S.U., used under license.
Need help?
Do you have a question about the T3 and is the answer not in the manual?
Questions and answers