Table of Contents
Advertisement
Advertisement
Table of Contents

Related Manuals for Russell Hobbs RHMA 050


Summary of Contents for Russell Hobbs RHMA 050
- Page 1 INSTRUCTIONS & WARRANTY MODEL: RHMA 050 MOBILE AIR CONDITIONER...
-
Page 2: Electric Connection
THANK YOU Thank you for choosing this innovative Russell Hobbs air conditioner. We suggest that you keep this manual in a safe place for future reference. It describes the many benefits and advanced features this unique product has to offer. Before you use your new air conditioner you should carefully read these instructions to maximise this product’s performance. -
Page 3: Safety Instructions
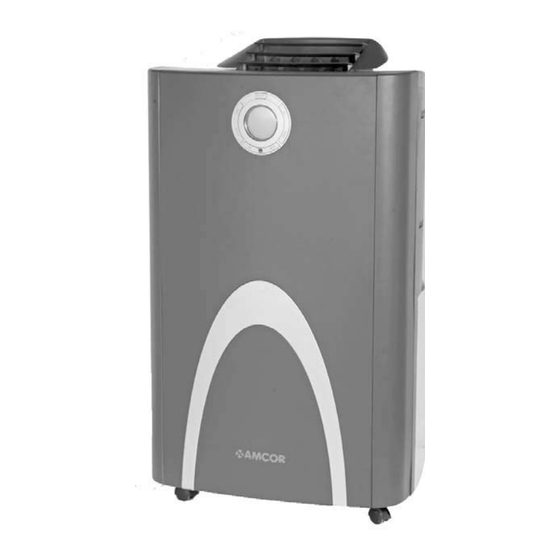
SAFETY INSTRUCTIONS IMPORTANT! • The unit is designed for indoor operation. • Rating: This unit must be connected to a 220-240 V / 50 Hz earthed outlet. • The installation must be in accordance with regulations of the country where the unit is used. - Page 4 P ARTS 1. Air outlet 2. Control panel 3. Carrying handle 4. Caster wheels 5. Grill housing 6. Upper air inlet 7. Exhaust air outlet 8. Lower air inlet 9. Cable storage 10. Drainage point with water stopper Water container Exhaust hose Remote control with LCD...
-
Page 5: Installation
INSTALLATION WARNING! Before using the air conditioner it should be left in an upright position for at least 2 hours. This unit can easily be moved from one room to another. In doing so keep this in mind: – Ensure that the unit is positioned upright, on a level surface and 50 cm away from any obstacles. - Page 6 Setting the temperature If you want to change the set temperature press the -button. The 2 digit display will indicate the set temperature. Note: Reaching the set temperature depends on the room and outdoor climatic conditions. Mode Pressing the -button to switch the operating mode between 'cooling' and 'fan only'. Fan speed If you prefer a constant fan speed instead of the auto fan speed, press the -button...
- Page 7 from the ON time until 24:00. The flashing bar on the time scale indicates the real time and moves a segment ahead every 30 minutes. The unit will operate daily according to the timer setting. Repeated ON and OFF Programming the timer for repeat ON and OFF - when the unit is NOT RUNNING. • Perform the standard steps as described above. •...
-
Page 8: Air Filter(S)
Sleep mode The sleep mode function adjusts the set temperature of the unit to the thermal needs of the body falling asleep as follow: • Default fan speed: LOW • Press the -button to operate the sleep mode. Press the -button again in order to cancel the sleep mode. -
Page 9: Remote Control
NOTE! • Remove the 3M™ High Air Flow filter and active carbon filter before seasonal storage and install new filters at the beginning of the new season. The old filters can be disposed in the ‘Non-biological garbage container’. • Replacement filter packages are available directly from Amalgamated Appliance (Pty) Ltd. •... -
Page 10: Continuous Drainage
C ONTINUOUS DRAINAGE • Switch off the unit and remove the plug from the mains. • Remove the water stopper and rubber plug. • Connect a drain tube (ø 20 mm inner dimension) onto the water outlet and extend with extra water tube if needed. •... -
Page 11: Technical Data
STORAGE • Empty the internal water container. • Clean the screen filter. • Remove the active carbon filter and 3M™ High Air Flow filter before end of season storage and install new filters at the beginning of the new season. •... - Page 12 SERVICE There are no user serviceable parts in this appliance. If the appliance is not operating correctly, please check that: 1. You have followed the instructions correctly. 2. Is the plug or cord damaged in any way? 3. Are the mains power supply On. If the appliance still does not work: In the first instance, consult your retailer for possible repair or replacement.
Need help?
Do you have a question about the RHMA 050 and is the answer not in the manual?
Questions and answers