Advertisement
Advertisement
Table of Contents

Related Manuals for Russell Hobbs RHAC10


Summary of Contents for Russell Hobbs RHAC10
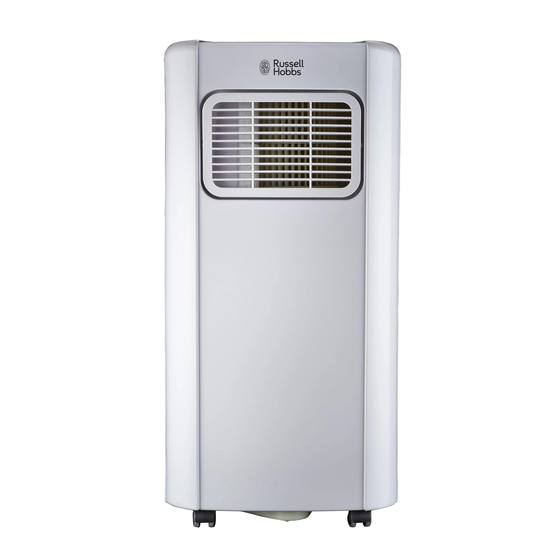
- Page 1 INSTRUCTIONS AND WARRANTY MODEL NO: RHAC10 Russell Hobbs Portable Air-conditioner...
-
Page 2: Important Safeguards
IMPORTANT SAFEGUARDS When using your Russell Hobbs Portable Aircon, basic pre-cautions should always be followed including the following: 1. Please read the instructions carefully before using any appliance. 2. Always ensure that the voltage on the rating label corresponds to the mains voltage in your home. - Page 3 17. Use of an extension cord with this appliance is not recommended. However, if it is necessary to use an extension cord, ensure that the cord is suited to the power consumption of the appliance to avoid overheating of the extension cord, appliance or plug point. Do not place the extension cord in a position where it can be pulled on by children or animals or tripped over.
-
Page 4: Parts Diagram
29. Do not cover the appliance 30. All the air-conditioner sockets must comply with the local electric safety requirements. If necessary, please check it for the requirements. Notes: — If any parts are damaged, please contact the dealer or a designated repair shop; —... -
Page 5: Appearance And Function Of Control Panel
Fig.2 After unpacking, please check whether the above-mentioned accessories are included, and check their purposes in the installation introduction in this manual. Appearance and Function of Control Panel Water tank indicator light Fig.3... -
Page 6: Appearance And Function Of Remote Controller
Appearance and Function of Remote Controller POWER button: pressing TIMER button: press this button will turn the this button to set the machine on or off. time for switch-on or switch-off. Temperature/time setting button: This button is Temperature/time setting used to set the room button: This button is temperature/ time. -
Page 7: Operation Introduction
Operation Introduction Before starting operations in this section: 1) Find a place where there is power supply nearby. 2) Insert the power cord into a grounded AC220~240V/50Hz socket. 3) Press the POWER button to turn on the air-conditioner. 1.Before use Operation temperature range: Maximum cooling Minimum cooling... -
Page 8: Installation Explanations
Press the “Fan Speed” button to select wind speed. 3. Dehumidifying operation Press the “Mode” button until the “Dehumidify Indicator Lamp” blinks Set the selected temperature to current room temperature minus 2℃. (16℃-31℃) Set the fan motor to LOW wind speed. 4. - Page 9 Fig.8 Exhaust Hose Installation A) Temporary installation Twist both ends of the exhaust hose into the square fixing clip and the flat fixing clip. Insert the square fixing clip into the openings at the back of the air conditioner (see Fig.9). Place the other end of the exhaust hose through a windowsill.
-
Page 10: Maintenance
Maintenance 1) Before cleaning, ensure to disconnect the unit from any electric supply outlet. 2) Do not use gasoline or other chemicals to clean the unit. 3) Do not wash the unit directly. 1. Air Filter If the air filter becomes clogged with dust/dirt, the air filter should be cleaned once every two weeks. -
Page 11: Troubleshooting
Troubleshooting Troubles Possible Causes Suggested Remedies 1. The unit does not start when - Water full indicator lamp Empty the water out of the pressing power button. blinks, and water tank is full. water tank. - Room temperature is lower Reset the temperature than the setting temperature. -
Page 12: Servicing The Appliance
SERVICING THE APPLIANCE There are no user serviceable parts in this appliance. If the unit is not operating correctly, please check the following: • You have followed the instructions correctly • That the unit has been wired correctly and that the wall socket is switched on. •... - Page 13 AFFIX YOUR PROOF OF PURCHASE/RECEIPT HERE IN THE EVENT OF A CLAIM UNDER WARRANTY THIS RECEIPT MUST BE PRODUCED. 2 YEAR WARRANTY 1 year retail 1 year extended warranty upon registration* visit www.russellhobbs.co.za W A R R A N T Y AND EXTENDED WARRANTY Home of Living Brands (Pty) Limited ("Home of Living Brands") warrants to the original purchaser of this product ("the customer") that this product will be free of defects in quality and workmanship which under normal personal, family or household use and purpose may manifest within a period of 1 (one) year from the date of purchase ("warranty period").
- Page 14 EXCLUSIONS TO W A R R A N T Y AND EXTENDED WARRANTY Any accessories supplied with the product, including but not limited to, bowls, jugs, mills or carafes made either of glass or plastic and supplied with this appliance (hereinafter referred to as “the accessory or accessories”), is warranted to be free from material and workmanship defects for the duration of the appliance warranty.
Need help?
Do you have a question about the RHAC10 and is the answer not in the manual?
Questions and answers