Tektronix RSA5100B Series Instructions Manual
Hide thumbs
Also See for RSA5100B Series:
- Help manual (521 pages) ,
- Technical reference (153 pages) ,
- Declassification and security instructions (16 pages)

Related Manuals for Tektronix RSA5100B Series


Summary of Contents for Tektronix RSA5100B Series
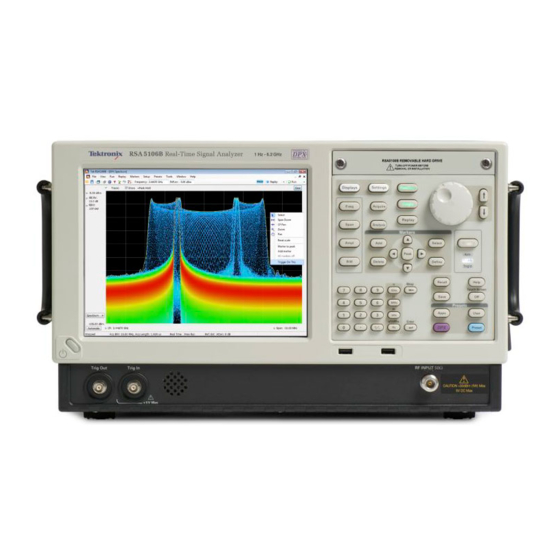
- Page 1 RSA5BUP (Options PFR, 50, PFR50) RSA5100B Series Real-Time Signal Analyzers Preamp and Precision Frequency Reference Upgrades Instructions www.tektronix.com *P075105901* 075-1059-01...
- Page 2 Copyright © Tektronix. All rights reserved. Licensed software products are owned by Tektronix or its subsidiaries or suppliers, and are protected by national copyright laws and international treaty provisions. Tektronix products are covered by U.S. and foreign patents, issued and pending. Information in this publication supersedes that in all previously published material.
-
Page 3: Service Safety Summary
To avoid electric shock, do not touch exposed connections. Kit description This kit describes the installation of the following upgrade options: Option PFR: Precision Frequency Reference for the RSA5100B Series Option 50: Internal Preamp for the RSA5103B and RSA5106B Option PFR50: Internal Preamp with the Precision Frequency Reference... - Page 4 SUPPLEMENTAL INFORMATION SHEET FOR THE PEOPLES REPUBLIC OF CHINA; CHINA ROHS 1 ea 075-1059-xx INSTRUCTIONS, UPGRADE: RSA5BUP OPTIONS PFR, 50, PFR50 1 ea 850-0296-xx MFG ASSY; RSA5BUP 50 1 ea 863-0956-xx CKT BD; RSA5BUP PFR RSA5100B Series Options 50, PFR, PFR50 Upgrades...
-
Page 5: Installation Instructions
These instructions are for qualified service personnel who are familiar with servicing the product. If you need further details for disassembling or reassembling the product, refer to the RSA5100B Series Real-Time Signal Analyzers Service Manual, Tektronix part number 077-0903-XX. RSA5100B Series Options 50, PFR, PFR50 Upgrades... -
Page 6: Remove Covers
8. Remove the 18 T15 Torx-head screws that attach the internal bottom cover to the chassis, and then lift the internal bottom cover away. RSA5100B Series Options 50, PFR, PFR50 Upgrades... - Page 7 Installation instructions Figure 1: Remove covers RSA5100B Series Options 50, PFR, PFR50 Upgrades...
- Page 8 ATT OUT connector. b. Loosen the semi–rigid cable connecting to the 1ST CONV IN connector completely. Rotate the semi-rigid cable upward. Now remove the semi-rigid cable from the ATT OUT connector. RSA5100B Series Options 50, PFR, PFR50 Upgrades...
- Page 9 Loosen the opposite end of the semi-rigid feed-through cable and remove the semi-rigid feed-through cable from the preamp assembly. RSA5100B Series Options 50, PFR, PFR50 Upgrades...
- Page 10 first “breaks”. CAUTION. To avoid damaging the relay connector on the preamp assembly, be careful not to touch the connector on the relay with the torque wrench while tightening the nuts. RSA5100B Series Options 50, PFR, PFR50 Upgrades...
- Page 11 9. Torque the nut on the connector below the relay for the ATT OUT connection to 10 in-lbs. Do not over-torque the nut. Stop tightening the nut as soon as the torque wrench first “breaks”. RSA5100B Series Options 50, PFR, PFR50 Upgrades...
- Page 12 10. Torque the semi-rigid cable connections to the 1ST CONV IN and ATT OUT connectors on the instrument to 10 in-lbs. Do not over-torque the nuts. 11. Reattach the semi-rigid feed-through cable on one end of the preamp. Finger tighten the nut about half way. RSA5100B Series Options 50, PFR, PFR50 Upgrades...
- Page 13 Finger tighten the nut. The tension in the semi-rigid cable will relax. 13. Holding the semi-rigid feed-through cable level with your fingers, torque the nuts on both ends of the semi-rigid cable to 10 in-lbs. RSA5100B Series Options 50, PFR, PFR50 Upgrades...
- Page 14 16. Insert the ribbon cable in the connector. Push the cable fully into the socket and listen for a click sound. 17. After inserting the cables into the sockets, pull up on the cables to be sure they do not disconnect. RSA5100B Series Options 50, PFR, PFR50 Upgrades...
- Page 15 find any pins visible above the plastic connector body, remove the connector, reinsert the pins into the connector body and reinsert the cable connector. Pull on the ribbon connector to be sure it is fully seated. RSA5100B Series Options 50, PFR, PFR50 Upgrades...
- Page 16 RSA5103B and RSA5106B instruments do not have an SMA cable connected to the 400 MHz TO MFC LO connector. In place is a 50 Ω terminator. Remove and save the terminator for reinstallation. RSA5100B Series Options 50, PFR, PFR50 Upgrades...
- Page 17 5. Install the PFR option board into the same location. Press down on the board to ensure the connector on the underside of the board is fully seated. 6. Secure the board using the four T15 Torx-head screws previous removed. Torque the screws to 10 in-lbs. RSA5100B Series Options 50, PFR, PFR50 Upgrades...
- Page 18 9. Position the plastic carrying handle and its bracket on the right side of the instrument, and install the two T15 screws that attach it in place. Torque these screws to 8.0 in-lb. RSA5100B Series Options 50, PFR, PFR50 Upgrades...
- Page 19 2. Select Tools > Install Upgrades... to start the upgrade installation process. 3. Click Continue from the Install Upgrades introduction screen. 4. Enter the option key provided by Tektronix, and follow the on-screen instructions to install the option. RSA5100B Series Options 50, PFR, PFR50 Upgrades...
-
Page 20: Attach Labels
Installation instructions 5. Power off the instrument, then power back on. 6. In the Help menu, select About Tektronix Real-Time Analyzer. 7. Verify the new option is listed. Attach labels Please attach all labels provided in this kit on the instrument’s rear panel. - Page 21 “Data from Uncalibrated Instrument” warning on the application display. Verify instrument software version Tektronix recommends to update to the latest available application software for your instrument. 1. Select Help > About to check the software version. 2. Use your Web browser to go to: www.tektronix.com/software.
Need help?
Do you have a question about the RSA5100B Series and is the answer not in the manual?
Questions and answers