Advertisement
AVOCENT® SV SERIES SWITCHES
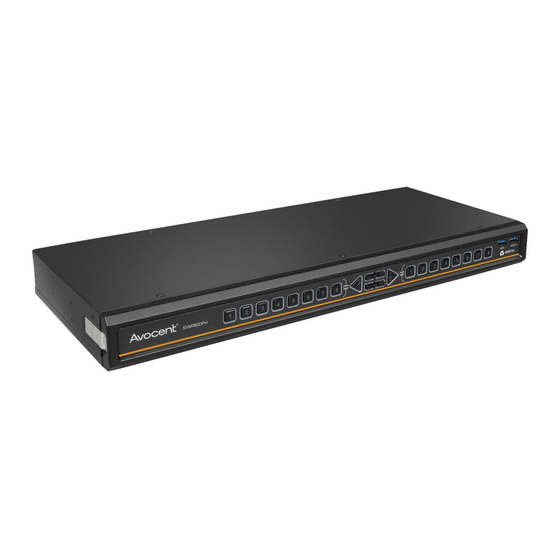
SVM100DPH DESKTOP MATRIX
Quick Installation Guide
Avocent® SVM180DPH Desktop Matrix Switch Shown
1
1. Connecting local
peripherals
Ensure all computers and
displays are turned off.
Plug the display cables into the
CONSOLE primary (1) and
secondary (2) display ports on
the back of the switch. The
switch uses a combination
DisplayPort (DP) and HDMI
connector to enable either
video format to be used as
input or output.
Plug the USB keyboard and
mouse and audio cables into
the appropriate CONSOLE
ports on the back of the switch.
If desired, connect the Cybex™
Active Front Panel (AFP) KVM
remote unit to the RCU port to
control your switch remotely.
Contact your Vertiv
representative for more
information.
2. Connecting
each computer
Connect a USB cable from
each computer to the
keyboard/mouse USB Type-B
port on the switch.
1
Plug the display cable from the
corresponding computer into
the appropriate port on the
switch.
If applicable, connect audio from
your computer to your switch
and connect a USB 3.0 cable
from the computer to the USB
3.0 Type-B port on the switch.
Repeat for all computers.
3. Turning on the displays,
switch and computers
NOTE: Installation of local
peripherals to the switch
console must occur prior to
powering up the switch.
Turn power on to the
connected displays.
Using an appropriate wall-
socket adaptor, plug the
provided power adaptor or
cable into the switch, and plug
the other end into a wall outlet.
The video diagnostic LED
indicates the Extended Display
Identification Data (EDID)
information has been
successfully read from the
display and stored in memory.
The EDID is only read in the
2
first few seconds after the
switch is powered on.
• Off - no EDID detected
• Blinking - reading EDID
• On - EDID received
NOTE: Vertiv recommends
using displays with the same
native resolution. However, if
you are using different
resolution displays, connect
the lower native resolution
display to console video port 1.
EDID is only read from console
video port 1 in the first few
seconds after the switch is
turned on. Hot-plugging or
swapping displays while the
switch is on is not supported.
To change a display, power
cycle the KVM switch.
Turn on the computers. Ensure
the peripherals for each
computer are connected and
working properly. Repeat for all
computers.
590-2322-501A
1
Advertisement
Table of Contents

Related Manuals for Vertiv AVOCENT SV Series


Summary of Contents for Vertiv AVOCENT SV Series
- Page 1 • On - EDID received your computer to your switch CONSOLE primary (1) and and connect a USB 3.0 cable NOTE: Vertiv recommends secondary (2) display ports on from the computer to the USB using displays with the same the back of the switch. The 3.0 Type-B port on the switch.
- Page 2 To contact Vertiv Technical Support: visit www.Vertiv.com © 2020 Vertiv Group Corp. All rights reserved. Vertiv™ and the Vertiv logo are trademarks or registered trademarks of Vertiv Group Corp. All other names and logos referred to are trade names, trademarks or registered trademarks of their respective owners. While every precaution has been taken to ensure accuracy and completeness here, Vertiv Group Corp. assumes no responsibility, and disclaims all liability, for damages resulting from use of this information or for any errors or omissions.
Need help?
Do you have a question about the AVOCENT SV Series and is the answer not in the manual?
Questions and answers