Table of Contents
Advertisement
Quick Links
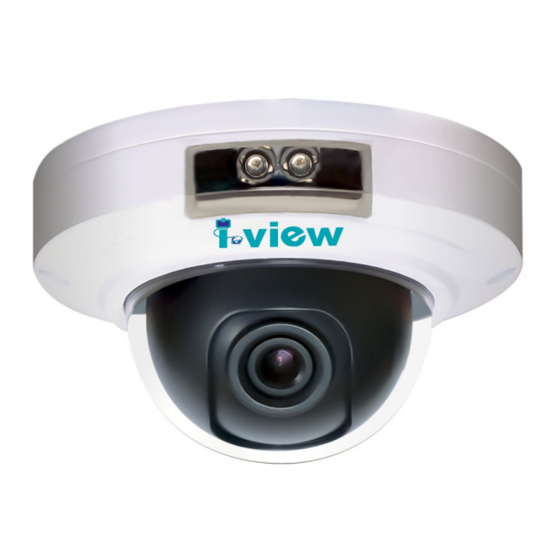
DM-2MIPC01/2MIPH01/3MIPS01 Network Camera Quick Menu
Package Contents
Please check the contents of your new Network IP Camera when you unpack the package. If any
item is missing, please contact your dealer of purchase for help.
following items:
Network IP Camera x 1ea
Bundle NVR & CMS software CD x 1ea
User manual x 1ea
Accessory package x 1 set.
Product Dimension
Anchor 6x27 * 2 ea
Screw 3 x27 Tp1 Bnd Sus *2 ea
Hexagon wrench 3.0mm L type * 1 ea
Mount hole sticker * 1ea
RJ-45 Female- Female Converter * 1ea (Optional)
1
The package includes the
v
1.2
Advertisement
Table of Contents

Subscribe to Our Youtube Channel
Related Manuals for I-View DM-2MIPC01


Summary of Contents for I-View DM-2MIPC01
- Page 1 DM-2MIPC01/2MIPH01/3MIPS01 Network Camera Quick Menu Package Contents Please check the contents of your new Network IP Camera when you unpack the package. If any item is missing, please contact your dealer of purchase for help. The package includes the following items: ...
- Page 2 Product Parts Description Lens Fix Hole RJ45 Ethernet Reset DC12V input Sensor IR LED Cabling Cutout & fixed bracket Power cable: Connect to DC12V power adapter when use none POE Hub. Reset: Push the button about 3 seconds, the parameters of IP camera will become to default setting. RJ-45 male connector: Water proof RJ-45 adapter to extent the transmission distance via UTP cable;...
- Page 3 Camera Installation Preparation – Remove the dome cover 1. Use the supplied security torx key to loosen (not remove) the three cover screws. 2. Loosen the three screws (marked with the triangle icon) on the dome base. 3. Remove the back case. ...
- Page 4 5) Adjust the focusing position by rotating and panning the camera base. Note that the back case side conduit hole is the point where the camera will not rotate past. 6) Fix the cover to finish the camera installation. Adjust horizontal position Adjust rotate position screw ...
- Page 5 Power over Ethernet (PoE) The Network Camera is PoE-compliant, allowing transmission of power and data via a single Ethernet cable. Follow the above illustration to connect the Network Camera to a PoE-enabled switch via Ethernet cable. Assigning an IP Address You must know the IP address of IP Camera before you can connect to it.
- Page 6 For example: The RTSP command code as below: Main streaming: RTSP://IP Address:554/media/live/1/1 Sub streaming: RTSP://IP Address:554/media/live/1/2 Third streaming: RTSP://IP Address:554/media/live/1/3 Run the IP camera from I.E. Browser You can use your new Network IP Camera by its web user interface via I.E. web browser. The requirements for viewing IP camera are as below: ...
- Page 7 When you’re installing Internet Explorer plug-in, you may also be prompted the diagram. Please click “Yes” to allow changes. IE 10 & IE 11 version: Click ‘Install’ button located at the bottom of I.E. to install ActiveX plug-in. You need to do the process as below: Click “Internet options”...
- Page 8 Install NVR software You can use your new Network IP Camera by its web user interface v There is a NVR software CD comes with IP camera which allow you run 32/64 channels IP cameras on a PC. Setting IP camera Click “Start “...
Need help?
Do you have a question about the DM-2MIPC01 and is the answer not in the manual?
Questions and answers