Table of Contents
Advertisement
Quick Links
IR-2MIPH18/3MIPS18 Camera Quick Menu Guide
Packaging Contents
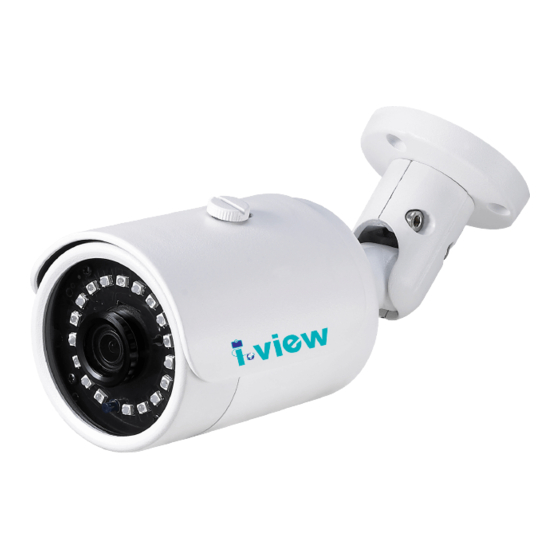
Check the contents of your new Network IP Camera when you unpack the package. If any item is
missing, please contact your dealer of purchase for help. The package includes items as below:
following items: Network IP Camera x 1ea
Bundle NVR & CMS software CD x 1ea
User manual x 1ea
Mount panel x 1 ea
Accessory package x 1 set
Product Dimension
Anchor 7x27 * 3 ea
Screw 4 x27 Tp1 Bnd Sus *3 ea
Mount hole sticker * 1ea
1
V1.0
Advertisement
Table of Contents

Subscribe to Our Youtube Channel
Related Manuals for I-View IR-2MIPH18


Summary of Contents for I-View IR-2MIPH18
- Page 1 IR-2MIPH18/3MIPS18 Camera Quick Menu Guide V1.0 Packaging Contents Check the contents of your new Network IP Camera when you unpack the package. If any item is missing, please contact your dealer of purchase for help. The package includes items as below: ...
- Page 2 Product Parts Description Front side items description: Sunshield: It protects the camera from the direct sunlight. Sunshield Hold: It fixed the sunshield with the camera. IR LED: These infrared LED’s are controlled by the illumination sensor. Illumination Sensor: Detects incoming light to control the IRLED. ...
- Page 3 Wall /Ceiling Mount installation Fix the camera This camera is waterproof and in compliance with the IP66 spec, but the jack connected to the external cable is not. You are recommended to install this product below the edge of eaves to prevent the cable from being externally exposed.
- Page 4 Network Deployment General Connection (without PoE) 1. Connect RJ45 Ethernet cable to a switch. Use a Category 5 Cross Cable when your network camera is directly connected to PC. 2. Connect the power cable from the Network Camera to a power outlet. Power over Ethernet (PoE) The Network Camera is PoE-compliant, allowing transmission of power and data via a single Ethernet cable.
- Page 5 Assigning an IP Address You must know the IP address of IP Camera before you can connect to it. The IP Camera will use DHCP server on your local network to obtain an IP address automatically by default. So, you can check your DHCP server’s IP address lease table to find the IP address of IP Camera or also can use the utility program ‘IPSerch.exe’...
- Page 6 If you connect to IP Camera first time, you’ll see the following message; this message prompts you that you need to install ActiveX plug-in before you can see the video from IP Camera. IE 8 and earlier version: Right click the indication bar and click: “Install This Add-on for All Users on This Computer…” to install ActiveX plug-in.
- Page 7 IE 10 & IE 11 version: Click ‘Install’ button located at the bottom of I.E. to install ActiveX plug-in. You need to do the process as below: Click “Internet options” section, then choice “ Security “ tab >> “ Trusted sites “ and change the bar to “Low”.
- Page 8 Note:...
Need help?
Do you have a question about the IR-2MIPH18 and is the answer not in the manual?
Questions and answers