Table of Contents
Advertisement
Quick Links
FDMO-2MIPA-33XIR IR PTZ Netwrok Camera Quick Manual
Packaging Contents
Check the contents of your new Network IP Camera when you unpack the package. If any item is
missing, please contact your dealer of purchase for help. The package includes items as below:
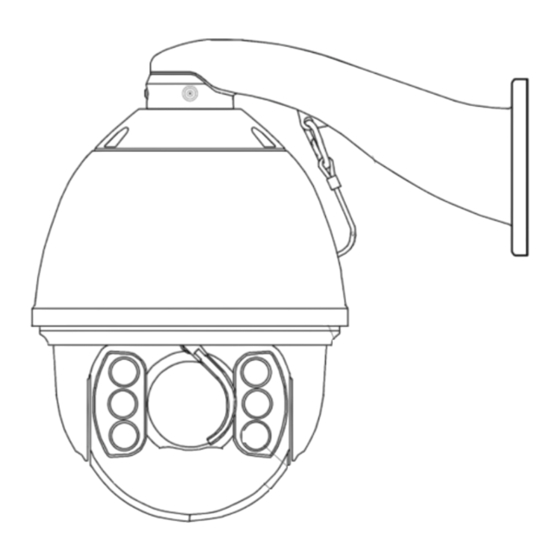
IP Speed Dome Camera x 1ea
Bundle NVR & CMS software CD x 1ea
User Quick manual x 1ea
DC24V Switching Power Adapter x 1ea
Installation Glove x 1sets
Wall mount bracket or Ceiling Bracket x1set
Safety Wire x 1pc
Accessory package x 1 set.
Before start to use the IP Speed dome camera
Please follow up the process as below before to start to us.
1. Uppack the protect tape from the body of PTZ Dome camera first.
2. Remove the protect tape from the window of Lens.
3. Check the accessories parts.
4. Connect related cables according to actual need (Power line, network line, audio line etc.)
5. · Please read the Note carefully, any question you should contrast us without hesitation.
6. · Please read the user manual carefully before the installation.
7. · Make sure to turn off all the power when install the camera
8. · Please confirm the power transformer, avoid the device damage with unmatched power source
9. Connect the power supply to turn on the power.
Anchor 7x27 * 4 ea
Screw 4 x27 Tp1 Bnd Sus *4 ea
1
V4.0
Advertisement
Table of Contents

Related Manuals for I-View FDMO-2MIPA-33XIR


Summary of Contents for I-View FDMO-2MIPA-33XIR
- Page 1 FDMO-2MIPA-33XIR IR PTZ Netwrok Camera Quick Manual V4.0 Packaging Contents Check the contents of your new Network IP Camera when you unpack the package. If any item is missing, please contact your dealer of purchase for help. The package includes items as below: IP Speed Dome Camera x 1ea ...
- Page 2 Parts Function Description 1) Network port: Plug the RJ-45 LAN cable. This port support water proof tube and comes with the POE+ power source. 2) Audio input: Plug in Microphone for audio input (Red RCA port). 3) Audio output: Plug Speaker (Request audio amplify) for audio output. (White RCA port). 4) Alarm in #1: Connect to the sensor input (Dry contact).
- Page 3 Product Dimension...
- Page 4 Installation Method The IR speed dome could be installed in wall-mount and pedant-mount Wall-mount Installation Procedures: 1) Take out the Junction Box from the package (as shown), mark the installation hole positions on the wall referencing to the bottom of bracket. 2) Drill the hole and install 4 pieces of M8 expansion bolt into the hole.
- Page 5 2) Drill the hole and install 4 pieces of M8 expansion bolt into the hole. 3) Take out the IR speed dome and put the cables through the sockets on the bottom of the pendant bracket. Use M5 screws to fix the bracket and dome body.
- Page 6 The IR PTZ Network Camera is not PoE-compliant, allowing transmission of power and data via a single Ethernet cable via i-View Poe+. Follow the above illustration to connect the Network Camera to a PoE+ device and then to the switch via Ethernet cable. (Optional) ...
- Page 7 .The default User name / Password is “ admin / 123456 “ and IP address is 192.168.0.123. Make sure all IP Cameras are powered on and connect to local network first. If you have several network connections, please disable connections that are not connected to IP camera, otherwise the IP Search Tool.exe program may fail to search IP camera.
- Page 8 7. For security reason, it will pop up change password message when you log in and pass the checking. Click " Ok" to set up a new password for next time login, press " Cancel" icon to ignore this message. ...
Need help?
Do you have a question about the FDMO-2MIPA-33XIR and is the answer not in the manual?
Questions and answers