Table of Contents
Advertisement
Quick Links
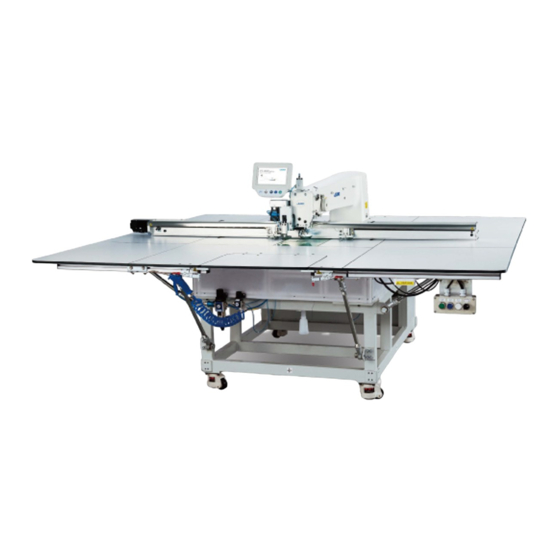
PS-800-8045
Active tension
INSTRUCTION MANUAL
CAUTION :
This Instruction Manual provides instructions for the active tension. When you want to use
your sewing machine with this product attached, refer to the "Safety precautions" in the In-
struction Manual for your sewing machine carefully until you fully understand the included
precautions in prior.
Advertisement
Table of Contents

Related Manuals for JUKI PS-800-8045


Summary of Contents for JUKI PS-800-8045
- Page 1 PS-800-8045 Active tension INSTRUCTION MANUAL CAUTION : This Instruction Manual provides instructions for the active tension. When you want to use your sewing machine with this product attached, refer to the “Safety precautions” in the In- struction Manual for your sewing machine carefully until you fully understand the included...
-
Page 2: Table Of Contents
CONTENTS 1. List of parts ..........................1 2. Assembling the parts ......................3 3. Wiring (miscellaneous cover components of the sewing machine) ......... 5 4. Wiring (inside the electrical equipment rack) ..............6 5. Method for adjusting the AT ....................8 5-1. -
Page 3: List Of Parts
1. List of parts WARNING : In order to prevent accidents caused by a sudden start of the sewing machine, the following proce- dure has to be carried out after turning OFF the power supply and air supply to the sewing machine. ①... - Page 4 ③ ④ ⑤ ⑥ ⑨ ⑪ ⑦ ⑧ Part number Part name ③ 40172470 Thread tension controller (asm.) ④ 40243919 AT spring ⑤ SM6041402TP Bolt M4 L=14 ⑥ 40243045 AT SOL PCB asm. ⑦ 40243046 AT SOL cable asm. A ⑧...
-
Page 5: Assembling The Parts
2. Assembling the parts WARNING : In order to prevent accidents caused by a sudden start of the sewing machine, the following proce- dure has to be carried out after turning OFF the power supply and air supply to the sewing machine. 1) Loosen screw ❶... - Page 6 4) Secure AT solenoid asm ② in the mounting hole with screws ⑤ (two pieces). Mounting hole 5) Put a little amount of grease (white) sup- plied in the accessory bag on a piece of cloth. Then, apply a thin coat of the grease to the AT shaft, reseat spring and tension E retaining ring release pin with that cloth.
-
Page 7: Wiring (Miscellaneous Cover Components Of The Sewing Machine)
7) Pressing the retaining spring of the AT ❻ ❻ thread tension controller asm. against the end surface of the tension controller mounting hole, secure it with screw ❸ at a position where the stroke of the thread take-up spring becomes 4 to 5 mm. If you cannot press the retaining spring of the thread tension con- troller asm. -
Page 8: Wiring (Inside The Electrical Equipment Rack)
3) Pull AT solenoid cable ② into the electrical equipment rack through cable entrance of the rack. Cable entrance 4. Wiring (inside the electrical equipment rack) [Standard type and the laser type] ⑥ ⑥ ⑥ ⑥ ② ② ⑦ ⑦ LOOSE 1) Connect AT solenoid cable ②... - Page 9 4) Put the cables together in the duct. Secure the PCB with cable clip band ⑬ . ⑬ ⑬ [ Rotary knife type ] ⑥ ⑥ ⑥ ⑥ ② ② ⑧ ⑧ LOOSE 5) Connect AT solenoid ② cable and AT SOL cable asm. B ⑧ to AT SOL PCB asm. ⑥ in the electrical equipment rack.
-
Page 10: Method For Adjusting The At
5. Method for adjusting the AT 5-1. Setting of the parameters 1) Press button A. 2) Press button B. In the default state, the password that has been factory-prepared at the time of delivery is provided. The factory-provided password is "11111111". 3) Press button C. -
Page 11: Adjusting The Projection Amount Of The Plunger
5-2. Adjusting the projection amount of the plunger 1) Press plunger ❶ of the solenoid into the so- lenoid. Measure projection amount ❷ of the plunger. ❶ ❶ ❷ ❷ 2) Loosen screw ❸ of the thread tension control- ler bracket. Adjust the longitudinal position of ❸... -
Page 12: Method For Using The At
6. Method for using the AT 6-1. Method for setting the AT thread tension 1) Select the sewing pattern thread tension for which you want to set. 2) Press presser foot/thread tension setting but- ton A. 3) The tension can be set by pressing default tension B. - Page 13 5) Press the reset button D on the main screen to return to the origin. 6) Press in the same way as in step 2) to en- ter the tension setting screen, and enter the tension setting value confirmed in step 3) into tension 1E.
-
Page 14: Method For Changing The Thread Tension During Sewing
6-2. Method for changing the thread tension during sewing 1) Set the thread tension in the entry field of "Thread tension 1" at a midpoint of the stitch- ing line at which you want to change the thread tension. Thread tension setting method in the case of the Change the picture shown on the left thread tension... -
Page 15: Method For Deleting The Changes In Thread Tension Setting During Sewing
6-3. Method for deleting the changes in thread tension setting during sewing 1) If you press "Tension 1 button" A and "delete button" B, individual thread tension settings you have set in a sewing pattern will be totally deleted. 2) If you wan to delete the individual thread tension settings separately, move cross mark cursor ( ) to the target thread tension setting...
Need help?
Do you have a question about the PS-800-8045 and is the answer not in the manual?
Questions and answers