Table of Contents
Advertisement
Quick Links
Advertisement
Table of Contents

Related Manuals for Datalogic Smart-VS WebApp


Summary of Contents for Datalogic Smart-VS WebApp
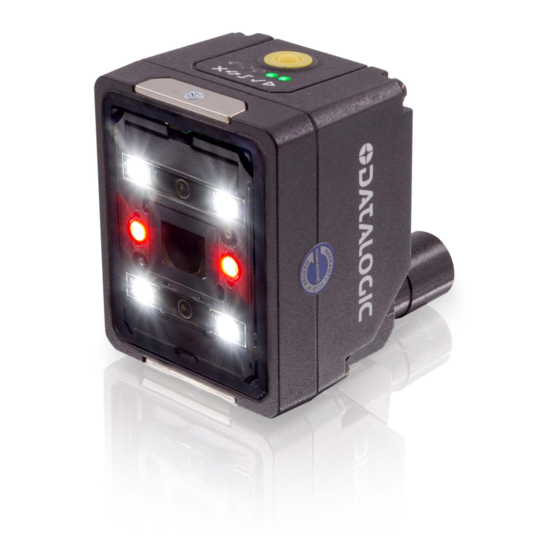
- Page 1 Smart-VS WebApp USER’S GUIDE Smart Vision Sensor...
- Page 2 Electronic versions of this document may be downloaded from the Datalogic website (www.datalogic.com). If you visit our website and would like to make comments or suggestions about this or other Datalogic pub- lications, please let us know via the "Contact" page.
-
Page 3: Table Of Contents
CONTENTS SMART-VS WEBAPP ....................1 Teaching .......................... 2 Step 1: Image Setup ..........................2 Step 2: Acquire GOOD .........................3 Step 3: Acquire NO GOOD ........................4 Step 4: Learn ............................4 Monitoring ........................5 Settings ........................... 7 Utilities ........................... 8 USER’S GUIDE... - Page 4 SMART-VS...
-
Page 5: Smart-Vs Webapp
To access the Smart-VS WebApp, Google Chrome is the recommended Internet browser. NOTE To access the Smart-VS WebApp, connect to the device IP address 192.168.3.100 via Ethernet. In case of a new device, the user is automatically redirected to the Wizard. -
Page 6: Teaching
SMART-VS WEBAPP TEACHING To perform Teaching on your Smart-VS device, enter a job name, select the bank where to store it, click on the Create Job button, and follow the procedure described below. Step 1: Image Setup On the Image Setup page, select Start Automatic Setup to automatically set the Focus Distance, the Exposure Time, and the Sensor Gain parameters (suggested). -
Page 7: Step 2: Acquire Good
TEACHING Step 2: Acquire GOOD On the Acquire GOOD page, one or more GOOD objects can be acquired by clicking on the Teach button. It is recommended to acquire as many GOOD images as the known number of instances to be treated as GOOD. A maximum of 6 images can be stored in both GOOD and NO GOOD boxes. -
Page 8: Step 3: Acquire No Good
Click on an acquired object in the NO GOOD box and select DELETE to delete NOTE After adding at least one NO GOOD object, you can click on the Teach button. Step 4: Learn This step is completed automatically. Once the device is trained, the Smart-VS WebApp switches to the Monitoring page. SMART-VS... -
Page 9: Monitoring
MONITORING MONITORING The Monitoring page is divided into an upper bar, a main area, and a bottom bar. The upper bar contains the job name to the left. Use the drop-down menu to switch to another job (if present). If you want the selected job to be the running and startup job, click on the Play button before leaving the page. - Page 10 After clicking on one of the Play icons, the newly added acquisitions will be used by the device in addition to those stored during the initial Teaching procedure. Furthermore, the Smart-VS WebApp allows image saving. Any image shown in the WebApp can be saved clicking on it and selecting Save.
-
Page 11: Settings
SETTINGS SETTINGS This page contains Job Settings and Global Settings. It can be reached using the hamburger icon on the upper right corner. The parameters under Job Settings are variable for each job, which means that any change will only be valid for the current job: •... -
Page 12: Utilities
SMART-VS WEBAPP UTILITIES The Utilities page can be reached using the hamburger icon on the upper right corner. This page contains: • Device Information: information about the device model, serial number, software version, and GUI version. • Maintenance: - Upload Package to upgrade the device software. - Page 16 © 2020 Datalogic S.p.A. and /or its affiliates • All rights reserved • Without limiting the rights under copyright, no part of this documentation may be reproduced, stored in or introduced into a retrieval system, or transmitted in any form or by any means, or for any purpose, without the express written permission of Datalogic S.p.A.
Need help?
Do you have a question about the Smart-VS WebApp and is the answer not in the manual?
Questions and answers