Advertisement
Quick Links
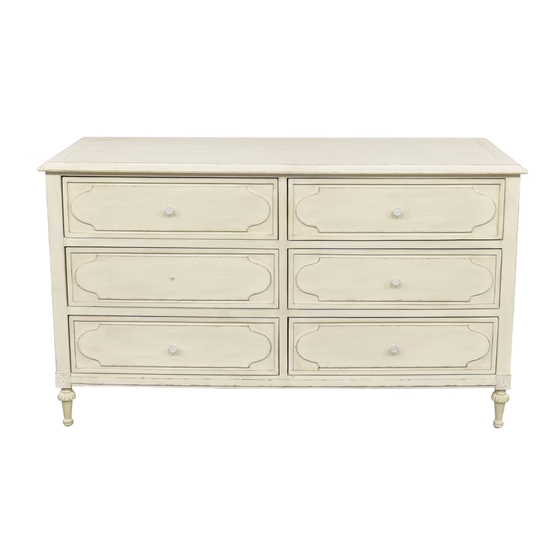
B E L L I N A 9 D R A W E R S D R E S S E R - A S S E M B L Y I N S T R U C T I O N S
PARTS INCLUDED
A
[1] DRESSER
B
[4] LEGS
C
[1]
CENTER LEG
IMPORTANT SAFETY INSTRUCTIONS
Please read all instructions carefully before assembling.
1.
For your safety, assembly by two or more adults is strongly recommended.
2.
Keep instructions for future use.
3.
Use only vendor-supplied hardware to assemble. Using unauthorized
4.
hardware could jeopardize the structural integrity of the item.
ASSEMBLY INSTRUCTIONS
1.
Lay the dresser (A) on a flat surface.
2.
Align and insert the threaded rods of the legs (B) and center leg (C) into
the fixed nuts at the bottom of the Dresser (A), then turn the legs
clockwise to tighten. DO NOT OVER TIGHTEN. See FIGURE 1 & 2.
3.
After assembly, turn the dresser upright on your desired location.
FIGURE 1
B
ASSEMBLY INSTRUCTIONS BY WALL TYPE
•
DRYWALL WITH STUDS: Use screws to affix to drywall
with studs. See FIGURE A.
•
DRYWALL WITHOUT STUDS: Use toggle bolt and screws
to affix to drywall. See FIGURE B.
Fig.1
Fig.2
TOOLS NEEDED
Phillips-head Screwdriver (not included)
HARDWARE INCLUDED
NO.
SKETCH
DESCRIPTION
Metal Bracket
1
2
3
Steel Aircraft Cable
4
Round-head Screw
5
Round-head Screw
6
Toggle Bolt
7
A
FIGURE A
DRYWALL WITH STUDS
SPECIFICATION
51.5 x 16.5 x 16.5mm
(D2mm)
Clevis Pin
Ø6 x 23mm
1.6 x 162mm
Hair Pin
Ø2 x 30mm
M4 x 15mm
M4 x 38mm
M3 x 51mm
FIGURE 2
C
FIGURE B
DRYWALL WITHOUT STUDS
QTY.
2 pcs.
2 pcs.
1 pc.
2 pcs.
2 pcs.
2 pcs.
2 sets
1 2 /
Advertisement

Related Manuals for RH Baby&child BELLINDA


Summary of Contents for RH Baby&child BELLINDA
- Page 1 B E L L I N A 9 D R A W E R S D R E S S E R - A S S E M B L Y I N S T R U C T I O N S TOOLS NEEDED PARTS INCLUDED Phillips-head Screwdriver (not included)
- Page 2 B E L L I N A 9 D R A W E R S D R E S S E R - A S S E M B L Y I N S T R U C T I O N S ANTI-TIPPING RESTRAINT INSTRUCTIONS Young children may be injured by tipping furniture.
Need help?
Do you have a question about the BELLINDA and is the answer not in the manual?
Questions and answers