Advertisement
Quick Links
Advertisement

Subscribe to Our Youtube Channel
Related Manuals for Planet VIP-281


Summary of Contents for Planet VIP-281
- Page 1 H.323 / SIP VoIP Gateway VIP GW Quick Installation Guide...
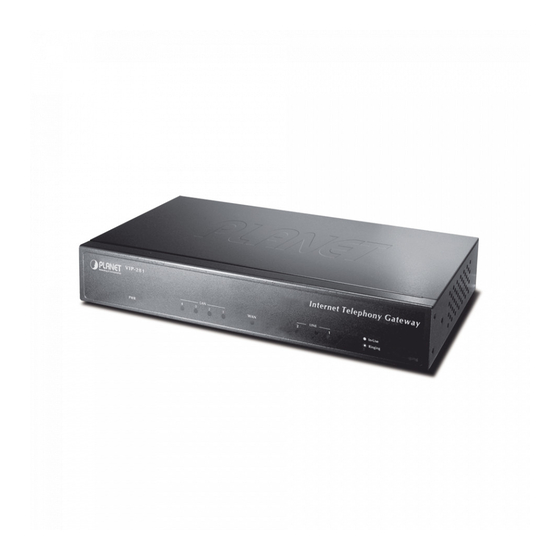
- Page 2 The family products include: 2-Port Model - VIP-281 equips one FXO and one FXS interfaces to have the great flexibility of PBX connection (FXO), and telephone or FAX machine connection (FXS). VIP-281FS equips two FXS interfaces telephone set or FAX machine connection (FXS).
- Page 3 VIP-1680FO equips sixteen FXO interfaces to have the great flexibility of PBX connection (FXO). VIP-1680FD equips sixteen FXO interfaces support Caller ID to have the great flexibility of PBX connection (FXO). 24-Port Model - VIP-2480 equips twelve FXO and twelve FXS interfaces to have the great flexibility of PBX connection (FXO), and telephone or FAX machine connection (FXS).
-
Page 4: Table Of Contents
Table of Contents Document Objectives ..................5 Document Organization ..................5 Preparation before beginning administration on VIP-GW ........6 Front Panel LED Indicators & Rear Panels ............. 6 LAN/WAN Interface quick configurations ............10 Wizard Setup for Quick Start ..............12 Voice communication samples ..............17 Quick reference in CD-ROM guide ..............20... -
Page 5: Document Objectives
Document Objectives This guide provides physical installation, LAN/WAN IP configurations, and Internet access establishment information PLANET VIP-281/VIP-480/VIP-880/ VIP-1680/VIP-2480 H.323/SIP VoIP Gateway. Document Organization This guide is organized as follows: Preparation before beginning administration VIP-281/VIP-480/VIP-880/ VIP-1680/VIP-2480 Administration interface LAN/WAN interface quick configurations... -
Page 6: Preparation Before Beginning Administration On Vip-Gw
Preparation before beginning administration on VIP-GW Front Panel LED Indicators & Rear Panels Front Panel LED State Descriptions GW is power ON GW is power Off (VIP-880/VIP-1680/ Flashing The system is running VIP-2840 series) GW network connection established WAN Port Flashing Data traffic on cable network Waiting for network connection... - Page 7 PC or Switch/Hub to be connected to the voice LAN 1 ~ LAN 4 gateway through a CAT.5 twisted pair Ethernet (VIP-281/VIP-480 series) cable. The reset button, when pressed, resets the cable voice gateway without the need to unplug the Reset power cord.
- Page 8 14, 16, 18, 20, 22, 24. Incorrectly connecting telephony devices to the RJ-11 port on the Telephony Interface can cause permanent damage to the VoIP Gateway Warning Administration Interface PLANET VIP-GW provides GUI (Web based, Graphical User Interface) for machine management and administration.
- Page 9 Web configuration access: To start VIP-GW web configuration, you must have one of these web browsers installed on computer for management • Netscape Communicator 4.03 or higher • Microsoft Internet Explorer 4.01 or higher with Java support Default LAN interface IP address of VIP-GW is 192.168.0.1. You may now open your web browser, and insert 192.168.0.1 in the address bar of your web browser to logon VIP-GW web configuration page.
-
Page 10: Lan/Wan Interface Quick Configurations
LAN/WAN Interface quick configurations Nature of PLANET VIP-GW is an IP Sharing (NAT) device, it comes with two default IP addresses, and default LAN side IP address is “192.168.0.1”, default WAN side IP address is “172.16.0.1”. You may use any PC to connect to the LAN port of VIP-GW to start machine administration. - Page 11 WAN IP address configuration via web configuration interface Execute your web browser, and insert the IP address (default: 172.16.0.1) of VIP in the adddress bar. After logging on machine with username/password (default: admin / 123), browse to “WAN Setting” configuration menu, you will see the configuration screen below: Connection Type Data required.
-
Page 12: Wizard Setup For Quick Start
Wizard Setup for Quick Start Wizard Setup After finishing the authentication, the main menu will display 3 parts of configuration, please click “Wizard Setup” to enter quick start: STEP 1: WAN Port Type Setup (Setup First) For most users, internet access is the primary application. The gateway support the WAN interface for Internet access and remote access. - Page 13 ADSL Dial-Up User (PPPoE Enable) Some ISPs provide DSL-based service and use PPPoE to establish communication link with end-users. If you are connected to the Internet through a DSL line, check with your ISP to see if they use PPPoE. If they do, you need to select this item. Three methods are available for Internet Access User Name Enter User Name provided by your ISP...
- Page 14 STEP 2: Configuring NAT or Bridge setting Bridge Mode: When working on Bride Mode, the VoIP gateway will use only the LAN setting IP, The VoIP gateway will use the same LAN IP setting as WAN IP. That mean, When Bride mode enable, the WAN connection setting will be ignored.
- Page 15 n configure the numbering with phone/line ports The representation number is the phone number of the Phone Number telephone that is connected to Phone port Line ports are connected to the extension ports of the PBX system or the PSTN line. They have a common Line Hunting Group Number.
- Page 16 n Outgoing Dialing Plan The purpose of “Outgoing Direct Call” setting is to let user create a proprietary dialing plan when this Gateway is not registered to any H.323 Gatekeeper or any SIP proxy server. This setting can also assign some dialing plan to local ports (including prefix strip, prefix addition).
-
Page 17: Voice Communication Samples
n Finishing the Wizard Setup After completing the Wizard Setup, please click “Finish” bottom. The VoIP gateway will save the configuration and rebooting gateway automatically. After 20 Seconds, you could re-login the gateway. Voice communication samples The chapter shows you the concept and command to help you configure your VoIP gateway through sample configuration. - Page 18 FXS port The FXS port allows the connection to an end node, like telephone, fax machine, or out-line of PBX system. FXS port is as like your local phone service provider who provides a number to you. It is easy to tell that after you have connected an end-device to FXS port and you will hear the dial-tone from FXS port once the hand set off-hook.
- Page 19 412-1111 412-1111 PSTN Gateway#1 Gateway#2 SIP VoIP Call: SIP Proxy (Register to SIP IP PBX) mode 8100 SIP Call (Register to SIP IP PBX Mode) 9100 Phone Phone Register Number List GW1: 801 GW2: 901 IPX-300 SIP IP PBX (172.16.0.3) Registration / Registration / Authentication...
-
Page 20: Quick Reference In Cd-Rom Guide
In accordance with account information, please fill related the date of your VoIP gateway in the Number/Account/Password field and enable the Register mode option. Supposing the connection is success, this register status is Success. Meanwhile, please click on the SIP Proxy Configurations, and fill related the date of your VoIP gateway in the Domain/Realm, SIP Proxy Server field.
Need help?
Do you have a question about the VIP-281 and is the answer not in the manual?
Questions and answers