Advertisement
Table of Contents
ASSEMBLY INSTRUCTIONS
We have designed our furniture with you, the customer in mind . Our clear, easy to follow,
step by step instructions will guide you through the project from start to finish.
Feel confident that this will be a fun and rewarding project. The final product will be a quality
piece of furniture that will go together smoothly and give years of enjoyment.
Please do not return to the store
STOP
. Broken or missing parts ?
. Need help with assembly ?
If you have any questions just call 1-800-468-6447 or email us at
parts@convenience-concepts.com
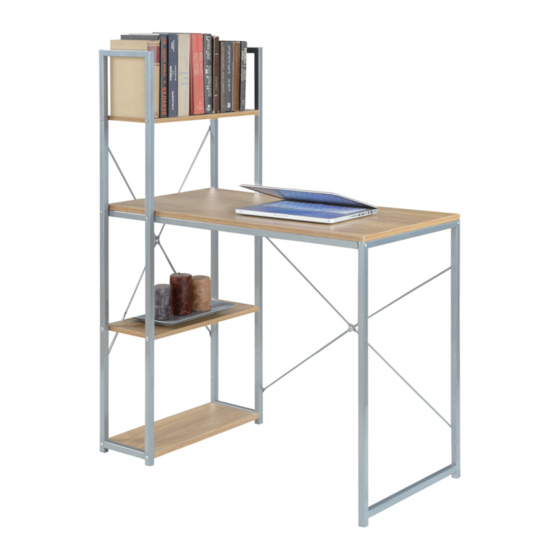
131513 Desk W/3 Tier Shelf
Advertisement
Table of Contents

Related Manuals for convenience concepts 131513


Summary of Contents for convenience concepts 131513
- Page 1 131513 Desk W/3 Tier Shelf ASSEMBLY INSTRUCTIONS We have designed our furniture with you, the customer in mind . Our clear, easy to follow, step by step instructions will guide you through the project from start to finish. Feel confident that this will be a fun and rewarding project. The final product will be a quality piece of furniture that will go together smoothly and give years of enjoyment.
- Page 2 Hardware List Foot Acorn Nut Locking nut Small Screw Large Screw Medium Screw ( 12pcs ) ( 12pcs ) ( 10pcs ) ( 2pcs ) ( 6pcs ) ( 12pcs ) Panel List Desktop (1pc) (3pcs) Shelf Right Frame (1pc ) side frame (2pcs)...
- Page 3 Hardware List The shelf can be placed to the left or right based on your needs, you first need to change the direction of the Right Frame parts and X-Frame Rod as shown. Page 3 of 5...
- Page 4 Step 1 1.Turn the desktop over and 2 Holes outwards put it on soft surface. 2.Connect the Support Rails to the desktop using screws 2 Holes outwards Step 2 Place Frame onto Desktop and fasten with Medium Screws 2.Screw feet into Frame as shown.
- Page 5 Step 4 1.Attach Shelves to unit using Screws and Locking Nuts as shown . Threads of Locking Nut must face screw hole. Step 5 1.Connect the two X-frame rods together using Screw and Acorn Nut as shown. 2.Attach the X-frame rods to the desk using Screws Step 6...
Need help?
Do you have a question about the 131513 and is the answer not in the manual?
Questions and answers