Sign In
Upload
Download
Table of Contents
Contents
Add to my manuals
Delete from my manuals
Share
URL of this page:
HTML Link:
Bookmark this page
Add
Manual will be automatically added to "My Manuals"
Print this page
×
Bookmark added
×
Added to my manuals
Manuals
Brands
Thermia Manuals
Heat Pump
Atlas
Installation manual
Thermia Atlas Installation Manual
Hide thumbs
Also See for Atlas
:
User manual
(36 pages)
,
Technical description
(36 pages)
1
2
Table Of Contents
3
4
5
6
7
8
9
10
11
12
13
14
15
16
17
18
19
20
21
22
23
24
25
26
27
28
29
30
31
32
33
34
35
36
37
38
39
40
41
42
43
44
page
of
44
Go
/
44
Contents
Table of Contents
Bookmarks
Table of Contents
Table of Contents
About the Document
About the Dokument
Important Information
Scrapping
Water Quality
Maximum Length of Collectors
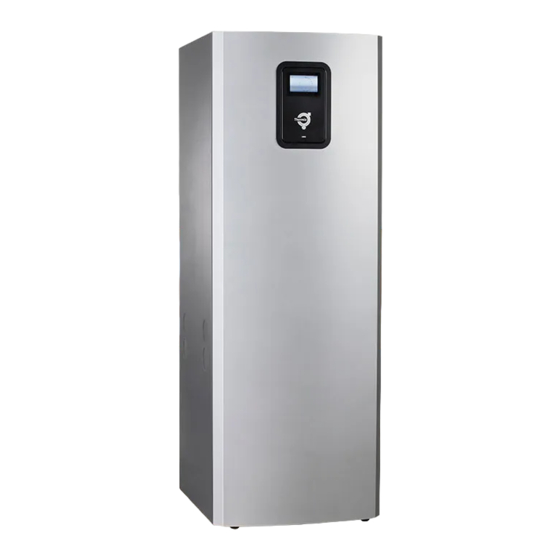
Overview Image
Heat Pump Data, Dimensions and Connections
Atlas and Calibra
Atlas Duo and Calibra Duo
Transportation, Space Requirement and Recommended Location
Transportation
Space Requirement and Recommended Location
Heating Connections
Atlas & Calibra
MBH 200, Atlas Duo & Calibra Duo
Connection, Brine
Brine Connection, Alternatives
General Information for Brine Connection
Alternative 1 (Left)
Alternative 2 (Right)
Alternative 3 (Top)
Sensors and Power Supply
Outdoor Sensor
Tap Water for Atlas Duo and Calibra Duo
Power Supply 400V Version
Fuse Sizes 400V
Power Supply 230V Heat Pump Version - Connection to Three Phase Grid
Power Supply 230V Heat Pump Version - Connection to Single Phase Grid
Filling and Bleeding
Filling and Bleeding the Brine Circuit
Commissioning
Installer Access
Activate Manual Test
Online
Alarms
Selecting Hot Water Settings
Display Symbol Description
Additional Functionality
How to Set up Additional Accessories, Functions Etc
Electrical Connections
Atlas Electrical Connections 400V (this Label Is also Fitted on the Electrical Cabinet of the Heat Pump)
Atlas Electrical Connections 230V (this Label Is also Fitted on the Electrical Cabinet of the Heat Pump)
Electrical Connections 400V (this Label Is also Fitted on the Electrical Cabinet of the Heat Pump)
Electrical Connections 230V (this Label Is also Fitted on the Electrical Cabinet of the Heat Pump)
Advertisement
Quick Links
1
Heat Pump Data, Dimensions and Connections
2
Sensors and Power Supply
3
Installer Access
4
Electrical Connections
Download this manual
Installation Guide
Atlas & Calibra
www.thermia.com
Table of
Contents
Previous
Page
Next
Page
1
2
3
4
5
Advertisement
Table of Contents
Need help?
Do you have a question about the Atlas and is the answer not in the manual?
Ask a question
Questions and answers
Related Manuals for Thermia Atlas
Heat Pump Thermia Atlas User Manual
(36 pages)
Heat Pump Thermia Atlas Technical Description
(36 pages)
Inverter Thermia Diplomat Inverter Mini Installation Manual
(36 pages)
Water Heater Thermia MBH Series Installation Manual
(28 pages)
Heat Pump Thermia MBH 200 Installation & Maintenance
(16 pages)
Heat Pump Thermia ATEC User Manual
(35 pages)
Heat Pump Thermia Atec Installation Manual
(52 pages)
Heat Pump Thermia Atec Commissioning
(36 pages)
Heat Pump Thermia Atec Planning Manual
(24 pages)
Heat Pump Thermia Atria Optimum User Manual
Domestic heat pumps (28 pages)
Heat Pump Thermia Atria User Manual
(51 pages)
Heat Pump Thermia Atria Optimum Installation Manual
Domestic heat pumps (76 pages)
Heat Pump Thermia Atec Plus Quick Manual
(4 pages)
Heat Pump Thermia Athena User Manual
(36 pages)
Heat Pump Thermia Athena Technical Description
(20 pages)
Heat Pump Thermia Athena Installation Manual
(56 pages)
This manual is also suitable for:
Calibra
Atlas duo
Calibra duo
Mbh 200
Calibra 7
Atlas 12
...
Show all
Calibra 12
Atlas 18
Table of Contents
Save PDF
Print
Rename the bookmark
Delete bookmark?
Delete from my manuals?
Login
Sign In
OR
Sign in with Facebook
Sign in with Google
Upload manual
Upload from disk
Upload from URL


Need help?
Do you have a question about the Atlas and is the answer not in the manual?
Questions and answers