G-Technology G-RAID Install Manual
G-technology g-raid: install guide
Hide thumbs
Also See for G-RAID:
- User manual (51 pages) ,
- Product manual (50 pages) ,
- Instructions manual (32 pages)

Related Manuals for G-Technology G-RAID


Summary of Contents for G-Technology G-RAID
-
Page 1: Table Of Contents
4. WHAT’S IN THE BOX 5. G-RAID OVERVIEW 6. OPTIMIZING DATA TRANSFER RATES 7. INSTALLING G-RAID 7.1 Attaching the FireWire Cable and Power to G-RAID 7.2 Connecting G-RAID to your Computer 7.3 Macintosh G5 Installations 7.4 Macintosh G4 Installations 7.5 PowerBook G4 Installations 7.6 PC Desktop Installations... - Page 2 G-RAID Installation Guide Page 2...
- Page 3 G-RAID Installation Guide Page 3...
-
Page 4: Introduction
Multi-stream video playback with real-time effects and audio over FireWire is now a reality. G-RAID is also ideal for audio editing, backup and transporting content between systems. G-RAID combines the simplicity and... -
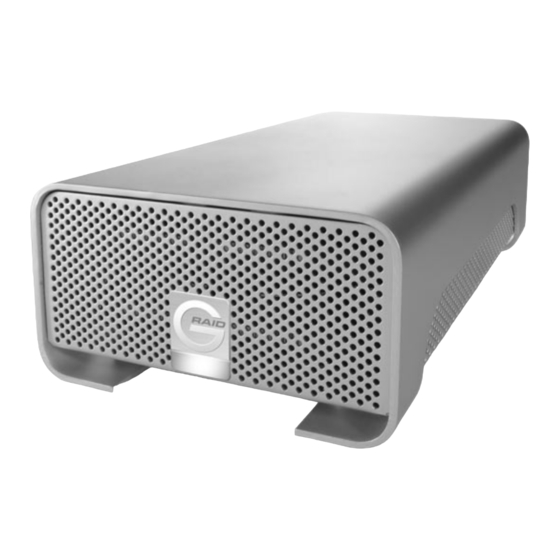
Page 5: G-Raid Overview
FireWire 800 speeds. speeds when installed in a 32-bit PCI slot. Note: If you wish to use G-RAID in conjunction with AJA’s Io, Avid’s Mojo or any other video editing system that utilizes a FireWire connection, you must connect G-RAID to either the G-Tech FireWire 800 PCI adapter or FireWire 800 CardBus adapter for proper operation. -
Page 6: Installing G-Raid
7.1 Attaching the FireWire and Power Cables to G-RAID 1. Attach the supplied FireWire 800 (9-pin to 9-pin) cable to one of the FireWire 800 ports on the back of G-RAID and attach the power supply cable as shown below. -
Page 7: Macintosh G4 Installations
G4 as shown below. FireWire 400 Note: Older model G4’s do not have a built-in FireWire 800 port. G-RAID may be attached to the built-in FireWire 400 port, but performance will be cut roughly in half. -
Page 8: Pc Desktop Installations
• For Mac OS X installations, follow the instructions below • For Windows 2000/XP installations, proceed to Section 8.2 8.1 Mac OS X (10.4) G-RAID is initialized at the factory as a single Mac OS X volume. Power on G-RAID, wait 10 seconds, then power on your Mac. - Page 9 G-RAID Installation Guide 2. Select G-RAID by clicking on the entry in the left-hand column as shown below. Information about G-RAID will be displayed at the bottom. 3. Select the Partition tab to view the partition options as shown below.
-
Page 10: Windows 2000/Xp
6. When partitioning is complete, G-RAID will be displayed in the left-hand panel as shown below. 7. Exit the Apple Disk Utility. 8. G-RAID will be displayed on the desktop as shown below. G-RAID is now set up for use!! 8.2 Windows 2000/XP 1. - Page 11 G-RAID Installation Guide 4. Click on the <OK> button to continue. 5. The following window will appear. G-RAID (Disk 1) is now identified as Basic and Online. 6. Right-click on the Disk 1 “Unallocated” bar entry and select New Partition… from the pull-down menu as shown below.
- Page 12 <Next> button to continue. This will create one large volume using all of the available space on G-RAID. Note: Multiple partitions can be created on G-RAID. Consult your Windows documentation for instructions on setting up multiple partitions. 10. Windows will automatically assign a drive letter (in this example D:).
- Page 13 12. The following window will appear. Click on the <Finish> button to continue. 13. Windows will format the volume and then display the following window. Disk 1 is now identified as G-RAID (E:). Exit the Computer Management console G-RAID will now be displayed as an available hard disk drive under My Computer as shown below.
-
Page 14: Unmounting/Disconnecting G-Raid
1. Before powering down and disconnecting G-RAID, you must unmount the system by simply dragging the G-RAID icon to the trash located in the dock. 2. It is now safe to power off and remove G-RAID from your system. 9.2 Windows Computers 1. -
Page 15: Technical Support
Amount of memory installed • Other devices attached to your computer Thank you for purchasing G-RAID. If you have any comments or questions about this manual or the product, please call (310) 449-4599, or send an email to info@g-technology.com. 11. LIMITED WARRANTY G-Technology Inc.
Need help?
Do you have a question about the G-RAID and is the answer not in the manual?
Questions and answers