
Related Manuals for G-Technology G-DRIVE


Summary of Contents for G-Technology G-DRIVE
-
Page 1: Table Of Contents
Table of Contents Introduction Safety Precautions System Requirements What’s in the Box G-DRIVE mobile Overview Installing G-DRIVE mobile Initializing G-DRIVE mobile G-DRIVE mobile and Time Machine Disconnecting G-DRIVE mobile Optimizing Performance Technical Support Limited Warranty... -
Page 2: Safety Precautions
This drive is the perfect complement for your Apple MacBook System Requirements ® . Weighing in at less than 9 oz., G-DRIVE mobile offers a stylish look with a heavy-duty feel. Up to 500 GB of storage FireWire™ 800 FireWire 400 (via a 9 to 6 pin cable) space is available to store or backup your important and USB 2.0 operation... -
Page 3: G-Drive Mobile Overview
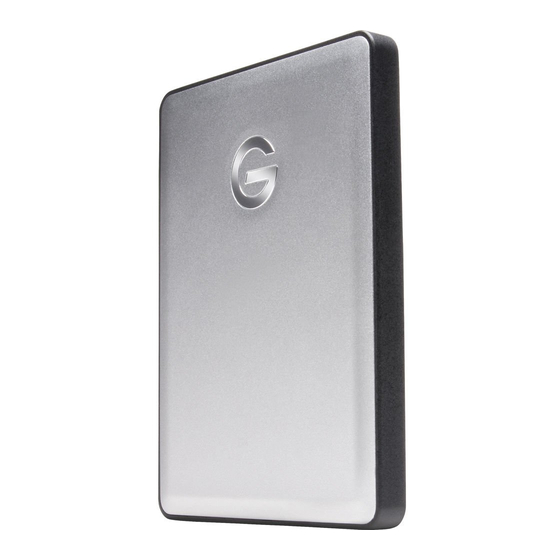
G-DRIVE mobile Overview G-DRIVE mobile is set up at the factory for use Note the various features of the G-DRIVE mobile. There is a with Mac OS X systems. If you are running Mac Power and Activity LED on the front of the unit. On the rear of OS X, G-DRIVE mobile will mount on the OS X the unit are 2 FireWire 800 ports, a USB 2.0 port, an On/Off... -
Page 4: Installing G-Drive Mobile
G-DRIVE mobile attaches to your computer via FireWire 800 A window like the following will appear. G-DRIVE mobile will ports or a USB 2.0 port. The G-DRIVE mobile has 2 FireWire be displayed in the left-hand column. 800 ports and a single USB port at the rear of the drive (see below). - Page 5 1. Select G-DRIVE mobile by clicking on the drive icon in the left-hand column, as shown. Information about G-DRIVE mobile will be displayed at the bottom of the window. 2. Select the Erase tab to view the formatting options. By default, the Format is set to Mac OS Extended (Journaled), as indicated in the Format category.
- Page 6 A progress bar in the lower right corner of the window will show you the progress of the disk’s reformatting. After reinitializing the G- DRIVE mobile the icon for the G-DRIVE mobile has 5. A dialog box will launch after clicking the button. been erased. You can restore it.
- Page 7 DRIVE mobile is ready for use. Using G-DRIVE mobile with Time Machine G-DRIVE mobile is a perfect candidate to use with Apple Time Machine. Time Machine provides automatic backup for your crucial les. The following steps will guide you in setting up the G-DRIVE mobile with Time Machine.
- Page 8 Windows and Macintosh systems, use Apple Disk If the dialog box did not launch, go to the Apple Menu > Utility and format G-DRIVE mobile to MS-DOS (FAT), also System Preferences and click on the Time Machine icon.
- Page 9 Click the Erase button in the lower right corner of the window. Select the G-DRIVE mobile from the left-hand column Click on the “Erase button at the top of the window as shown. Select MS-DOS File System from the Format drop down...
-
Page 10: Disconnecting G-Drive Mobile
Windows OS to mount Mac formatted drives. (www.macdrive.com) Disconnecting G-DRIVE mobile A great feature of G-DRIVE mobile is its ability to be connected and disconnected while your computer is running. 6. Click the Erase button. To prevent failures and/or data loss it is important to follow the steps below when disconnecting or “unmounting”... -
Page 11: Technical Support
Limited Warranty Optimizing Data Transfer Rates Hitachi Global Storage Technologies, (“Hitachi GST”) G-DRIVE mobile can be connected to any Mac or PC that has a including G-Technology by Hitachi FireWire 800 or a USB 2.0 port. Limited Warranty for External Hard Disk Drives... - Page 12 To obtain limited warranty service, you must rst obtain a INCIDENTAL DAMAGES, OR CONSEQUENTIAL DAMAGES, SO Return Materials Authorization (RMA) and ship-to address by THE ABOVE LIMITATIONS MAY NOT APPLY TO YOU. contacting G-Technology by Hitachi at http://www.g- technology.com/support Please follow the instructions found How do local laws apply?
- Page 13 Macbook, Macbook Pro and the Mac logo are trademarks of Apple, Inc. Hitachi Global Storage Technologies and Hitachi Inspire the Next are trademarks of Hitachi Ltd. G-Technology is a trademark of Hitachi Global Storage Technologies. All other trademarks are the property of their respective owners.
Need help?
Do you have a question about the G-DRIVE and is the answer not in the manual?
Questions and answers