
Related Manuals for Unfinished Furniture of Wilmington WC-7


Summary of Contents for Unfinished Furniture of Wilmington WC-7
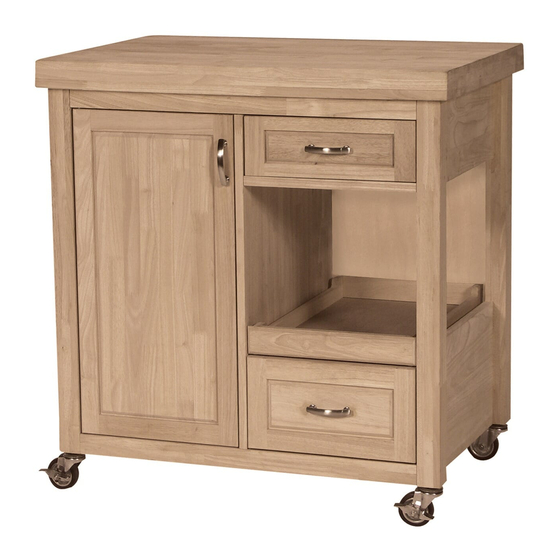
- Page 1 ASSEMBLY INSTRUCTIONS Description KITCHEN WORKCENTER Item No. WC - 7 Printed in Vietnam ITEM NO.: WC-7 REVISED SEP 25, 2012 - 1 -...
-
Page 2: Before Assembly
Remove all wrapping material, including staples & packing straps before you start to assemble. DO NOT tighten all screws and bolts until completely assembled. Keep all hardware parts out of reach of children. ASSEMBLY TOOLS REQUIRED NOT INCLUDED Printed in Vietnam ITEM NO.: WC-7 REVISED SEP 25, 2012 - 2 -... -
Page 3: Part List
Vertical panel Back panel Bottom panel Door Shelf panel Rail Middle drawer Upper drawer Lower drawer front front Drawer side (L – R) Drawer bottom Drawer back Printed in Vietnam ITEM NO.: WC-7 REVISED SEP 25, 2012 - 3 -... -
Page 4: Hardware List
(M4x30mm) Screw Bracket (M3.5 x 15mm) Door pin Pan head screw (5.2/13x1.2mm) (7x10mm) (M4 x 20 mm) Handle Castor Allen key Lock castor (K4) Wrench (19 mm) Printed in Vietnam ITEM NO.: WC-7 REVISED SEP 25, 2012 - 4 -... - Page 5 Insert back panel (E) to top (A) and side panel (B) as shown below. Attach side panel (C) to top (A) with bolts (1) and washers (2) and (3) as shown below. Tighten with Allen key (12). Printed in Vietnam ITEM NO.: WC-7 REVISED SEP 25, 2012 - 5 -...
- Page 6 Attach bottom panel (F) to vertical panel (D) with bolts (1) and washers (2) and (3) as shown below. Tighten with Allen key (12). Attach castors (10) and lock castors (11) to the bottom of legs as shown below.Tighten with the wrench (13). TEP 4 Printed in Vietnam ITEM NO.: WC-7 REVISED SEP 25, 2012 - 6 -...
- Page 7 (O). Attach the other drawer side (M) to drawer front (L) and drawer back (O) with screws (4).Tighten with a screwdriver. Attach handles (9) to drawer front (L) with screws (8) as shown below. Tighten with a screwdriver. Printed in Vietnam ITEM NO.: WC-7 REVISED SEP 25, 2012 - 7 -...
- Page 8 Attach brackets (6) to the unit. Place the shelf (H) on the brackets, and secure with screws (5). Tighten with a screwdriver. Attach handles (9) to the door with screws (8). Tighten with a screwdriver. Printed in Vietnam ITEM NO.: WC-7 REVISED SEP 25, 2012 - 8 -...
Need help?
Do you have a question about the WC-7 and is the answer not in the manual?
Questions and answers