
Related Manuals for Vari 401511


Summary of Contents for Vari 401511
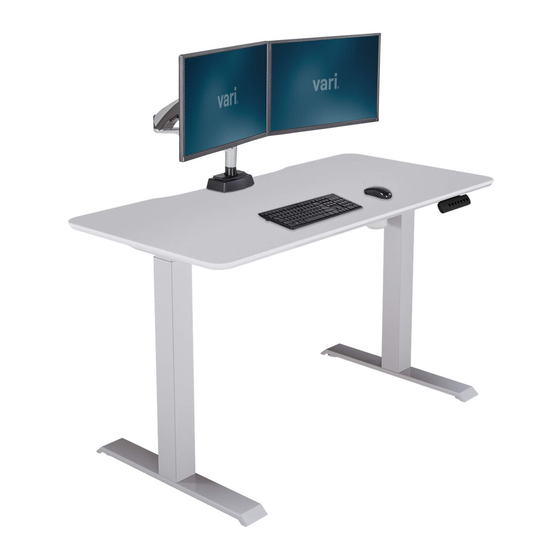
- Page 1 Essential Electric Standing Desk 48x24 Solid Top Holds up 2 People to 150 lb Required for (68 kg) Assembly Patent and trademark information: vari.com/patents | ©2021 Varidesk, LLC All rights reserved.
-
Page 2: Included Parts
Included Parts DESKTOP LEG WITH MOTOR TRANSMISSION SHAFT FOOT CONTROL PANEL TRANSMISSION SHAFT COVER CONTROL HEX WRENCH M10-25 BOLT M6-14 BOLT M6 WASHER M6 ALLEN KEY M10 ALLEN KEY PUSH-IN RIVET PINS ADHESIVE CABLE CLIPS... -
Page 3: Desk Assembly
Desk Assembly Remove the desktop from the box and set it on top of the box with the frame facing up. Locate the four slots on either side of the desk frame. Next, using the locator pins on the base of each leg, slide the legs into place. - Page 4 Loosen the nuts on either end of the transmission shaft by rotating counter clockwise. Once loosened, angle the transmission shaft onto the hex shaft of the leg with the motor, moving it all the way to the end until the shaft is level with the desktop. Then, slide the transmission shaft to the left until it is on both legs’...
- Page 5 Using four (4) M10-25 bolts, turn the M10 Allen key clockwise to secure both feet to the legs. Locate the control panel bracket on the front edge of the desk (see the diagram on Step 2). Slide the control panel into the bracket.
- Page 6 Locate the control box bracket (see the diagram on Step 2), and slide the control box into the bracket. Connect the cord from the control panel into the slot on the control box labeled “HS”. Next, connect the cord attached to the motor into the slot on the control box labeled “M1”. Lastly, plug the power cord into the slot on the control box labeled “AC”.
- Page 7 Using two people, lift and flip the desk over along the back edge, and set it down gently on its feet. Connect to a power source. The desk is now ready to use.
-
Page 8: Initial Setup
Product Setup & Adjustments Initial Setup Press the DOWN button on the control panel until the base reaches its lowest position. Press and hold the DOWN button again until the LED display reads “RST”. Press and hold the 1 button (about 5 seconds) while the LED flashes “RST” and switches to either: 10.1 = One-Touch (preset buttons work with one quick press) 10.2 = Constant-Touch (preset buttons work when pressed and held down for a few seconds) Release the 1 button. - Page 9 47.2" (120 cm) Highest Setting Preferred Lowest Setting 27.5" (70 cm) Lowest Setting Height Settings and Preferences The height settings range from 27.5 - 47.2 inches (70 - 120 cm). You can program 4 height prefer- ences by raising or lowering the desk to your desired height, pressing the “M” button (you will see “S-”...
-
Page 10: Control Panel Lock
If the legs have no response, your desk may need to be reset. Follow the initial setup instructions and ensure all connections are in the correct location and fully plugged in. If the legs are rising slowly, check the input power connection to make sure it’s secured correctly. If any errors continue, please contact Vari. - Page 11 WARNING: Do not open any components; there is a danger of electric shock. WARNING: Risk of electric shock. Connect this desk to a properly grounded outlet only. WARNING: Keep plug away from heated surfaces. WARNING: Risk of finger injury—pinching hazard. Use caution when folding and unfolding the desktop or when lowering desk.
-
Page 12: Troubleshooting Solution
E07 will display if the cable connected to the M1 port is not fully Hall Error secured. Disconnect and reconnect the cable. Follow below in- structions to reset (RST) the desk. If the error persists, contact Vari. If the desk is raised and lowered continously for more than 2 Over Duty...
Need help?
Do you have a question about the 401511 and is the answer not in the manual?
Questions and answers