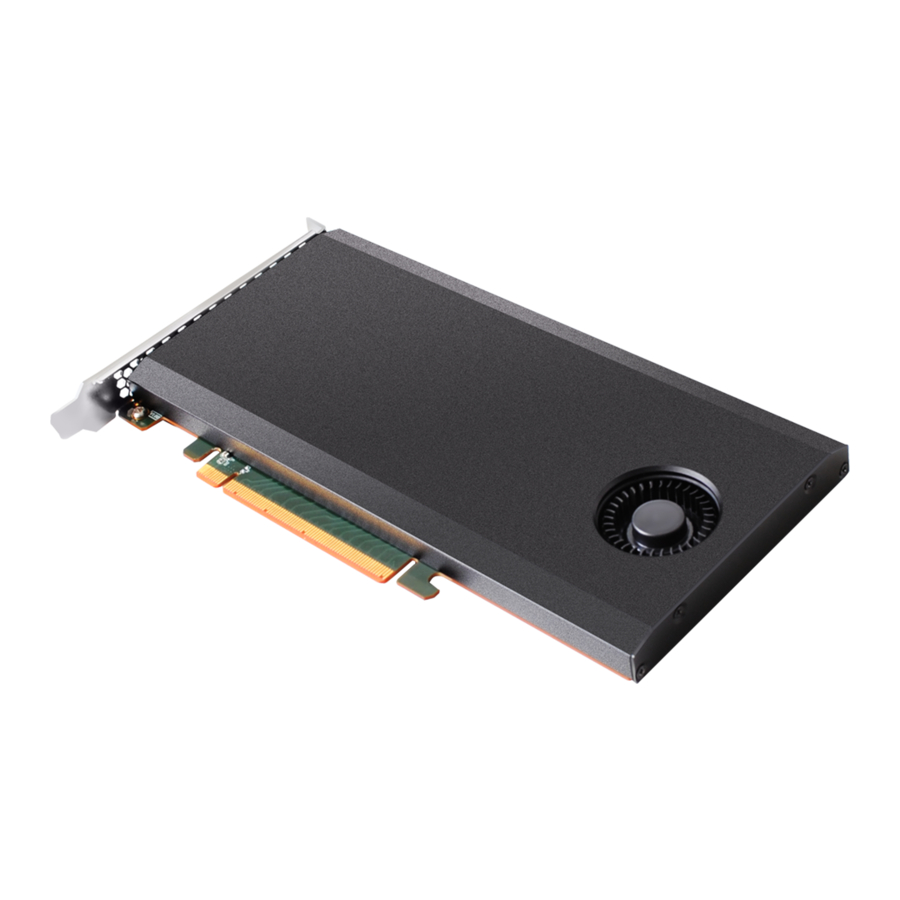
HighPoint SSD7103 Installation Manual
Nvme raid controller
Hide thumbs
Also See for SSD7103:
- Installation manual (15 pages) ,
- Quick installation manual (9 pages) ,
- Installation manual (28 pages)

Related Manuals for HighPoint SSD7103


Summary of Contents for HighPoint SSD7103
- Page 1 SSD7103 Controller Windows Installation Guide HighPoint NVMe RAID Controller SSD7103 Windows Installation Guide Version 1.00 Copyright © 2019 HighPoint Technologies, Inc. All rights reserved. 1/11...
-
Page 2: Step 1 Prepare Your Hardware For Installation
If you have other SCSI adapters installed, you must make sure SSD7103 only support UEFI boot . the SSD7103 controller UEFI will be loaded firstly. If not, try to move it to another PCI slot. Otherwise you may be unable to boot up your system. - Page 3 SSD7103 Controller Windows Installation Guide b. And "Advanced->PCIe/PCI/PnP Configuration->CPU Slot PCI-E OPROM" to "EFI".Suppose SSD7103 is connected to motherboard CPU1 Slot 1 PCI-E X16,then you should set "CPU1 Slot 1 PCI-E X16 OPROM" to "EFI"; Disable "Secure Boot", set "Attempt Secure Boot" to "Disabled".
- Page 4 Set "OS Type" to "Other OS". Step 3 Flash UEFI Rom to SSD7103 Unzip SSD7103 UEFI package to root dir(/) of a USB flash driver, and insert the USB flash drive to the motherboard; b. Booting from the UEFI USB flash and enter the UEFI environment ;...
-
Page 5: Step 4 Create Array
SSD7103 Controller Windows Installation Guide Step 4 Create Array a. Attach three NVMe SSD to SSD7103 Controller ; Note Make sure your USB flash partition format is NTFS or FAT32. b. Boot, in the presence of the motherboard Log screen, there will be NVMe SSD information:... - Page 6 SSD7103 Controller Windows Installation Guide d. Command ”mode”, ”mode 160 53” to change the resolution: e. Command ”ArrayCreate.efi” to enter the Utility: f. Command ”create RAID0 ”. Create RAID0 array with all disks and with maximum capacity. g. Command “exit”;...
- Page 7 SSD7103 Controller Windows Installation Guide b. Boot, view RAID information that appears on the motherboard Logo screen: c. Enter Boot list, select start from UEFI DVD: d. Install Windows, to “Where do you want to install Windows?”, you can see three Legacy disk: e.
- Page 8 SSD7103 Controller Windows Installation Guide f. Then plug the USB flash with the driver file onto the USB interface of the motherboard, click “Browse”, select the driver file: g. After load the driver, back to “Where do you want to install Windows?” interface, the Legacy disks have become RAID partitions.
- Page 9 SSD7103 Controller Windows Installation Guide h. After partitioning, continue installing and complete the installation of the Windows. i. After the Windows is installed,please get into Windows and turn off Hibernation. Hibernation fails when the system is installed on a NVMe RAID, this bug will affet fast startup and sleep.
-
Page 10: Delete Command
SSD7103 Controller Windows Installation Guide Appendix A Support command: help/info/quit/exit/create/delete. Create Command Syntax Create Array Type (RAID0/RAID1/RAID10) Member Disk list (1/1,1/2|*)Capacity(100|*) Examples <<< create RAID0 <<< create RAID0 * <<< create RAID0 * * Create RAID0 array with all disks and with maximum capacity. -
Page 11: Exit Command
SSD7103 Controller Windows Installation Guide Display physical device list and logical list Exit Command Syntax Q/q/quit/exit Quit the application Help Command Syntax H/h/help This is help message. 11/11...
Need help?
Do you have a question about the SSD7103 and is the answer not in the manual?
Questions and answers