Advertisement
Advertisement
Table of Contents

Subscribe to Our Youtube Channel
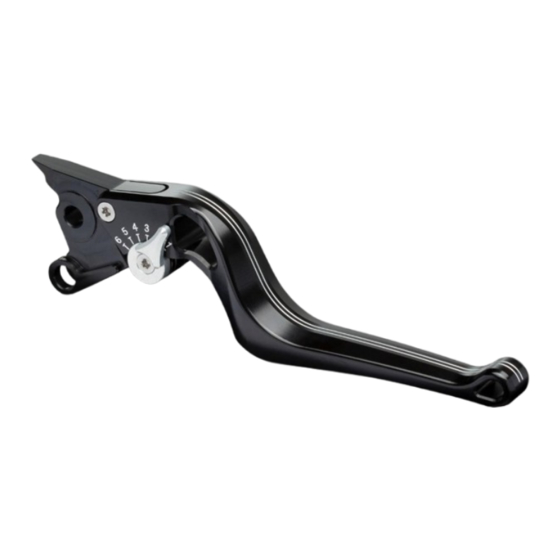
Summary of Contents for Wunderkind Custom 2Stripes
- Page 1 Lever Design 2Stripes Installation manual safety information • www.ab-m.de ••• info@ab-m.de •...
- Page 2 General installation manual lever Caution Important safety advice: Work undertaken on the clutch and brake system poses a safety risk. This work may only be carried out by appropriately qualified personnel. Faulty work can have serious consequences and may pose a threat to life and health.
- Page 3 General installation manual lever General notes Disassemble the original levers from the vehicle. Compare the original lever with each new lever. Add all necessary small parts (e.g. bushings), unless they are included in the delivery, for the new lever. Triumph Rocket 3 with BH47 and Indian FTR with BH11 Use the mandrel provided (see image) to dismantle the original lever.
- Page 4 General installation manual lever Indian Springfield and Chief with KH74 Loosen the clutch cable at the adjusting nuts. Completely remove the original lever. Clip the clutch cable into the new lever and attach as the original. Moisten all sliding surfaces with grease. Set the clutch backlash at the cable using the adjusting nuts as per original.
- Page 5 General installation manual lever Carefully disassemble the original lever. Carefully measure the protrusion at the thrust pin using a calliper and enter the measure below. Caution: The measures may differ for brake and clutch. Measure brake: _____________ mm Measure clutch: _____________ mm Lightly heat the safety screw using a heat gun (thread- locking fluid) and remove.
- Page 6 General installation manual lever Next, mount the lever with the original screw and nut. Triumph Bobber with BH14/KH58 Completely remove the original levers. Insert the greased brake lever into the handlebar switch and attach as the original. Remove the brass bushing from the original clutch lever and press into the new adapter with grease.


Need help?
Do you have a question about the 2Stripes and is the answer not in the manual?
Questions and answers