FLIR E Series Quick Start Manual
Thermal imager
Hide thumbs
Also See for E Series:
- User manual (216 pages) ,
- Getting started (130 pages) ,
- Quick start (2 pages)
Advertisement
Quick Links
Introduction
The FLIR Exx series cameras are compact and rugged
infrared cameras that can be used in harsh
environments while still providing you with the latest
technology such as a modern touch screen. A FLIR Exx
series camera is the perfect choice when you are
looking for a robust but feature-rich camera at an
affordable price.
Features
Robust and sophisticated: The FLIR Exx series cameras
have a robust and light-weight design and can
withstand a 2 m drop. Large buttons combined with a
modern touch screen and extensive measuring
capabilities, they are the right choice for demanding
inspections in the field.
Best value for money: The FLIR Exx series cameras
combine good performance (up to 320 × 240 pixels),
a user-friendly interface, and a rugged point-and-
shoot design with an affordable price.
View from the right
1. Cover for the right-hand compartment:
• USB-A connector.
• USB mini-B connector.
• Power connector.
2. Save button.
3. Tripod mount. Requires an adapter (extra
accessory).
4. Focus ring.
5. Infrared lens.
Latch to open the cover for the battery
compartment. Push to open.
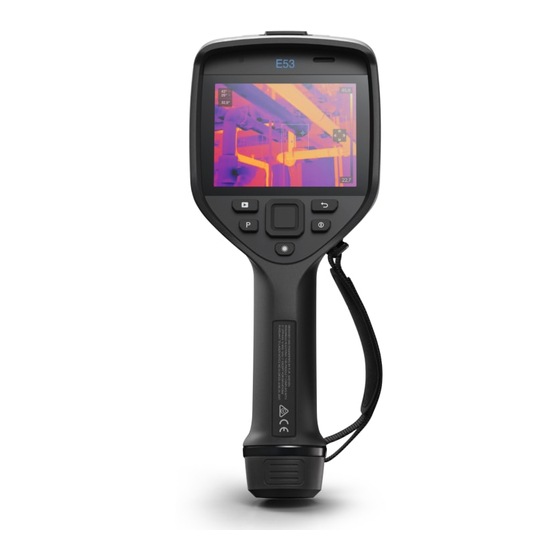
FLIR Exx Thermal Imager
Quick Start Guide
View from the left
1. Laser pointer.
2. Lamp for the digital camera.
3. Digital camera.
4. Cover for the left-hand compartment:
• Video out connector (composite video).
• Memory card slot.
LCD and keypad
1. Touch-screen LCD.
2. Navigation pad with center push.
3. Image archive button.
4. Button to operate the laser pointer.
5. On/off button.
Function:
• Push the button to turn on the camera.
• Push and hold the button for less than 5
seconds to put the camera in standby mode.
The camera then automatically turns off after 6
hours.
• Push and hold the button for more than 10
seconds to turn off the camera.
6. Back button.
Screen elements
1. Measurement tools (e.g., spotmeter).
2. Measurement result table.
3. Status icons and notifications.
4. Temperature scale.
5. Lamp toolbar button.
6. Temperature scale toolbar button.
7. Color toolbar button.
8. Measurement toolbar button.
9. Image modes toolbar button.
10. Recording mode toolbar button.
11. Settings toolbar button.
Note To display the menu system, tap the screen or
push the navigation pad.
Quick start guide
1. Put a battery into the battery compartment.
2. Charge the battery for 4 hours before starting the
camera for the first time, or until the green battery
condition LED glows continuously.
3. Insert a memory card into the card slot.
4. Push power button to turn on the camera.
5. Aim the camera toward the object of interest.
6. Adjust the focus by rotating the focus ring.
Note It is very important to adjust the focus
correctly. Incorrect focus adjustment affects how
the image modes Thermal MSX, Thermal, and
Picture-in-picture work. It also affects the
temperature measurement.
7. Push the Save button (the trigger) to save an
image.
8. Install FLIR Tools on your computer.
9. Start FLIR Tools.
10. Connect the camera to the computer using the
USB cable.
11. Import the images into FLIR Tools and create a
PDF report.
Case Contents
• Infrared camera
• Battery
• Battery charger*
• Camera lens cap
• Extra battery*
• FLIR Tools+ (license only)*
• Handstrap
• Hard transport case
• IR lens
• Memory card
• Power supply, incl. multi-plugs
• Printed documentation
• Tripod adapter*
• USB cable
• Video cable
*The inclusion of this item is dependent on model.
Advertisement

Related Manuals for FLIR E Series


Summary of Contents for FLIR E Series
- Page 1 2. Lamp for the digital camera. environments while still providing you with the latest 3. Digital camera. technology such as a modern touch screen. A FLIR Exx 4. Cover for the left-hand compartment: series camera is the perfect choice when you are •...
- Page 2 Therefore, if you open an image in, (highlight) the maximum or minimum 1. Push the navigation pad to display the menu e.g., FLIR Tools or in the image archive you can still temperature. system. change the image mode.
Need help?
Do you have a question about the E Series and is the answer not in the manual?
Questions and answers