Table of Contents
Advertisement
Quick Links
Advertisement
Table of Contents

Related Manuals for VARSITY Scoreboards VSBX-744LED


Summary of Contents for VARSITY Scoreboards VSBX-744LED
- Page 1 INSTALLATION INSTRUCTIONS Model VSBX-744LED www.varsityscoreboards.com...
-
Page 2: Table Of Contents
Table of Contents DESCRIPTION ................................3 THE SCOREBOARD SYSTEM SHOULD INCLUDE THE FOLLOWING PARTS: ......3 INSTRUCTIONS FOR REPORTING SHIPPING DAMAGE ................. 3 INSTALLATION OVERVIEW ..........................4 PRODUCT SPECIFICATIONS ..........................4 Overall Dimensions: ............................4 Weight: ..................................4 Mounting Requirements: ..........................4 Power Requirements: ............................ -
Page 3: Description
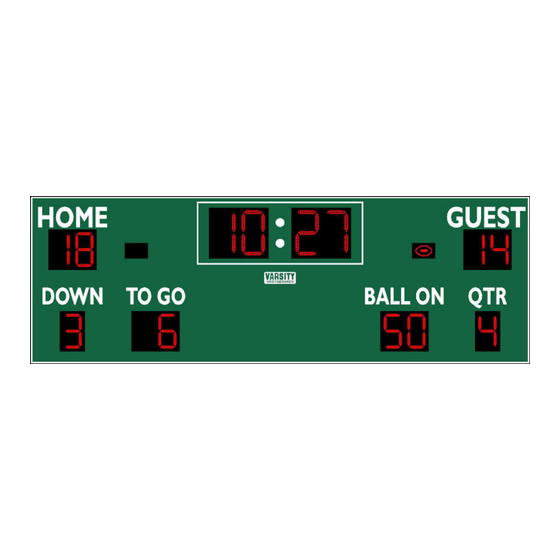
DESCRIPTION MODEL VSBX-744LED OUTDOOR SCOREBOARD NOTE TO INSTALLERS: PLEASE RETURN THIS MANUAL TO THE INDIVIDUAL IN CHARGE OF THE SCOREBOARD UPON COMPLETION OF INSTALLATION. The scoreboard and all accompanying accessories have been carefully inspected and tested before leaving the factory. However, it is possible for damage to have occurred during shipping. Therefore, we ask that you inspect all shipping containers upon arrival for damage and ensure that you have all of the parts listed below. -
Page 4: Installation Overview
days after the delivery date. If the damages are found after this time, the manufacturer will not be responsible. INSTALLATION OVERVIEW This manual will walk you through the installation of the scoreboard. While care has been taken to consider the many scenarios for installation, some general information applies to all. Use this guide as closely as possible to ensure proper installation, as follows: 1. -
Page 5: Communication Cable Requirements (For Cable-Controlled Systems Only)
Communication Cable Requirements (for cable-controlled systems only): Four conductor cable – 28 gauge, twisted pair (two pairs), shielded data cable. DETERMINING LOCATION AND ORIENTATION The scoreboard should be positioned so that the greatest number of spectators can easily view it. Also, consider the best orientation of the scoreboard should the system be used to score a daytime or afternoon game. -
Page 6: Determining Installation Type
5. When installing the poles/I-beams that support the scoreboard, it is important to keep the spacing accurate and the faces straight. If you are using beams, a good way to keep the faces straight is to clamp a length of the 3” X 12’ angle to the first and middle beams and the middle and third beams as they are placed, and if necessary, provide bracing until the concrete has cured. -
Page 7: Assembling And Mounting The Scoreboard
IMPORTANT NOTE: The main consideration when choosing installation type A or B is whether the lifting device you will use is capable of supporting the weight of the entire assembly. Your lift should be capable of lifting 2000 pounds in order to use Install Type B with this scoreboard. - Page 8 6. Connect ALL crossover cables between cabinets as in the “Cable Connections” image above, making sure the red stripe on the edge of the ribbon cables are aligned when connected. The power harnesses are male/female and cannot be connected incorrectly. Looking at the back of the scoreboard, mount the left section assembly (D, E and F) assembly to the mounting poles/beams.
-
Page 9: Installation Type B
15. Run and connect the electrical service to the scoreboard and the controller. 16. Replace the antenna on the front of the scoreboard if your scoreboard is wireless. 17. Test the installed system. 18. Install access covers on the rear of the scoreboard. 19. - Page 10 with the bolts provided in the pre-drilled holes along the top of the sponsor panel, with the bracket being perpendicular to the scoreboard, as shown below in the figure on the right. 7. Lay two pieces of the 2” X 2” X 12’ angle in the top channel of the scoreboard. These will be installed after the scoreboard is mounted.
-
Page 11: Running/Connecting The Control Cable
18. NOTE: IF THE WIRES IN YOUR CABLE DO NOT COLOR MATCH WHAT IS SHOWN ABOVE, CONNECT TO THE TERMINALS WITH THE BLACK, GREEN, AND WHITE CONDUCTORS. DO NOT CONNECT A WIRE TO THE RED TERMINAL. MATCH THE SAME COLORS IN YOUR CABLE TO THE BLACK, GREEN, AND WHITE WIRES ON THE BACK OF THE WALL PLATE AT THE SCORING LOCATION. -
Page 12: At The Scoreboard
3. NOTE: IF THE WIRES IN YOUR CABLE DO NOT COLOR MATCH WHAT IS SHOWN ABOVE, CONNECT TO THE TERMINALS WITH THE BLACK, GREEN, AND WHITE CONDUCTORS. DO NOT CONNECT A WIRE TO THE RED TERMINAL. MATCH THE SAME COLORS IN YOUR CABLE TO THE BLACK, GREEN, AND WHITE WIRES ON THE BACK OF THE WALL PLATE AT THE SCORING LOCATION. -
Page 13: Running & Connecting The Electric Service
junction box cover is connected to the same color lead on the scoreboard terminal block, regardless of the color(s) of the wires in the control cable that connect them. 5. Re-secure the signal/power access door to the scoreboard. NOTE: Even if the control cable was not buried in conduit, it must be run in sealed, watertight, conduit from the ground up to the signal cable/power access door located on the back of the scoreboard. -
Page 14: Connecting Cable-Controlled Systems
Connecting cable-controlled systems: Connect one end of the supplied 20-ft. control cable into either of the two control cable jacks on the back of the controller and the other into the receptacle on the supplied junction box cover installed at the scorekeeper’s location. Connecting wireless systems: Connect the wireless transmitter to the controller using the interface cable by plugging the large end of the interface cable into either of the control cable jacks on the back of the controller. -
Page 15: Important
IMPORTANT! Warranty Activation/Installation & Completion Sign Off Sheet NOTE: This sheet must be completely filled out and returned/faxed (270) 753-3773 to Scoreboard Service Company before your warranty can be activated. Your Serial Number _______________________________________ Your Model Number _______________________________________ Date Purchased _______________________________________ Sales Agent _______________________________________...
Need help?
Do you have a question about the VSBX-744LED and is the answer not in the manual?
Questions and answers