Table of Contents
Advertisement
Quick Links
Advertisement
Table of Contents

Subscribe to Our Youtube Channel
Summary of Contents for VARSITY Scoreboards VSBX-246DBTOL-58
- Page 1 INSTALLATION INSTRUCTIONS MODEL VSBX-246DBTOL-58 www.varsityscoreboards.com...
-
Page 2: Table Of Contents
Table of Contents Model VSBX-246DBTOL-58, 8’ X 5’ Indoor Scoreboard The Scoreboard System Should Include the Following Parts Instructions for Reporting Shipping Damage Installation Overview Product Specifications Mounting the Scoreboard to a Wall Hanging the Scoreboard from the Ceiling Running and Controlling the Control Cable... -
Page 3: Model Vsbx-246Dbtol-58, 8' X 5' Indoor Scoreboard
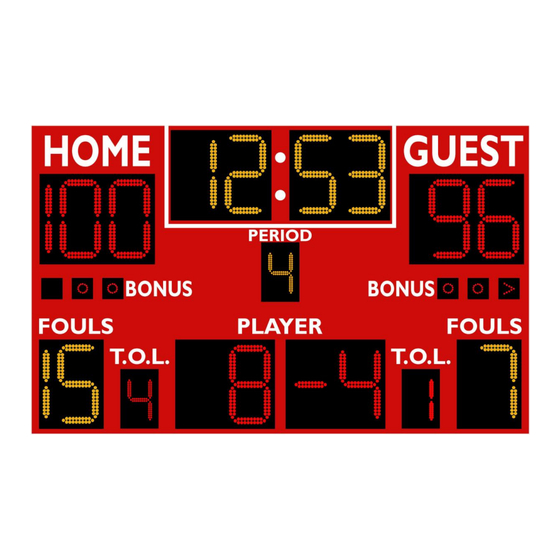
MODEL VSBX-246DBTOL-58 8’ X 5’ INDOOR SCOREBOARD NOTE TO INSTALLERS: PLEASE RETURN THIS MANUAL TO THE INDIVIDUAL IN CHARGE OF THE SCOREBOARD UPON COMPLETION OF INSTALLATION. The scoreboard and all accompanying accessories have been carefully inspected and tested before leaving the factory. -
Page 4: Installation Overview
INSTALLATION OVERVIEW This manual will walk you through the installation of the scoreboard. While care has been taken to consider the many scenarios for installation, some general information applies to all. Use this guide as closely as possible to ensure proper installation, as follows: 1. -
Page 5: Mounting The Scoreboard To A Wall
MOUNTING THE SCOREBOARD TO A WALL NOTE: Use hardware appropriate for the wall type you are mounting to and capable of supporting the weight of the scoreboard. No mounting brackets are necessary as the pre- drilled mounting flanges on the top and bottom of the scoreboard are provided to mount the scoreboard directly to the wall. -
Page 6: Hanging The Scoreboard From The Ceiling
4. Lift the scoreboard to the desired location and mark the holes in the top and bottom flanges. It may be necessary to mark the top flange, install anchors, and secure the top of the scoreboard before having access to the bottom flange. Ensure that you use all four mounting holes in the top and bottom flanges. -
Page 7: Running And Controlling The Control Cable
RUNNING & CONNECTING THE CONTROL CABLE (For Scoreboards with Wireless Remote Control, skip this step.) The control cable must be run in a separate conduit than is used for the electrical service. The control cable should run from the scoreboard to a location that is within 10 feet of the scorekeeper’s location and into a 2”X4”... -
Page 8: Running And Connecting The Electric Service
2. Inside the scoreboard, connect the control cable leads to the appropriate terminals on the terminal block, according to the label above the terminal block. 3. Close and secure the module access door. RUNNING & CONNECTING THE ELECTRIC SERVICE 1. The scoreboard has a ½” knock-out on the top left corner for bringing in the electrical service. It can be enlarged if the conduit size is ¾”. -
Page 9: Important Shot Clock Installation Note
3. Remove the cover on the utility box and route the power supply wiring to the utility box. 4. The connections are standard black, white, and green (ground). Included is a utility ground which must be used. Make up the power supply connections and replace the utility box cover. 5. - Page 10 2. If your scoreboard is a cable system, verify that all cable connections are properly terminated and that the 20’ supplied cable is properly connected on both the back of the controller and at the junction box. 3. If your scoreboard is a wireless system, verify that the radio transmitter interface cable is connected to both the transmitter and also one of the DIN sockets on the back of the controller.
-
Page 11: Warranty Activation/Installation And Completion Sign Off Sheet
IMPORTANT! Warranty Activation/Installation & Completion Sign Off Sheet NOTE: This sheet must be completely filled out and returned/faxed (270) 753-3773 to Scoreboard Service Company before your warranty can be activated. Your Serial Number _______________________________________ Your Model Number _______________________________________ Date Purchased _______________________________________ Sales Agent _______________________________________...


Need help?
Do you have a question about the VSBX-246DBTOL-58 and is the answer not in the manual?
Questions and answers