Table of Contents
Advertisement
Quick Links
INSTRUCTION MANUAL
ASSEMBLY GUIDE
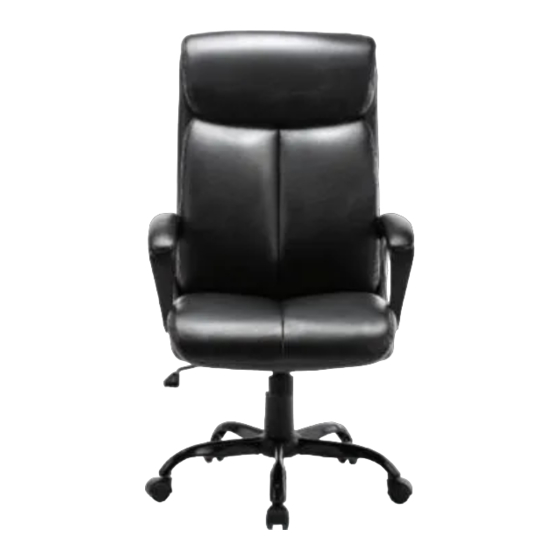
Congratulations, you are now the owner of
a brand new STARSPACE chair!
Before enjoy the comfort chair, you have
to put it together. This assembly guide
will take you through the basic assembly
process. To make sure your assembly
goes smoothly, please follow the assembly
instructions, and especially the important
It is possible to assemble the chair by your
own, while having a second person to help
you makes it more easier.
And please check if there are any missing
parts from the package before start. If
there be any issues, please don't hesitate
to drop us an email and we'll help you out
ASAP.
PACKAGE LIST
A
E
Lift *1
Base Legs *5
F
B
Seat Plate *1
G
Star Base *1
C
Bolts M6*15mm *5
G1
Star Base Cover *1
Bolts M8*20mm *4
D
G2
Casters *5
Bolts M6*25mm *8
STARSPACE CHAIR
SUBSCRIBE
MODEL:
2191
ASSEMBLY INSTRUCTION
Take assembly parts out from
Step 1:
the Back Cushion(K), include two Arms,
five base legs and five casters, one star
base, one star base cover, one lift and one
package of hardware parts.
Attach the Star Base(B) and
Step 2:
f i v e B a s e L e g s ( A ) w i t h F i v e B o l t s
M6*15mm(G), using the wrench(L).
Turn the Star Base(B) upside
Step 3:
down, then press Five Casters(D) into
H
the holes at the end of each base leg,
connect the Star Base Cover(C) and Star
Base(B). Then insert the Lift(E) into the
center hole of the Star Base, the Lift Cover
Arms *2
should be placed over the Lift.
I
Step 4:
Align the Seat Plate(F) over the
Plastic Caps *9
pre-drilled holes underneath the Seat
Cushion(J), make sure that the front of the
J
seat plate is facing the front of the Seat
Cushion. Attach the Seat Plate to the Seat
Cushion using Four Bolts M8*20mm(G1),
tighten all the bolts with the Wrench(L),
Seat Cushion *1
being careful not to miss-thread the bolts
or damaged the seat.
K
Back Cushion *1
Step 5:
Turn the Seat Cushion upright and
align the center hole of the Seat Plate over
L
the lift, then push the Seat Cushion down
onto the lift firmly until the connection is
secure.
Wrench *1
Before you
get started,
a few
Having a friend to help
Scan this QR Code to watch our
pointers:
assembly video for the chair.
STEP 1:
K
STEP 2:
G
B
STEP 3:
C
D
B
STEP 4:
G1
F
STEP 5:
Mind the important
Contact us if you have
makes assembly
safety information
any issues
extra-easy
Attach the Arms(H) to the
Step 6:
S e a t C u s h i o n ( J ) w i t h F o u r B o l t s
M6*25mm(G2), using the Wrench(L).
Note 1: Arm rests are labeled with an "L"
(left) or "R" (right) to show which sides they
should be placed on.
Note 2: Do not tighten all the bolts to 100%,
make sure it have space to adjust in the
next steps.
L
Lay the Back Cushion on the
Step 7:
seat of the chair with the top of the
A
cushion toward the front. Attach the Back
Cushion(K) to the Arms by inserting Two
Bolts M6*25mm(G2) in the Lower holes
with the Wrench(L).
Note 1: Do not tighten all the bolts to
100%, 50% is enough, make sure it have
space to adjust in the next steps.
E
Rotate the back of the chair up,
Step 8:
then secure it with the Top Two Bolts
M6*25mm(G2) with the Wrench(L). Adjust
the balance on each side of the chair,
L
and fully tighten all the bolts at this step.
J
Press the Plastic Caps(I) into the
Step 9:
Arms holes to cover the bolts.
CAUTION:
Make sure all bolts and screws are fully
tightened before using chair. Lubricate
all moving parts and tighten all bolts/
screws every 6 month or whenever
needed.
+1 628-222-2513
service@starspacechair.com
www.starspacechair.com
STEP 6:
H
G2
G2
STEP 7:
K
K
G2
STEP 8:
G2
STEP 9:
I
I
Advertisement
Table of Contents

Related Manuals for Starspace 2191


Summary of Contents for Starspace 2191
- Page 1 STEP 6: Take assembly parts out from a brand new STARSPACE chair! Step 1: S e a t C u s h i o n ( J ) w i t h F o u r B o l t s the Back Cushion(K), include two Arms, M6*25mm(G2), using the Wrench(L).
- Page 2 3.Operating the tilt lockout STARSPACE promises to repair or replace any STARSPACE chair that is found If a refund is approved we will automatically credit the purchase to your credit to be defective in material or workmanship within one year from the date of card or original method of payment.
Need help?
Do you have a question about the 2191 and is the answer not in the manual?
Questions and answers