Table of Contents
Advertisement
Quick Links
Link to: Step In Portugal - Enrolador Genoa FD190 Installation Manual
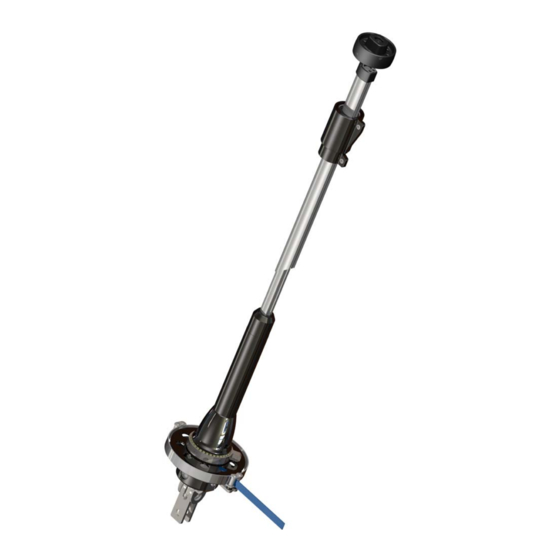
IMPORTANT
: before assembling make sure that the diameter
of turnbuckle cage does not exceed the dimensions below.
Model
FD110
FD190
FD230
FD310
Max turnbuckle cage Ø (mm)
24
38
38
46
If the diameter of the open cage is too important, try a closed cage.
INSTALLATION MANUAL
FD110-190-230-310 MODELS
Advertisement
Table of Contents


Need help?
Do you have a question about the FD110 and is the answer not in the manual?
Questions and answers