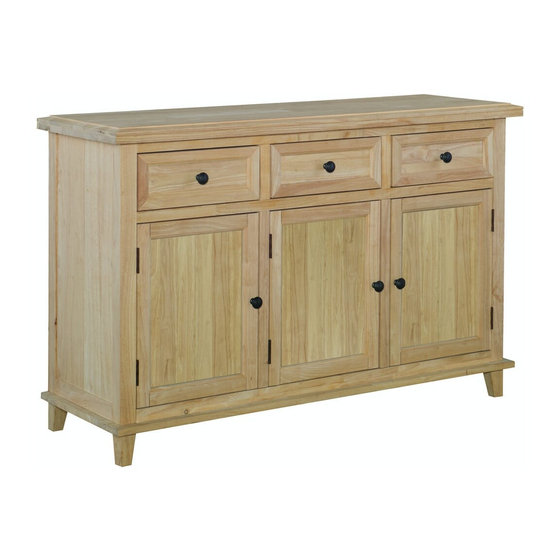
Summary of Contents for Unfinished Furniture of Wilmington VISTA B-14A
- Page 1 ASSEMBLY INSTRUCTIONS : VISTA 3-DOOR BUFFET Description : B-14A AND B-14B Item No. ITEM NO.: B-14A AND B-14B Printed in Vietnam ISSUED JUN 17, 2019 THIS ITEM IS PACKED IN TWO CARTONS - 1 -...
-
Page 2: Before Assembly
BEFORE ASSEMBLY Thank you for purchasing this quality product. This product has been designed for easy assembly and constructed for durability. All parts were checked prior to packaging to insure quality. Prior to beginning assembly, however, make sure all parts and hardware are included and free of obvious defect. - Page 3 PART LIST B-14A When unpacking, please be careful not to discard any parts with the packaging. Before continuing, please make sure you have the following parts: Description Sketch Description Sketch Bottom panel Side Bottom Center Shelf Bottom Shelf (L-R) Side Shelf Center Shelf (L-R) NOTE: WARNING LABEL (INCLUDED)
- Page 4 PART LIST B-14B When unpacking, please be careful not to discard any parts with the packaging. Before continuing, please make sure you have the following parts: Description Sketch Description Sketch Side panel Vertical panel (L-R) (L-R) Front Leg Back Leg (L-R) (L-R) Side Back...
-
Page 5: Hardware List
HARDWARE LIST When unpacking, please be careful not to discard any parts with the packaging. Before continuing, please make sure you have all of the following hardware: Description Sketch Description Sketch Short Bolt Small Lock Washer (M6 x 35mm) (6.5 x 11mm) Small Flat Washer Long bolt (6.5 x 19mm) - Page 6 STEP 1 Attach front legs (I), and back legs (J) to bottom panel (B) with bolts (4), and washers (5) and (6) as shown below. Tighten with Allen key (15). STEP 2 Pull out the drawers. Then attach side panels (G) to top (A) with bolts (1), and washers (2) and (3) as shown below.
- Page 7 STEP 3 Attach vertical panels (H) to top (A) with bolts (1), and washers (2) and (3) as shown below. Tighten with Allen key (15). STEP 4 Attach bottom panel (B) to side panels (G) and vertical panels (H) with bolts (1), and washers (2) and (3) as shown below.
- Page 8 STEP 5 Slide back panels (K) and (L) into the grooves as shown below, and then attach back panels (K) and (L) to bottom panel (B) and top (A) with screws (7). Tighten with a screwdriver. STEP 6 Attach doors (M) to side panels (G), and vertical panel (H) with screws (8) as shown below. Tighten with a screwdriver.
- Page 9 STEP 7 Put bottom shelves (C) and (D) into the unit as shown below. STEP 8 Insert brackets (10) into the unit as shown below. Place shelves (E) and (F) on the brackets and attach with screws (7). Tighten with a screwdriver. ITEM NO.: B-14A AND B-14B Printed in Vietnam ISSUED JUN 17, 2019...
- Page 10 STEP 9 Attach knobs (11) to and front of drawers and doors with pan head screws (12) as shown below. Tighten with a screwdriver. Attach steel bands (13) to the unit with screws (7) as shown below. (to secure the product to the wall and reduce the risk of tipping over). Important! Properly attach steel bands (13) to the wall in an area of drywall or plaster with a wood stud: Mark the attachment point(s) with a pencil at the appropriate height positioned over the wood...


Need help?
Do you have a question about the VISTA B-14A and is the answer not in the manual?
Questions and answers