Advertisement
Table of Contents
Advertisement
Table of Contents

Related Manuals for Unfinished Furniture of Wilmington BD-2033A


Summary of Contents for Unfinished Furniture of Wilmington BD-2033A
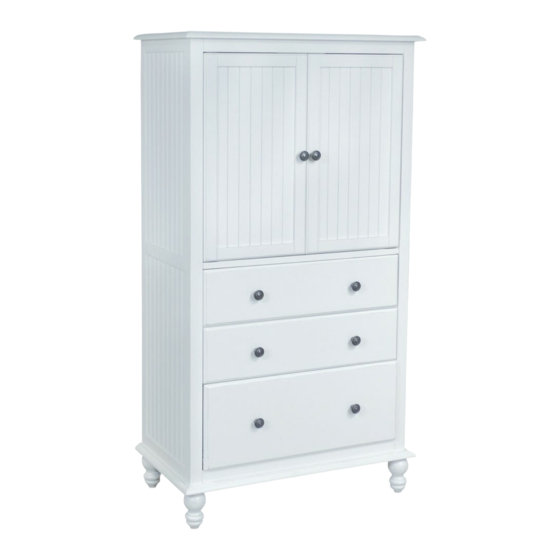
- Page 1 Serious or fatal injuries can occur from furniture tip over. Use tip over restraint (steel band included) to secure this product to the wall. Description : COTTAGE 3 DRAWER ARMOIRE Item No. : BD-2033A ITEM NO.: BD-2033A Printed in Vietnam REVISED OCT 10, 2017 - 1 -...
- Page 2 Protect the surface of the product with cloth if you are using any product with rubber feet or base. ASSEMBLY TOOLS REQUIRED NOT INCLUDED ITEM NO.: BD-2033A Printed in Vietnam REVISED OCT 10, 2017 - 2 -...
- Page 3 When unpacking, please be careful not to discard any parts with the packaging. Before continuing, please make sure you have the following parts: Description Sketch 3 DRAWER ARMOIRE SHELF ITEM NO.: BD-2033A Printed in Vietnam REVISED OCT 10, 2017 - 3 -...
- Page 4 Pan head screw Steel band *Wooden knob:(M4x25mm) Allen key Pan head screw *Metal knob: (M4x22mm) (M4 x 30mm x 110mm) Long screw (M4 x 35mm) NOTE: WARNING LABEL (INCLUDED) ITEM NO.: BD-2033A Printed in Vietnam REVISED OCT 10, 2017 - 4 -...
- Page 5 STEP 1 Use the Allen key (7) to loosen the bolts and washers, and then remove two pieces of wood from bottom of the armoire (A), as shown below. ITEM NO.: BD-2033A Printed in Vietnam REVISED OCT 10, 2017 - 5 -...
- Page 6 Lift the armoire (A) to attach legs (B) by screwing them into armoire (A), as shown below. STEP 3 Attach brackets (5) to the unit as shown below. Place shelves (C) on the brackets and attach with screws (4). Tighten with a screwdriver. ITEM NO.: BD-2033A Printed in Vietnam REVISED OCT 10, 2017 - 6 -...
- Page 7 Drill 1/8-inch (3mm) diameter hole(s) into the wood stud(s) located in the wall, where you marked with the pencil. Properly attach steel bands to the wall with screws (3) and tighten screw(s) firmly into the wall. ITEM NO.: BD-2033A Printed in Vietnam REVISED OCT 10, 2017...
Need help?
Do you have a question about the BD-2033A and is the answer not in the manual?
Questions and answers