
Related Manuals for KC STORE FIXTURES 16522


Summary of Contents for KC STORE FIXTURES 16522
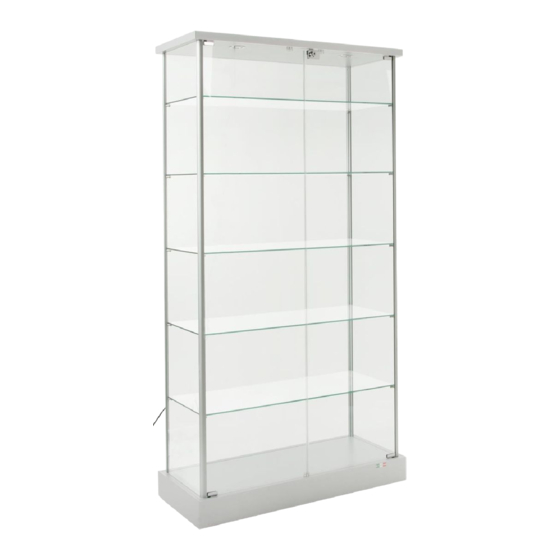
- Page 1 FRAMELESS GLASS WALL UNIT #16522 www.kc-store-fixtures.com 7400 E. 12th Street, Kansas City, MO 64126 • 1-800-862-0899 PAGE 1 OF 10...
-
Page 2: Parts List
FRAMELESS GLASS WALL UNIT #16522 Parts List: Shelf Rests "M" bracket "L" bracket Glass door guides Adhesive door handles Door lock kit w/washer & bolt Qty. 4 Qty. 8 Qty. 2 Qty. 2 Qty. 1 Qty. 20 Nuts Washers 1/2" Bolt... - Page 3 FRAMELESS GLASS WALL UNIT #16522 OPTIONAL Turn base over so bottom is facing up. Using a rubber mallet, add glides (J) to each corner of the base. Once glides are in place, turn base right side up to start with STEP 1.
- Page 4 FRAMELESS GLASS WALL UNIT #16522 STEP 2 Using pre-grooved slots on base, join one side panel (Q) and the back panel (R) at a 90 degree angle and secure with two "L" brackets (B) along the vertical corner. Do not use the top or bottom holes on either panel. They will be used later in the process.
- Page 5 FRAMELESS GLASS WALL UNIT #16522 STEP 3 Repeat STEP 2 to add other side panel. Place "L" bracket (B) on the inside of glass panels and align with holes. Insert 1/2" bolt (I) through washer (H) then through pre-drilled hole from the outside of the glass. (Fig. 4) Once bolt is through glass, screw into bracket (B).
- Page 6 FRAMELESS GLASS WALL UNIT #16522 STEP 4 Secure glass panels to wood base. At front of showcase, use "L" bracket (B) on the inside of glass panel and align with hole in glass. Insert 1/2" bolt (I) through washer (H) then through pre-drilled hole from the outside of the glass and screw into top of bracket (B).
- Page 7 FRAMELESS GLASS WALL UNIT #16522 STEP 5 Install upper door track to top glass panel prior to attaching top panel to wall unit. Align holes in the upper track (L) with pre-drilled holes in the top glass. Insert 1/2" bolt (I) through washer (H) then through pre-drilled hole from the outside of the glass.
- Page 8 FRAMELESS GLASS WALL UNIT #16522 STEP 7 Shelf supports and shelves Side and back glass panels have pre-drilled holes for shelving. Double holes are provided so shelf heights can be adjusted based on needs. Determine which level you want each shelf, then install shelf rest (F) on all three glass panels.
-
Page 9: Right Door
FRAMELESS GLASS WALL UNIT #16522 STEP 8 Sliding doors and lock. The left door is pre-drilled for installation of a plunger lock. Locate screw holes on back of metal plate and insert lock (E) so faceplate aligns with holes. Attach with two 1/4" flat head screws from the door lock kit. - Page 10 FRAMELESS GLASS WALL UNIT #16522 STEP 10 Install Right door first. Position top of right door into top door track (L) using the track furthest back. Once top of door is in the track, keep door lifted slightly and position wheels on back rail of lower door track (M).
Need help?
Do you have a question about the 16522 and is the answer not in the manual?
Questions and answers