Table of Contents
Advertisement
Quick Links
Advertisement
Table of Contents

Summary of Contents for FLIR EXTECH SDL310
- Page 1 User's Guide Vane Thermo-Anemometer / Datalogger Model SDL310...
-
Page 2: Meter Description
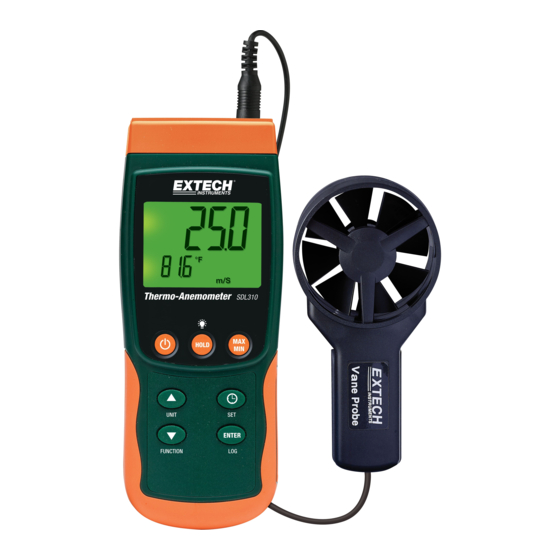
Introduction Congratulations on your purchase of the Extech SDL300 Thermo-Anemometer Datalogger. This meter displays and stores air velocity and temperature readings. Temperature readings from the thermometer built into the vane probe or from an externally connected type K or J thermocouple temperature probe can be displayed and recorded. -
Page 3: Operation
Operation Power ON-OFF • Power the meter by pressing and holding the power key for at least 1.5 seconds. • Press and hold the power key for at least 1.5 seconds to power OFF the meter. Meter Functions This meter has two modes of operation. Press and hold the FUNCTION key for at least 1.5 seconds to switch from one mode to the other. - Page 4 MAX-MIN Readings For a given measurement session, this meter can record the highest (MAX) and the lowest (MIN) readings for later recall. Press the MAX-MIN key momentarily to access this mode of operation (REC icon appears) The meter is now recording the MAX and MIN readings. Press the MAX-MIN key again to view the current MAX reading (MAX icon appears).
- Page 5 Datalogger Types of Data Recording • Manual Datalogging: Manually log up to 99 readings onto an SD card via push-key press. • Automatic Datalogging: Automatically log data onto an SD memory card where the number of data points is limited only by the card size. Readings are logged at a rate specified by the user. SD Card Information •...
- Page 6 SD Data Card to PC Data Transfer Complete a datalogging session as covered above. For the first test, simply record a small amount of test data. With the meter switched OFF, remove the SD Card. Plug the SD Card directly into a PC SD card reader. If the PC does not have an SD card slot, use an SD card adaptor (available at most outlets where computer accessories are sold).
-
Page 7: Setup Mode
Setup Mode Basic settings at a glance To view the current configuration of the meter with regard to time, date, thermocouple type, and datalogging sampling rate, press the SET/CLOCK ICON key momentarily. The meter will now display the configuration in quick succession. Repeat as necessary to observe all of the information. Accessing the Setup mode Press and hold the SET key for at least 1.5 seconds to access the Setup menu. - Page 8 Set the Beeper Sound ON or OFF Access the bEEP parameter. Use the arrow keys to select ON (enable) or OFF (disable). Press ENTER to confirm setting. Press and hold the SET key for at least 1.5 seconds to exit to the normal operation mode (or simply wait 7 seconds for the meter to automatically switch to the normal operating mode).
-
Page 9: Battery Replacement And Disposal
Battery Replacement and Disposal When the low battery icon appears on the LCD, the batteries must be replaced. Several hours of accurate readings are still possible in this condition; however batteries should be replaced as soon as possible: Remove the two (2) Phillips screws from the rear of the meter (directly above the top of the tilt stand). -
Page 10: Specifications
Specifications General Specifications Display Backlit LCD; LCD size: 52 x 38mm (2 x 1.5”) Measurement Units Air velocity: m/S (meters per second) Km/h (kilometers per hour) Ft/min (FPM; feet per minute), Knots (nautical miles per hour), Mile/h (mph; miles per hour) Air temperature: °C / °F Type K / Type J thermocouple: °C / °F Datalogger Sampling Rate... - Page 11 Note: Above specifications tested under an environmental RF Field Strength lower than 3 V/M and a frequency lower than 30 MHz Copyright © 2011 Extech Instruments Corporation (a FLIR company) All rights reserved including the right of reproduction in whole or in part in any form www.extech.com...


Need help?
Do you have a question about the EXTECH SDL310 and is the answer not in the manual?
Questions and answers