Table of Contents
Advertisement
Quick Links
NO
HARDWARE LIST
1
JCBB M8 x 16mm
2
ALLEN KEY M5
3
ALLEN KEY M4
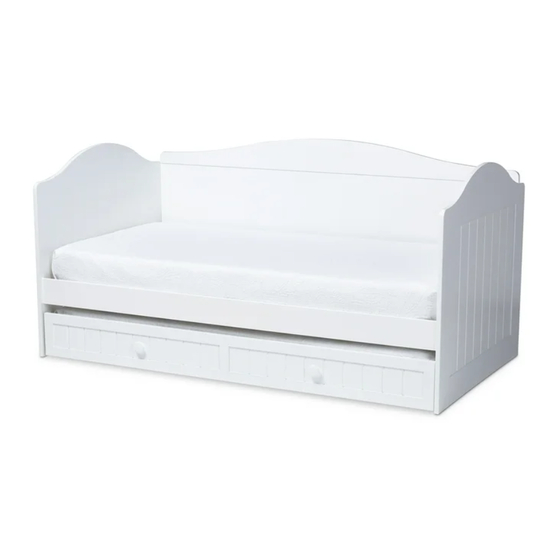
DAYBED
QTY
NO
8
4
CSK M4 x 25 mm
1
5
MINI FIX
1
6
HOUSING
ASSEMBLY TIPS
1.
Remove hardware from box and sort by size.
2.
Please ensure that all hardware and parts are
presented prior start of assembly.
3.
Please follow attached instruction in the same
sequence as numbered to assure fast and
easy assembly.
WARNING!
1.
Don't attempt to repair or modify part that are
broken or defective. Please contact with the
store immediately.
2.
This product is for home use only and not
intended for commercial establishment.
HARDWARE LIST
QTY
24
4
4
Advertisement
Table of Contents

Related Manuals for Baxton Studio NEVES DAYBED


Summary of Contents for Baxton Studio NEVES DAYBED
- Page 1 DAYBED ASSEMBLY TIPS Remove hardware from box and sort by size. Please ensure that all hardware and parts are presented prior start of assembly. Please follow attached instruction in the same sequence as numbered to assure fast and easy assembly. WARNING! Don't attempt to repair or modify part that are broken or defective.
- Page 2 DAYBED PART LIST HEADBOARD PANEL FOOTBOARD PANEL BACK PANEL SIDE RAIL (Left) SIDE RAIL (Right) BED SLAT...
- Page 3 ASSEMBLY INSTRUCTION STEP 1 iii) · Driving the Mini fix (5) into Headboard (A) and attach the Back panel (C) to Headboard (A) carefully. Insert the housing (6) into the hole of Back panel (C) then tightening securely. · Attach the side rail (D&E) to the Headboard (A) by tightening the JCBB M8 x 16mm (1) securely. ·...
- Page 4 ASSEMBLY INSTRUCTION STEP 3 · Put the slats (F) in position and screw the CSK M4 X 25mm (4) with screw driver into the slat and bed. STEP 4 · Insert the Neves Trundle under the bed carefully. · REMARK: Please reefer to Assembly Instruction for the Trundle Bed assemble.
- Page 5 ASSEMBLY INSTRUCTION ASSEMBLY COMPLETE · Ensure all the screw and fixing are secured periodically.
Need help?
Do you have a question about the NEVES DAYBED and is the answer not in the manual?
Questions and answers