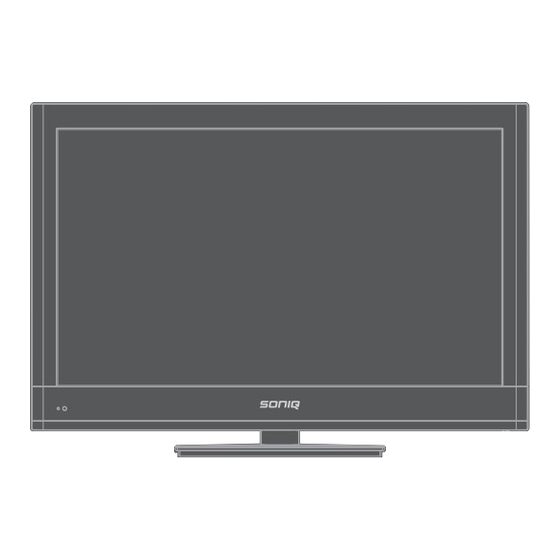
Summary of Contents for SONIQ L32V12B-AU
- Page 1 Instruction Manual HOTLINE AUSTRALIA : 1300 765 663 NEW ZEALAND : 0800 100 236 L32V12B- 32" HD LCDTV www.soniq.com.au MD130130-01 Printed in China www.soniq.com.au Printed in China...
-
Page 2: Table Of Contents
Table of Contents Safety Instruction Table of Contents ......................... IMPORTANT SAFETY INSTRUCTIONS Safety Instruction...………....................Introduction……………………....................WARNING Introduction ……..……....................Package Contents……...................... • TO PREVENT FIRE OR SHOCK HAZARD, DO NOT USE AN EXTENSION CORD, Main Unit Control………..…………................... RECEPTACLE OR OTHER OUTLET. Front Panel……………………..................... -
Page 3: Safety Instruction
Safety Instruction Safety Instruction 1. Read instructions-All the safety and operating instructions should be read before the appliance is operated. Warning 2. Retain instructions-The safety and operating instructions should be retained for future reference. High voltages are used in the operation of this product. 3. -
Page 4: Introduction
• SONIQ is not liable for incidental damages (such as profit loss or interruption in business, modification or erasure of record data, etc.) caused by use or inability to use of product. • SONIQ is not liable for any damage caused by neglect of the instructions described in the Screws: M 4x12 (x5, Black) owner’s manual. -
Page 5: Main Unit Control
Main Unit Control Main Unit Control Front Panel Rear Panel Name Description USB(REC) Connect for media files playback and program recording. Flashes red when the unit is powered on; Power Indicator Lights up red when the unit is in standby mode. Connect the HDMI signal. -
Page 6: Connection And Setup
Connection and setup Connection and setup Connecting the Power Cord Connecting with an HDMI to HDMI cable Connect the HDMI output terminal of your HDMI device to the HDMI input terminal on the unit using an Connect the power cord directly to the wall outlet. HDMI cable. -
Page 7: Connecting Antenna
Connection and setup Connection and setup Connecting Component Video Signais Connecting Composite Video Signal • Connect the Composite (AV) output of your AV equipment to the Composite VIDEO signal terminal on 1. Connect the component video output of your AV equipment to the unit COMPONENT YPbPr terminals using a Component video cable. -
Page 8: Remote Control
Remote Control Remote Control Remote Control Key Functions Using the Remote control When using the remote control, aim it at remote control sensor window with the unit. If there is an object between the remote control and the signal remote control sensor window on the unit, the remote may not operate. -
Page 9: Menu Operation Guide
Menu Operation Guide Menu Operation Guide Source Selection Schedule: Press yellow key to browse the program information saved in the schedule list, and press yellow key or exit to return. Input Soure Schedule List 09:33 25th Dec Delete Time Date Programme Title Channel Name 10:00... -
Page 10: Channel Menu
Menu Operation Guide Menu Operation Guide Programme Edit CHANNEL MENU Press MENU button to enter the CHANNEL page as follows: Press button to select Programme Edit, then press “OK” button to enter sub-menu. Programme Edit CHANNEL CHANNEL 7 7Digital 1. Press Red button to delete the current channel. 70 7 HD Digital 2. -
Page 11: Picture Menu
Menu Operation Guide Menu Operation Guide PICTURE MENU TIME MENU Press MENU to display the main menu. 1. Press MENU button to bring up the main menu. to enter TIME page, it will highlight the first option. 2. Then press to enter PICTURE page, it will highlight the first option, press “OK”... -
Page 12: Option Menu
Menu Operation Guide Menu Operation Guide OPTION MENU PVR File System Press MENU button to display the main menu. PVR function is only available for DTV, includes Record, Timeshift and Playback functions. Record Press to enter OPTION page, it will highlight the first option. includes in time record and preserve record. - Page 13 Menu Operation Guide Menu Operation Guide Then Press OK button to start format the disk, then a warning with All data will be lost” will be displayed to “ PVR Recorder Schedule remind the user to choose Start or EXIT. Press yellow button on the remote control to display schedule list.
- Page 14 OSD Menu Operation Menu Operation Guide Menu Operation Guide When highlighting the option you select, picture can be previewed and information of the picture will appear. MUSIC Menu Press ◄/► button to select the file you want in the file selecting menu, then press button to display the picture.
- Page 15 Menu Operation Guide OSD Menu Operation Menu Operation Guide Menu Operation Guide MOVIE Menu TEXT Menu Press button to select MOVIE in the main menu, then press OK button to enter. Press button to select TEXT in the main menu, then press OK button to enter. Press EXIT button to quit the menu.
-
Page 16: Troubleshooting And Advice
Troubleshooting and Advice OSD Menu Operation Troubleshooting and Advice Before calling a service center, Try the following steps to diagnose the problem. Antenna TV unit Problem Suggested Action • The reception may be weak. The picture is not sharp or Problem Suggested Action •... -
Page 17: Specification
Specification Specification Operating Voltage ~100-240V AC, 50/60Hz Power Consumption 116 (Max), < 1W (Standby) 480i, 480p, 576i, 576p, 720p (50Hz/60Hz), COMPONENT 1080i (50Hz/60Hz), 1080p (50Hz/60Hz). Video Format Supporting 480p, 576p, 720p (50Hz/60Hz), HDMI 1080i (50Hz/60Hz), 1080p (50Hz/60Hz). Australia Input Frequency VHF-H: 177.5 to 226.5MHz UHF: 522.5MHz to 816.5MHz Digital TV...


Need help?
Do you have a question about the L32V12B-AU and is the answer not in the manual?
Questions and answers