Advertisement
Quick Links
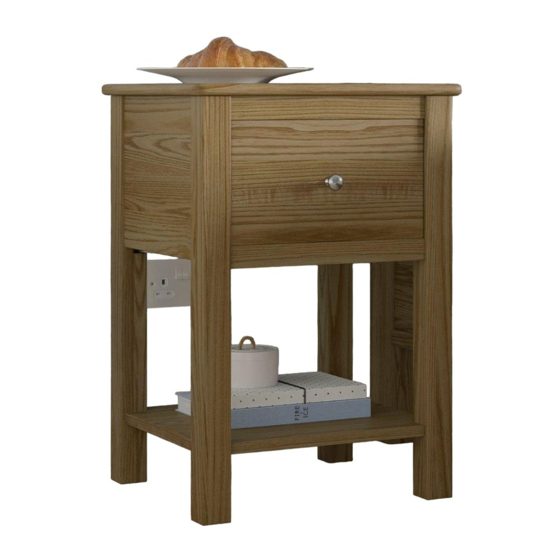
FULHAM BEDSIDE CHEST OAK
Minimum No.of people
recommended to assemble
this product
Approx assembly time
Before you
start,here
is some
helpful advice
ASSEMBLY INSTRUCTION
1
15
minutes
We suggest you spend a short time reading through this leaflet and
1.
then follow the simple step by step instructions.
If you follow the instructions carefully the end result should be worth
2.
the effort.
Do not discard any of the packaging until you have checked that you
3.
have all the parts and the pack of fittings.
To ensure an easier assembly, we strongly advise that all fittings are
4.
only finger tightened during initial assembly. Only upon completion of
the Assembly should all fixing points be fully tightened.
We recommend a periodic check on all fixing points to make sure they
5.
remain fully tightened.
6.
In the unlikely event that this product has missing or damaged parts,
7.
please call 0844 292 0000 to obtain spares
Page 1 of 4
Advertisement

Related Manuals for DREAMS FULHAM BEDSIDE CHEST OAK


Summary of Contents for DREAMS FULHAM BEDSIDE CHEST OAK
- Page 1 FULHAM BEDSIDE CHEST OAK ASSEMBLY INSTRUCTION Minimum No.of people recommended to assemble this product Approx assembly time minutes Before you We suggest you spend a short time reading through this leaflet and then follow the simple step by step instructions.
- Page 2 ASSEMBLY INSTRUCTION UNSCREW THE KNOB FROM INSIDE THE DRAWER REPOSITION IT TO THE FRONT AND SCREW IT AGAIN Page 2 of 4...
- Page 3 DESCRIPTION : ANTI-TILT/ ANTI-TOPPLE INSTRUCTION FULHAM BEDSIDE CHEST OAK ASSEMBLY INSTRUCTION Fix your cabinet to the wall for extra stability using the wall strap and fixing provided. Attach the anti-tilt strap to the reverse of the side panels using the screws and washers shown.
- Page 4 a Guide to Wall Mounting & Fixings Important: When drilling into walls always check that there are no hidden wires or pipes ect. Make sure that the screws and wall plugs being used are suitable for supporting your unit. Consult a qualified tradesperson if you are unsure.
Need help?
Do you have a question about the FULHAM BEDSIDE CHEST OAK and is the answer not in the manual?
Questions and answers