Advertisement
Quick Links
Advertisement

Related Manuals for rollease acmeda PIUMA


Summary of Contents for rollease acmeda PIUMA
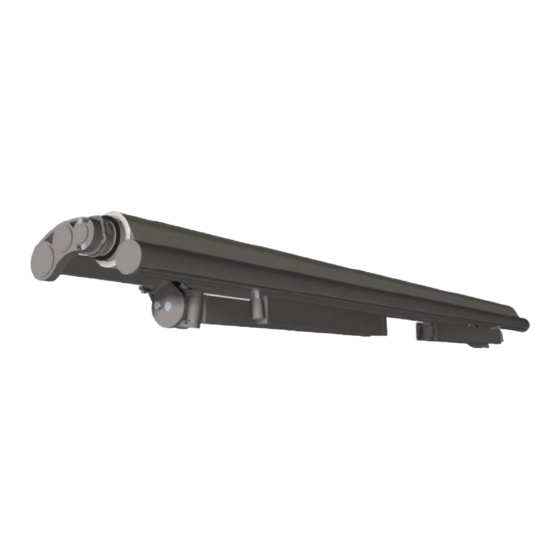
- Page 1 PIUMA INSTALLATION MANUAL...
- Page 2 Information is supplied upon the condition that the persons receiving the information will make their own determination as to its suitability for their purposes prior to use. Rollease Acmeda assumes no liability whatsoever for any damages incurred by you resulting from errors in or omissions from the information included herein.
- Page 3 SECTION 1 | WARRANTY WARRANTY Rollease Acmeda provide a 5 year hardware warranty against defects to the original purchaser [the fabricator/manufacturer]. The hardware warranty is not to be transferred to the end consumer. The hardware warranty is limited to the repair or resupply of defective hardware components to the fabricator/manufacturer only.
- Page 4 • If you do not fully understand these instructions, contact Rollease Acmeda for clarification before installing� • The Installer is responsible to ensure that all installation personnel have been adequately trained on the safe &...
- Page 5 QUANTITY OF BRACKETS ACCORDING TO WIDTH AND PROJECTION • Position and quantity of brackets depend on the awning width and projection� • Brackets must be positioned within the hatched areas� Page� 5 PIUMA AWNING Product Spec Manual | v 1.0 2020 ©Copyright All Rights Reserved Rollease Acmeda...
- Page 6 The quantity of brackets depends on the awning width� • All brackets must be aligned� INSTALL SQUARE BAR NOTES: • Insert the square bar into the supporting brackets� Page� 6 PIUMA AWNING Product Spec Manual | v 1.0 2020 ©Copyright All Rights Reserved Rollease Acmeda...
- Page 7 Secure the square bar placing the screws as shown below and securing them (13mm spanner)� CHECK OPERATION NOTE: • Open and close the awning to check for correct operation� Page� 7 PIUMA AWNING Product Spec Manual | v 1.0 2020 ©Copyright All Rights Reserved Rollease Acmeda...
- Page 8 If they are not parallel, adjust the grub screw [4] (3mm Allen Key) on the arm support� Support the arm when adjusting and adjust the alignment when the awning is closed� Page� 8 PIUMA AWNING Product Spec Manual | v 1.0 2020 ©Copyright All Rights Reserved Rollease Acmeda...
- Page 9 ATTACH HOOD COVER NOTE: • Fit the hood onto the brackets, push it towards the wall and secure with M6 screws [10] (5mm Allen Key)� Page� 9 PIUMA AWNING Product Spec Manual | v 1.0 2020 ©Copyright All Rights Reserved Rollease Acmeda...
- Page 10 Assemble the square nut [11] with the M6 screw [12], insert them into the cover slot, fit the cover and secure working on the screw (5mm Allen Key)� Page� 10 PIUMA AWNING Product Spec Manual | v 1.0 2020 ©Copyright All Rights Reserved Rollease Acmeda...
Need help?
Do you have a question about the PIUMA and is the answer not in the manual?
Questions and answers