Table of Contents
Advertisement
Quick Links
VIOLET UV
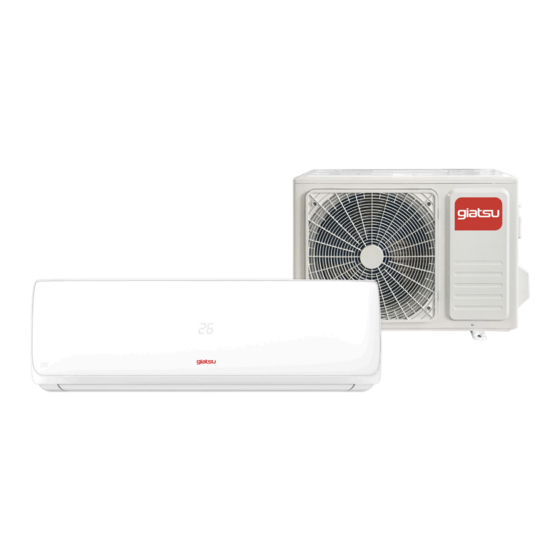
GIA-S09VIOUV | GIA-S12VIOUV
GIA-S18VIOUV | GIA-S24VIOUV
Por favor lea atentamente este manual antes de usar este producto.
Please, read carefully this manual before using the product.
Avant d'utiliser l'équipement, lisez attentivement les instructions.
Por favor leia atentamente este manual antes de usar o equipamento.
Per favore leggere attentamente questo manuale prima di utilizzare questo prodotto.
G r a c i a s | T h a n k y o u | M e r c i | O b r i g a d o | G r a z i e
ES
EN
INSTALLATION MANUAL
FR
PT
IT
Advertisement
Table of Contents

Related Manuals for Giatsu VIOLET UV GIA-S12VIOUV


Summary of Contents for Giatsu VIOLET UV GIA-S12VIOUV
- Page 1 INSTALLATION MANUAL VIOLET UV GIA-S09VIOUV | GIA-S12VIOUV GIA-S18VIOUV | GIA-S24VIOUV Por favor lea atentamente este manual antes de usar este producto. Please, read carefully this manual before using the product. Avant d’utiliser l’équipement, lisez attentivement les instructions. Por favor leia atentamente este manual antes de usar o equipamento. Per favore leggere attentamente questo manuale prima di utilizzare questo prodotto.
- Page 2 ENGLISH INSTALLATION MANUAL VIOLET UV GIA-S09VIOUV | GIA-S12VIOUV GIA-S18VIOUV | GIA-S24VIOUV...
- Page 4 Installation Manual Foreword Air conditioners are units that should have the professional technicians do the installation for you. This lnstruction Guide is the universal-purpose version for the models of split wall-mounted air conditioners manufactured by our Co. The appearance of the units that you purchase might be slightly different from the ones described in the Guide, but it does not affect your proper operations and usage.
-
Page 5: Table Of Contents
CONTENTS Safety precautions....................23 Installation Maunal…..................25 Installation Guide…..................25 Installation of Accessories…................25 Position for Indoor Unit..................25 Position for outdoor Unit..................26 Tubing Selection… ..................26 Fixing Installation Panel… ................26 Indoor Unit Installation…..................26 Outdoor Unit Installation…................26 Tubing Connection…..................26 Connection of Wires…..................30 Wiring diagram of indoor and outdoor unit… ...........31 Tube Strapping.................... -
Page 6: Safety Precautions
SAFETY PRECAUTIONS Read the precaution in this manual this appliance is filled with R32 model. carefully before operating the unit. 1. Air conditioner must be connected to proper electrical outlet or breaker with the correct electrical supply. And only the specified power can be used. 2. - Page 7 may be produced if the refrigerant comes into contact with fire. After completing installation, check for refrigeran! gas leakage.Toxic gas may be produced if the refrigeran! gas leaks into the room and comes into contact with a source of fire, such as a fan heater, stove or cooker. lnstall personnel and air conditioners to eliminate static electricity during air condi- tioning installation.
-
Page 8: Installation Maunal
INSTALLATION MANUAL Installation Guide This air conditioner meets the safety and operation standards promulgated by the Na- • tion. You need to invite professional air conditioner service and maintenance personnel to • install or remove the air conditioner. Problems may occur and you may suffer losses if non- professionals install the air conditioner. -
Page 9: Position For Outdoor Unit
The all figures are only schematic, and they may be slightly different from the actual appliances you selected. Position for Outdoor Unit Avoid direct sunlight. • Away from heat source, steam source, leakage of flammable gas, smoke and dust. • Select a place that is away from rain (snow) and has good ventilation. -
Page 10: Fixing Installation Panel
Tubing Size Standard Height Additional tubing tubing Differen- refrigerants Narrow (mm) Wide (mm) Length Length ce (m) (g/.m) (m). φ6.35(1/4”) φ9.52(3/8”) φ6.35(1/4”) φ12.7(1/2”) φ6.35(1/4”) φ15.88(5/8”) φ9.52(3/8”) φ15.88(5/8”) Fixing Installation Panel Dismantle the metal installation board of the indoor unit. Adjust the mounting panel to •... -
Page 11: Indoor Unit Installation
Indoor Unit Installation The tube may be connected in several directions as below shown Figures. Connecting right back tube (similar to right lower tube) (Optional, Refer to Fig.7) Pipeline Pull out the tubing from bottom of the chassis; and • connect the drainpipe. -
Page 12: Outdoor Unit Installation
Outdoor Unit Installation If installation brackets for installing outdoor unit are needed, user could buy the brackets from our company or agents (Fig.10). Assemble the mounting frame and supports with the attached 6 screws , plain washers, spring washers, and nuts. Drill 6 or more holes on the wall according to the feet size of the air conditioner. -
Page 13: Connection Of Wires
Connection of Wires Indoor unit Open upward the inlet grid to the greatest extends. • Remove the electric cover from the unit. • Loose the screw at connection lid. (Fig.12) • Dismantle the wire pressure plate. • Connect the power connecting wires and signal control wire separately to the co- •... -
Page 14: Wiring Diagram Of Indoor And Outdoor Unit
Fig.13 Table 3 Power con- Signal control Power cord necting wires wire Max. Length 7K/9K/12K/16K Cross sectional area ≥2.5 mm2 ≥1.5 mm2 ≥1.5mm2 18K/21K/24K/28K ≥2.5 mm2 ≥1.5 mm2 ≥2.5 mm2 Wiring diagram of indoor and outdoor unit Fig.14 Notes: Earthing screw must use special screw(stainless machining screws or copper •... -
Page 15: Tube Strapping
Tube Strapping Strapping with PVC Protective tape must be careful, do not damage the pipeline and • drain pipe. Strapping should start from the lower part of the outdoor unit to the indoor unit. • Fix the PVC tape with adhesive tape to prevent loosing. •... - Page 16 Narrow tube Wide tube Open Fig.16 Service valve Pumping type Make sure that all the tubes of indoor and outdoor unit are connecting well. • Take off valve bonnet from two-way and three-way valves by spanner; connect vacuum • pump and compound valve to the service valve bonnet. Open the low-pressure switch of compound valve, and run vacuum pump until units’...
-
Page 17: Drainage
Gas leakage inspection After the pipieline connection is done, use a leakage inspection device or soap to carefully chec if there is any leakage at the joints. This is an important step to ensure the quality of installation. If refrigerant gas leaks, ventilate the area immediately. Toxic gas may be pro- duced if refrigerant gas come into contact with fire. - Page 18 C/ Industria, 13, Polígono Industrial El Pedregar. 08160 Montmeló. Barcelona (España) Tel (0034) 93 390 42 20 - Fax (0034) 93 390 42 05 info@giatsu.com - www.giatsu.com FRANCE PORTUGAL ITALIA info.fr@giatsu.com info.pt@giatsu.com info.it@giatsu.com L L L I I I T T T H H H U U U A A A N N N I I I A A A info@giatsu.lt...
Need help?
Do you have a question about the VIOLET UV GIA-S12VIOUV and is the answer not in the manual?
Questions and answers