Advertisement
SIRIUSXM MUSIC FOR BUSINESS SCHEDULING PORTAL
The SiriusXM Scheduling Portal is where you program your SiriusXM streaming players to automatically change channels and
volume based on the day-of-week and time-of-day. Scheduling different music styles and tempos over the course of the week is
a great way to keep the music fresh and interesting to both customers and employees.
This guide provides step-by-step details on how to register your radio with the scheduling portal through enabling remote
scheduling.
Step 1
Step 2
Step 3
Step 4
Step 5
Create Your Portal Account
Add Your Radio
Create a Schedule
Advertisement
Table of Contents

Subscribe to Our Youtube Channel
Related Manuals for Sirius XM RAdio SXBR2


Summary of Contents for Sirius XM RAdio SXBR2
- Page 1 SIRIUSXM MUSIC FOR BUSINESS SCHEDULING PORTAL The SiriusXM Scheduling Portal is where you program your SiriusXM streaming players to automatically change channels and volume based on the day-of-week and time-of-day. Scheduling different music styles and tempos over the course of the week is a great way to keep the music fresh and interesting to both customers and employees.
- Page 2 ▪ In order to create a schedule, you must have one of the following players: GDI-SXBR2, SXBREO, or SXBREW 2. Create an Account ▪ You will need to register with the portal to create an account ▪...
- Page 3 Step 2 | Add Your Radio Adding a Radio to the Scheduling Portal 1. Set Your Time Zone ▪ An important first step; setting your time zone ensures the portal changes channels at the proper time ▪ Select “Time Zone” in the left-hand navigation ▪...
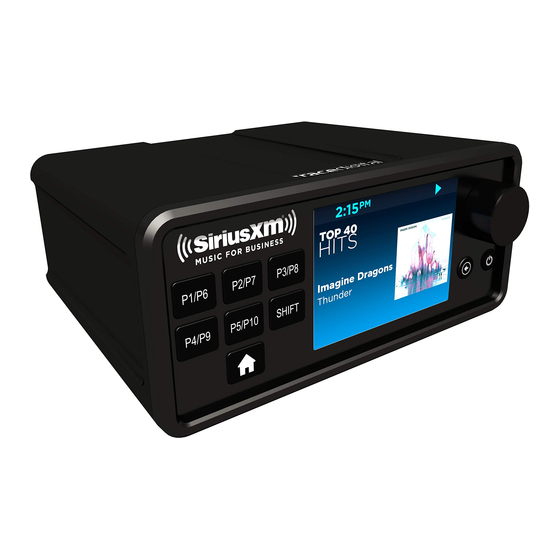
- Page 4 ▪ Serial: The location of your serial number depends on the type of radio you have: SXBR2: The serial number is in the “Radio Info” menu (Home > Settings > Radio Info) SXBREO, SXBREW, SXBR3: The serial number is on a sticker on the bottom of the radio ▪...
- Page 5 Step 3 | Create a Schedule How to Create a Schedule 1. Click “Schedules” in the left-hand navigation to access the “Manage Schedules” section 2. Enter a name for the schedule 3. Click the blue [+ Day Part] to begin scheduling time slots. 4.
- Page 6 5. The Day Part will appear in the schedule ▪ Continuing adding as many Day Parts as you wish 6. Select your Close time ▪ This is when your radio will shut off for the night ▪ When all your Day Parts are added, select the “Pencil icon” on the “Closed” row to program the radio to stop playing music for that particular day 7.
- Page 7 Step 4 | Assign a Schedule How to Assign a Schedule to a Radio 1. Click “Radios” in the left-hand navigation 2. Locate your radio from the list and click the “Pencil icon” to launce the “Edit Radio” pop-up box 3.
- Page 8 Step 5 | Enable Remote Scheduling How to Enable Remote Scheduling on your SXBR2 player Now that you have your schedules created, you’ll need to enable Remote Scheduling on your GDI-SXBR2 player 1. Navigate to “Settings” from the home menu 2.
Need help?
Do you have a question about the SXBR2 and is the answer not in the manual?
Questions and answers