Table of Contents
Advertisement
Quick Links
Advertisement
Table of Contents

Subscribe to Our Youtube Channel
Related Manuals for Timotion JP3


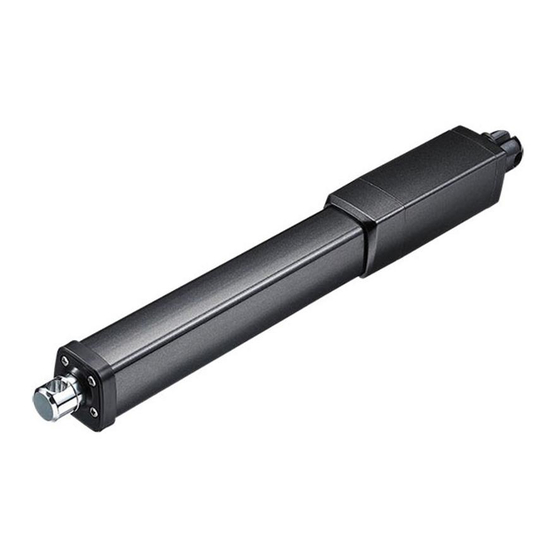
Summary of Contents for Timotion JP3
- Page 1 User Manual-JP3 User Manual Version C May 2020 1 of 20...
-
Page 2: Table Of Contents
User Manual-JP3 Contents Contents ..................................2 Glossary ..................................3 1. General ................................. 4 About this manual ................................... 4 Target Personnel ..................................4 Warranty ....................................4 Transport and storage ................................4 Packaging ....................................5 Support ...................................... 5 Disclaimer ....................................5 Notification and warnings ..............................5 1.8.1... -
Page 3: Glossary
User Manual-JP3 Glossary The following terms and acronyms are being used in this manual. Vm+: The positive pole of power input. Vm-: The negative pole of power input. RPM: Number of turns per minute. AWG: American wiring gauge. -
Page 4: General
Target Personnel Please allow qualified mechanical and electrical professionals perform all installation, maintenance and replacement of the TiMOTION products. Please keep the products away from people who do not have the required experiences or knowledge of the product. Warranty In general, TiMOTION provides a 24 month warranty on Industrial Motion actuators based on the manufacturing date. -
Page 5: Packaging
The sample order packaging contains the product and this manual. For large quantity orders, packaging may vary and TiMOTION reserves the right to change it. Support If any technical support or information is needed for this product, please contact your TiMOTION sales engineer. You can also visit https://www.TiMOTION.com/en for the product or contact information. Disclaimer This user manual has been written based on our current technical knowledge. -
Page 6: Operation
User Manual-JP3 1.8.2 Operation Be sure the actuator is correctly mounted as indicated in the user instructions. Be sure the equipment can be moved easily over the actuator’s whole working area. Be sure the actuator is connected to a main electricity supply/transformer with the correct voltage, ... -
Page 7: Installation
User Manual-JP3 2. Installation Mechanical installation 2.1.1 Mounting notice Use solid mounting pins with the proper dimension and support them at both ends. Note Correct Wrong Please mount the actuator with the mounting pins of correct dimension and without threaded at both ends of the attachments. -
Page 8: Electrical Installation
User Manual-JP3 Electrical installation 2.2.1 Important notice Make sure the leads/cables leading to the motor are rated to handle the maximum current. To reduce the chance of a crushing hazard, we recommend an emergency stop. If you are not using soft stop on a DC-motor, a short peak of high voltage will be sent towards the power ... -
Page 9: Cable
User Manual-JP3 2.2.2 Cable The actuator is supplied with a power cable (and/or signal cable). The standard cable, for industrial applications, has/have flying leads in the end for the user’s equipment connections. *Please refer to the approval drawing of any customized cable/connector. -
Page 10: Inrush Current
User Manual-JP3 2.2.3 Inrush current When the actuator starts to work, there is an inrush current to the motor that will be less than 0.2 seconds (up to four times the rated current). Please select a power supply that is able to withstand the inrush current. Also, all contacts, including switches and relays, should be selected with caution. -
Page 11: Wiring Definitions
2.3.1 Limitations for limit switches / output signals In general, the JP3 cable can have a maximum of 6 pins– (2 power wire pins and/or up to 4 signal wire pins) The function limitations for limit switches to output signals are shown in the table below:... -
Page 12: Two Limit Switches To Cut The Current (Without Signal Output)
User Manual-JP3 2.3.2 Two limit switches to cut the current (without signal output) The actuator is equipped with two limit switches to cut the current of the motor when the actuator moves to the end of each stroke and without any output signal. -
Page 13: Two Limit Switches To Cut The Current And An Additional Limit Switch For Signal Output
User Manual-JP3 2.3.3 Two limit switches to cut the current and an additional limit switch for signal output The actuator is equipped with two limit switches to cut the current of the motor when the actuator moves to the end of each stroke, and an additional limit switch sends out the signal at specific stroke positions. -
Page 14: Two Limit Switches Send The Signal And An Additional Limit Switch Sends A Signal At Specific Stroke Positions
User Manual-JP3 2.3.4 Two limit switches send the signal and an additional limit switch sends a signal at specific stroke positions The actuator is equipped with two limit switches at the end of the strokes. When the actuator moves to the end of each stroke, each limit switch sends out the end of stroke voltage signal and an additional limit switch sends out the signal at specific stroke positions. -
Page 15: Two Limit Switches Send The Signal Output
User Manual-JP3 2.3.5 Two limit switches send the signal output The actuator is equipped with two limit switches. When the actuator moves to the end of each stroke, each limit switch sends out the end of stroke voltage signal at the same time. -
Page 16: Two Limit Switches And A Single Hall Sensor
User Manual-JP3 2.3.6 Two limit switches and a single Hall sensor The actuator is equipped with two limit switches to cut the current of the motor when the actuator moves to the end of each stroke, and with a single Hall sensor sending position signal output. -
Page 17: Two Limit Switches And Double Hall Sensors
User Manual-JP3 2.3.7 Two limit switches and double Hall sensors The actuator is equipped with two limit switches to cut the current of the motor when the actuator moves to the end of each stroke, and with double Hall sensors sending position signal output. -
Page 18: Product Specifications
User Manual-JP3 3. Product specifications 2D drawings Version C May 2020 18 of 20... -
Page 19: Ordering Key
User Manual-JP3 Ordering key *Please contact your TiMOTION sales engineer for the latest revision ordering key. Version C May 2020 19 of 20... -
Page 20: Troubleshooting
User Manual-JP3 4. Troubleshooting Please find the table which lists the symptoms, possible cause and recommend action. If the problem could not be solved, please contact your TiMOTION sales engineer. Symptom Possible cause Action Motor runs but spindle does not...
Need help?
Do you have a question about the JP3 and is the answer not in the manual?
Questions and answers