Subscribe to Our Youtube Channel
Summary of Contents for Evolution RAGE3-S2101
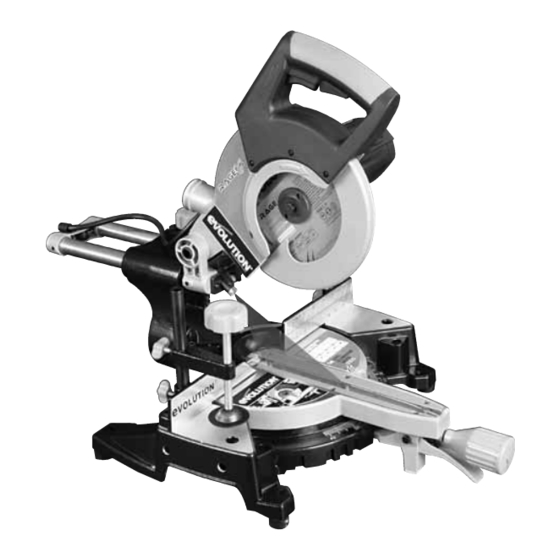
- Page 1 ® 210mm (8 ) TCT Multipurpose Single -1/4” Bevel Sliding Compound Mitre Saw Original Instruction Manual Read instructions before operating this tool. www.evolutionbuild.com...
-
Page 2: Table Of Contents
® TaBle Of COnTenTs EC - Declaration of Conformity Important Information Instruction Manual 12 Month Limited Warranty Read instructions before operating this tool. Important Safety Instructions General Safety Rules Health Advice Additional Safety Advice Labels and Symbols Specification Assembly Getting Started Operating Instructions Maintenance Environmental Protection... -
Page 3: Ec - Declaration Of Conformity
There is no warranty – Date: 16/12/2010 written or verbal – for saw blades. In no event shall Evolution Power Tools be liable for loss or damage resulting directly name: Mr Matthew J Gavins... -
Page 4: Important Safety Instructions
® 10. Connect dust extraction equipment. If the machines IMPORTanT safeTY InsTRUCTIOns have a connection for dust extraction equipment, ensure these are connected and properly used. To reduce the risk of electric shock, this equipment is fitted 11. Do not damage the cable. Never pull the power cable to disconnect the machine. -
Page 5: Health Advice
(I.D.Ø32mm) when sawing material likely to cause dust. 16. select saw blades in relation to the material to be WaRnInG: Be sure to read and understand all cut. Use only genuine Evolution or Evolution recommended instructions. Failure to follow all instructions listed below may accessories. -
Page 6: Labels And Symbols
/ or instruction labels are missing or damaged. Contact 2. To reduce the risk of back injury, hold the tool close to your Evolution Power Tools for replacement labels. body when lifting. Bending your knees so you can lift with your legs, not your back. -
Page 7: Assembly
220mm 35mm asseMBlY 110V nOIse anD VIBRaTIOn DaTa Your Evolution Power Tools product is shipped complete. sound Pressure level (Under load) lPa: Remove all contents from the box and inspect to ensure no 87.18db(A) K=3dB(A) damage was incurred during shipping, and that the items sound power level (Under load) lWa: listed below are included. -
Page 8: Getting Started
(OPTIOnal aCCessORY) 2. InsTallInG OR ReMOVInG a BlaDe Workpiece supports can be fitted to both sides of the WaRnInG: Only use genuine Evolution blades machine base if required. which are designed for this machine. Ensure that the 1. Right Hand side. Loosen the support retaining screw maximum speed of the blade is compatible with the located in the top front of the machines base. -
Page 9: Operating Instructions
• Do not change the laser module assembly with a different type. • Repairs to the laser module must only be conducted by Evolution Power Tools or their authorised agent. www.evolutionbuild.com... - Page 10 ® 2. ReleasInG THe saW HeaD 5. CHOP CUTTInG a) Gently press down on the cutting handle. The sliding carriage should be locked in the rearmost b) Pull out the head latching pin and allow the head to rise position. The cutting head is gently pushed down to cut to its upper position.
-
Page 11: Maintenance
3. Tighten the bevel lock when the desired angle has been achieved. WaRnInG: Do not attempt to clean by inserting pointed objects through openings in the machines casings etc. stand to the left side of the handle to make the cut. The machines air vents should be cleaned using compressed When cutting is completed: dry air. - Page 12 ® fIG 1 fIG 2 fIG 3 fIG 4 fIG 5 fIG 6 fIG 7 fIG 8 fIG 9 fIG 10 fIG 11 fIG 12 www.evolutionbuild.com...


Need help?
Do you have a question about the RAGE3-S2101 and is the answer not in the manual?
Questions and answers