Advertisement
Quick Links
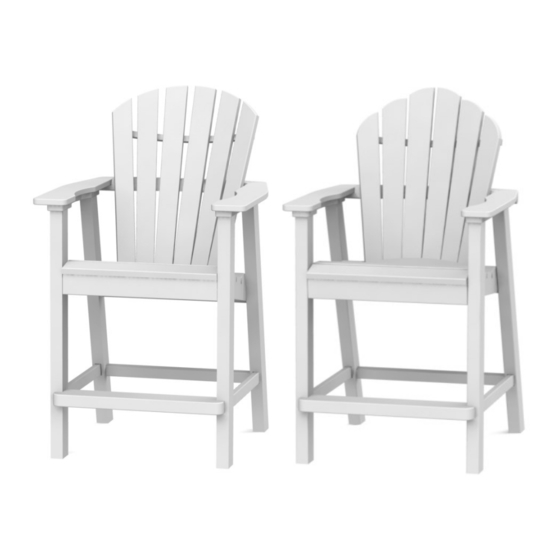
Adirondack
Balcony Chair
(017 Shell Back)
(024 Classic Back)
1
PLEASE READ INSTRUCTIONS COMPLETELY BEFORE BEGINNING.
Carefully remove contents from box. Make sure that all parts and hardware
are included using the Parts List below.
Tools Required:
Back Assembly
x 1
Foot Rest
x 1
Side Stretcher
80mm Hex Lag
Actual Size
Part Code: 316-1/4-10-80HL
50mm Connector Bolt
Actual Size
Part Code: 316-1/4-20-50B
WARRANTY QUESTIONS OR COMMENTS PLEASE CALL TOLL FREE AT 1-800-809-3114
Seaside Casual Furniture | 11 Industrial Drive Coventry, RI 02816 | 800-809-3114 | sales@seasidecasual.com
ASSEMBLY INSTRUCTIONS
4mm Allen Wrench (included); #2 Phillips Head Screwdriver;
#3 Phillips Head Screwdriver.
Seat Assembly
Right
x 1
Rear Stretcher
x 1
5/8"
3/8"
x 2
x 6
x 10
Arm Set
Left
Left
x 1
Seat Apron
x 2
Bungs
x 4
x 6
Nylon Dowel
Actual Size
x 2
1 1/4" Phillips Head Screw
Actual Size
Part Code:
316-8X1-1/4PFDS
Front Leg Set
Right
Left
x 1
4mm Allen Wrench
Part Code: 4MMALLEN
1-3/4" Phillips Head Screw
Actual Size
Part Code: 316-8X1-3/4PFDS
1" Phillips Pan Head Screw
Actual Size
x 4
Part Code:
316-1/4-20-1PPMS
Rear Leg Set
Right
x 1
x 1
x 6
x 2
Page 1
REV A
Advertisement

Subscribe to Our Youtube Channel
Related Manuals for Seaside Casual Adirondack 017


Summary of Contents for Seaside Casual Adirondack 017
- Page 1 Actual Size x 10 Part Code: 316-1/4-20-50B Part Code: Part Code: 316-8X1-1/4PFDS 316-1/4-20-1PPMS WARRANTY QUESTIONS OR COMMENTS PLEASE CALL TOLL FREE AT 1-800-809-3114 Page 1 Seaside Casual Furniture | 11 Industrial Drive Coventry, RI 02816 | 800-809-3114 | sales@seasidecasual.com REV A...
- Page 2 ATTACH LEGS TO ARM ATTACH SEAT TO LEGS ASSEMBLY Align counter- Insert right side bored holes in Front and Rear Seat Assembly Legs into thread- with threaded ed inserts in Right inserts in Legs. Arm assembly as Attach using (5) s h o w n .
- Page 3 ATTACH SIDE STRETCHERS ATTACH BACK ASSEMBLY ATTACH REAR STRETCHER TO FRONT AND REAR LEGS TO REAR LEGS Align Back As- Flip Assembly up- sembly with side down. Align Arms and Seat. Side Stretcher with Secure upper pockets in Front yoke by insert- and Rear Legs.
Need help?
Do you have a question about the Adirondack 017 and is the answer not in the manual?
Questions and answers