Advertisement
Table of Contents
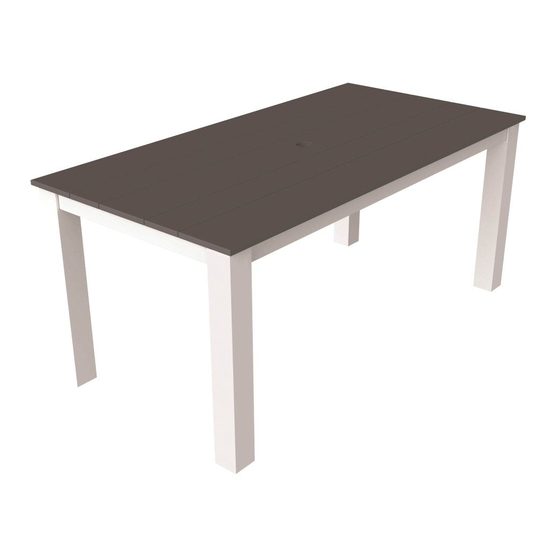
Greenwich Table
600
1
PLEASE READ INSTRUCTIONS COMPLETELY BEFORE BEGINNING.
Carefully remove contents from box. Make sure that all parts and hardware are in-
cluded using the Parts List below.
Tools Required:
90mm Bolt
1/4 LOCK WASHER
Actual Size
x 8
1/4-20 NUT
Actual Size
x 8
WARRANTY QUESTIONS OR COMMENTS PLEASE CALL TOLL FREE AT 1-800-809-3114
Seaside Casual Furniture | 11 Industrial Drive Coventry, RI 02816 | 800-809-3114 | sales@seasidecasual.com
ASSEMBLY INSTRUCTIONS
4mm Allen Wrench (included); #2 Phillips Head Screwdriver; Socket set
(Recommended: Rubber Mallet; Power Drill)
TOP
1/4 FLAT WASHER
Actual Size
5/8" TAPS
x 1
x 4
x 8
x 8
LEG
3/8" HEX LAG
4mm ALLEN WRENCH
Actual Size
x 4
x 8
x 1
Page 1
Advertisement
Table of Contents

Subscribe to Our Youtube Channel
Related Manuals for Seaside Casual 600


Summary of Contents for Seaside Casual 600
- Page 1 4mm ALLEN WRENCH Actual Size Actual Size Actual Size 1/4-20 NUT 5/8” TAPS Actual Size WARRANTY QUESTIONS OR COMMENTS PLEASE CALL TOLL FREE AT 1-800-809-3114 Seaside Casual Furniture | 11 Industrial Drive Coventry, RI 02816 | 800-809-3114 | sales@seasidecasual.com Page 1...
- Page 2 ATTACH TOP TO LEGS On a clean flat surface connect legs to Top using (2) 90mm Bolts, Washers, split washers, and nut (AS SHOWN). Finger tighten. Attach 3/8” LAG to inside of leg. Repeat with remaining legs. Do not over tighten. Plug holes with supplied 5/8” TAPS.
Need help?
Do you have a question about the 600 and is the answer not in the manual?
Questions and answers