Advertisement
Quick Links
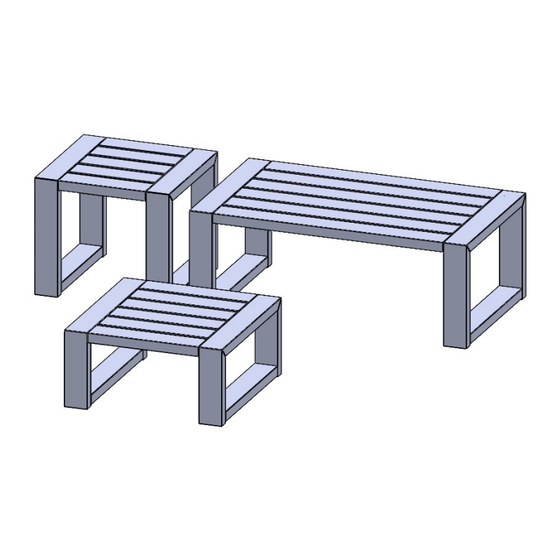
MIA COFFEE TABLE
703
MIA END TABLE
704
MIA OTTOMAN
705
1
BEFORE BEGINNING. Carefully remove contents from box. Make sure
that all parts and hardware are included using the Parts List below. Drill
torque setting should be set to 3 for all Phillips head screws.
Tools Required:
1-3/4" Phillips Head Screw
Actual Size
Part Code: 316-8X1.75PFDS
2
PLACE BOTH A SIDE ASSEMBLY AND THE
TOP, TOP SIDE DOWN.
blies with each other by setting the seat assem-
bly into the pocket on the side assembly.
WARRANTY QUESTIONS OR COMMENTS PLEASE CALL TOLL FREE AT 1-800-809-3114
Seaside Casual Furniture | 11 Industrial Drive Coventry, RI 02816 | 800-809-3114 | sales@seasidecasual.com
ASSEMBLY INSTRUCTIONS
PLEASE READ INSTRUCTIONS COMPLETELY
#2 Phillips Head Screwdriver, Rubber Mallet and High Powered Drill
Top Assembly
703- x8
704- x6
705- x8
Place the top
assembly face
down on a flat
surface along
with a side as-
sembly. Align
the two assem-
703-MIA COFFEE TABLE REV B, 704-END TABLE REV B, 705-MIA OTTOMAN REV B
Side Assemblies
x 1
Part Code: 316-1/4-10-80HL
3
SCREW TOGETHER THE TOP AND
THE SIDE ASSEMBLY
the 703 and 705. The 704 requires (3) 1-3/4" Phillips flat
deck screws.
x 2
80mm Hex Lag
Actual Size
Screw the top as-
sembly to the side
assembly making
sure they are
flush with each
other. Use (4) 1-
3/4" Phillips flat
deck screws for
ALL- x 8
703- x4
704- x3
705- x4
Page 1
Advertisement

Summary of Contents for Seaside Casual MIA 703
- Page 1 705- x4 WARRANTY QUESTIONS OR COMMENTS PLEASE CALL TOLL FREE AT 1-800-809-3114 Seaside Casual Furniture | 11 Industrial Drive Coventry, RI 02816 | 800-809-3114 | sales@seasidecasual.com Page 1 703-MIA COFFEE TABLE REV B, 704-END TABLE REV B, 705-MIA OTTOMAN REV B...
- Page 2 FINISH SCREWING THE SIDE ATTACH THE SECOND SIDE ASSEMBLY ASSEMBLY TO THE TOP Using (4) 80mm Using the pocket hex lags, finish align the top screwing the first assembly with side assembly to the other side the top assembly. assembly. Repeat steps 2-4 to attach the second side assembly.


Need help?
Do you have a question about the MIA 703 and is the answer not in the manual?
Questions and answers