adeptus 78105 Assembly Instruction Manual
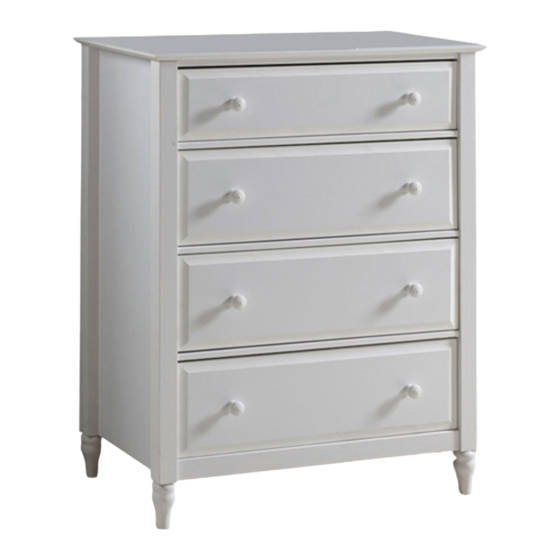
Cottage 4 drawer chest
Hide thumbs
Also See for 78105:
- Assembly instruction manual (14 pages) ,
- Assembly instructions manual (14 pages)
Summary of Contents for adeptus 78105
- Page 1 All manuals and user guides at all-guides.com Since 1976 ADEPTU ASSEMBLY INSTRUCTIONS 6 Drawer Wide Roll Cart # 78105 - PLEASE ACTIVATE YOUR PRODUCT WARRANTY BY VISITING: WWW.ADEPTUS.COM THANK YOU FOR YOUR PURCHASE, AND WELCOME TO ADEPTUS!
- Page 2 All manuals and user guides at all-guides.com...
- Page 3 All manuals and user guides at all-guides.com Parts List Description Left Side Panel Right Side Panel Right Front & Left Rear Legs Left Front & Right Rear Legs Bottom Crossbar Drawer Crossbars Back Panel Small Drawer Front Drawer Front Left Drawer Right Drawer Side Drawer Back Drawer Bottom...
- Page 4 All manuals and user guides at all-guides.com PREPARE PARTS BY INSERTING DOWELS 8 x 30 Dowel ATTACH FEET TO LEGS O=04 Foot...
-
Page 5: Right Side Panel
All manuals and user guides at all-guides.com L=01 D=01 C=01 ATTACH ANTI-TIP SAFETY STRAP 150 mm 16 x 5 Anti-tip safety Washer Screw Strap ATTACH LEGS TO RIGHT SIDE PANEL Right Panel B=08 4 x 30 Screw... - Page 6 All manuals and user guides at all-guides.com ATTACH LEGS TO THE LEFT SIDE PANEL Left Panel B=08 4 x 30 Screw ATTACH LEFT DRAWER RUNNERS ( LEFT SIDE PANEL Left Panel E=04 H=08 6 x 10 Left Drawer Runner Screw...
- Page 7 All manuals and user guides at all-guides.com ATTACH RIGHT DRAWER RUNNERS H=08 6 x 10 ) TO RIGHT SIDE PANEL Right Drawer Runner Screw Right Panel ATTACH CROSSBARS TO RIGHT SIDE PANEL Right Panel B=06 4 x 30 Screw 5x B...
- Page 8 All manuals and user guides at all-guides.com ATTACH LEFT SIDE PANEL TO CROSSBARS 4 x 30 Screw Left Panel Right Panel B=04 4 x 30 ATTACH THE TOP PANEL Screw Right Panel Left Panel 4x B Front...
- Page 9 All manuals and user guides at all-guides.com ATTACH BACK PANEL Use all back panel nails. Evenly spaced, they help make the unit strong. Back Panel Nail ATTACH THE ANTI-TIP SCREWS AND COVERS M=02 I=02 J=01 7 x 50 Anti- Anti-tip Screw Wrench Screw...
- Page 10 All manuals and user guides at all-guides.com ASSEMBLE THE LARGE DRAWER ( X) 4 x 30 Right Left Drawer Drawer Screw Knob Runner Runner Screw 2x B Make sure the opposite end is all the way forward touching the drawer front (part 10), as shown. 10-1...
- Page 11 All manuals and user guides at all-guides.com ASSEMBLE THE SMALL DRAWER D=06 E=01 F=01 4 x 30 Right Left Drawer Drawer Screw Runner Knob Runner Screw 2x B Make sure the opposite end is all the way forward touching the drawer front (part 09), as shown. 11-1...
- Page 12 All manuals and user guides at all-guides.com ANCHOR THE UNIT TO A WALL B=01 C=01 N=01 4 x 30 16 x 5 Screw Washer Anti-tip Wall Anchor 12-1...
- Page 13 All manuals and user guides at all-guides.com INSTALL THE DRAWERS X4 A=08 8 x 30 Dowel 13-1...
- Page 14 All manuals and user guides at all-guides.com ADJUST DRAWER ALIGNMENT D=08 Screw Completed Assembly ! Care and use instructions: 14-14...


Need help?
Do you have a question about the 78105 and is the answer not in the manual?
Questions and answers