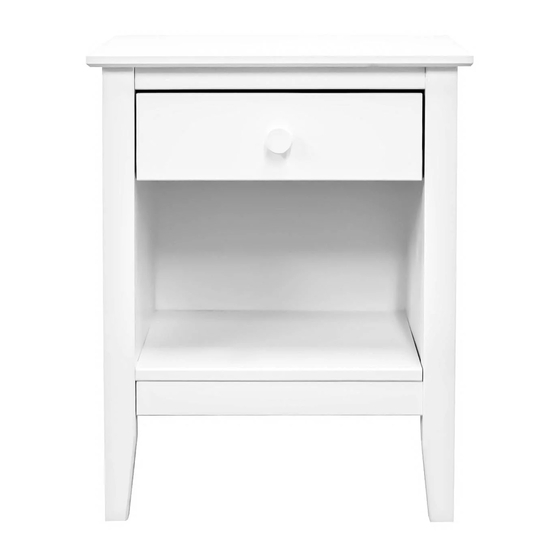
Summary of Contents for adeptus Easy Pieces Single Drawer End Table / Nightstand
- Page 1 ASSEMBLY INSTRUCTIONS Easy Pieces Single Drawer End Table / Nightstand Espresso Finish OUR WEBSITE CONTAINED 1-10...
- Page 3 PLEASE NOTE: Safety and Care Advice · Check you have all the components and tools listed on pages 3 & 4. · Remove all fittings from the plastic bags and separate them into their groups. · Keep children and animals away from the work area, small parts could choke if swallowed. ·...
- Page 4 G x 01 Screw Dowel Screw Back Screw panel nail M4 x 25mm Screw Knob Right side panel Left side panel Bottom crossbar Top crossbar Rear legs Right front leg Left front leg Shelf Back panel Right drawer side Left drawer side Drawer back Drawer bottom Drawer front...
- Page 5 " " " " " " " " " " A A , " � " " " Helpful " " CLOSE UP VIEW " < A RIGHT SIDE TOPEDGE "CR" Cabinet right side runner � LEFT SIDE USES "CL" RUNNERS Start with this 2nd hole/screw.
- Page 6 LEFT SIDE PANEL - ATTACH LEFT SIDE LEGS Front C x 06 3,5 x 30mm _______________________________________________________ RIGHT SIDE PANEL - ATTACH RIGHT SIDE LEGS Front C x 06 3,5 x 30mm NOTICE: CONTAINED...
-
Page 7: Back Of Unit
BACK OF UNIT TIP: This step is easier with two people. Pre- drilled "Pocket Hole" C x 06 _______________________________________________________ 3,5 x 30mm Front C x 06 TIP: Turning the unit upside 3,5 x 30mm down provides a better angle to tighten the screws. - Page 8 TIP: This step is easier with the unit upside down. C x 01 3,5 x 30mm _______________________________________________________ Helpful Tip Use all back panels nails. Evenly spaced, they help make the unit strong. F x 14 NOTICE: CONTAINED...
- Page 9 Helpful Tip To help you assemble the drawer ''square'', use the drawer back #13 to stabilize the sides. Pull out after sides are attached, and slide in the drawer bottom. Screw M4 x 25mm Helpful Tip Push the runner all the way forward until it touches the drawer front.
-
Page 10: Care Instructions
Hold the front end of the drawer sides, tilt the back of the drawer upwards to get the wheels on the drawer past the wheels on the unit. Once, the wheels are clear, level out the drawer and slide it in. ____________________________________________________________________________________________________ COMPLETED ASSEMBLY! THANK YOU FOR YOUR PURCHASE...


Need help?
Do you have a question about the Easy Pieces Single Drawer End Table / Nightstand and is the answer not in the manual?
Questions and answers