Advertisement
Assembly instruction
Attention
The indoor stations have to be (de-)installed only
voltage-free!
The table rack is pre-confi gured and has to be con-
nected to a RJ45 socket. Therefore, please note the
connection diagram under "cable assignment"! In
delivery state the device is equipped with a termina-
ting resistor. Observe the notes for installation under
"terminating resistor" when installing a video device.
(1)
(2)
(3)
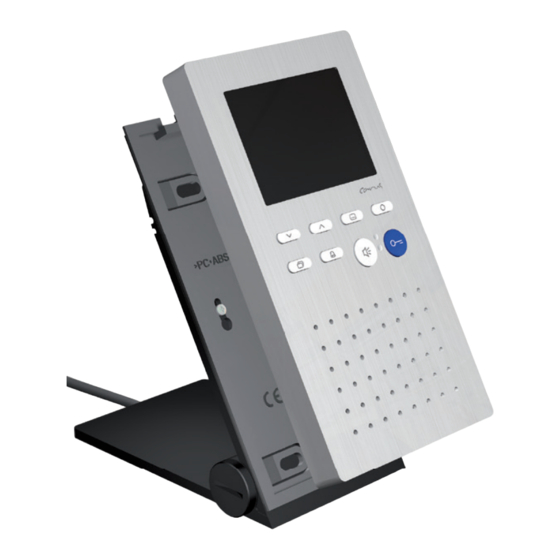
Set up the table rack
Turn the table rack into the desired position and fi x
the position by tightening the knurled screws by
hand.
Connection terminal UAE socket with 8 pins
CAI 2010
(1) bottom shell
(2) screws (4x)
(3) connecting cable
max. 60°
5 4 6 3 2 1 S
ET
(2.5 m)
a
b
P
M
V1
V2
Advertisement
Table of Contents

Related Manuals for Carus CAI 2010


Summary of Contents for Carus CAI 2010
- Page 1 Assembly instruction CAI 2010 Attention The indoor stations have to be (de-)installed only voltage-free! The table rack is pre-confi gured and has to be con- nected to a RJ45 socket. Therefore, please note the connection diagram under “cable assignment“! In delivery state the device is equipped with a termina- ting resistor.
- Page 2 2 mm, otherwise the top shell can get damaged. The top shell can be removed at the underside now (2). Lift the top shell out of the two upper adjustment brackets (1). www.carus-concepts.com - Art. no. 0035880 Version 1 A -...
Need help?
Do you have a question about the CAI 2010 and is the answer not in the manual?
Questions and answers