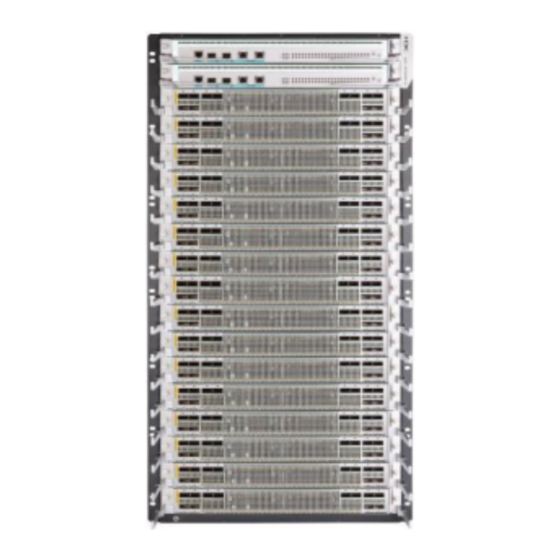
H3C CR19000-16 Preparing For Installation
Hide thumbs
Also See for CR19000-16:
- Installation manual (146 pages) ,
- Installation, quick start (46 pages) ,
- Installation manual (102 pages)
Table of Contents
Advertisement
Quick Links
Contents
1 Preparing for installation ·········································································· 1-1
Safety recommendations ································································································································ 1-1
General safety recommendations ··········································································································· 1-1
Electricity safety ······································································································································ 1-1
Moving safety ·········································································································································· 1-1
ESD prevention ······································································································································· 1-2
Laser safety ············································································································································· 1-3
Examining the installation site ························································································································· 1-3
Weight support ········································································································································ 1-3
Temperature and humidity ······················································································································ 1-4
Cleanliness ·············································································································································· 1-4
Harmful gas limit ····································································································································· 1-5
EMI ·························································································································································· 1-5
Grounding ··············································································································································· 1-5
Power supply ··········································································································································· 1-6
Cooling ···················································································································································· 1-6
Space ······················································································································································ 1-7
Unpacking and inspecting the router ·············································································································· 1-9
Physical specifications ···························································································································· 1-9
Unpacking the router ······························································································································· 1-9
Installation tools ···································································································································· 1-12
Pre-installation checklist································································································································ 1-13
i
Advertisement
Table of Contents

Subscribe to Our Youtube Channel
Summary of Contents for H3C CR19000-16
-
Page 1: Table Of Contents
Contents 1 Preparing for installation ·········································································· 1-1 Safety recommendations ································································································································ 1-1 General safety recommendations ··········································································································· 1-1 Electricity safety ······································································································································ 1-1 Moving safety ·········································································································································· 1-1 ESD prevention ······································································································································· 1-2 Laser safety ············································································································································· 1-3 Examining the installation site ························································································································· 1-3 Weight support ········································································································································ 1-3 Temperature and humidity ······················································································································... -
Page 2: Preparing For Installation
Preparing for installation Safety recommendations To avoid bodily injury and damage to the router, read all safety recommendations including the compliance and safety manual for the router carefully before installation. Note that the recommendations do not cover every possible hazardous condition. General safety recommendations •... -
Page 3: Esd Prevention
• Moving the chassis requires a minimum of four people. As a best practice, use a mechanical lift to move the chassis. • Lift and put down the chassis slowly and never move it suddenly. • Pay attention to the safety symbols on the package and handle the router accordingly. (The symbols in Table1-1 are for illustration only. -
Page 4: Laser Safety
Figure1-1 Attaching an ESD wrist strap ( to the ESD jack on the rear panel) Laser safety WARNING! • Disconnected optical fibers or transceiver modules might emit invisible laser light. Do not stare into beams or view directly with optical instruments when the router is operating. •... -
Page 5: Temperature And Humidity
Temperature and humidity CAUTION: If condensation occurs on the chassis when you move it from a lower temperature to a higher temperature, dry the chassis before powering it on to avoid short circuits. If the temperature in the equipment room is too high, too low, or changes dramatically, the device reliability is reduced and its service lifetime is shortened. -
Page 6: Harmful Gas Limit
Harmful gas limit The equipment room must also meet limits on salts, acids, and sulfides to eliminate corrosion and premature aging of components, as shown in Table1-4. Table1-4 Harmful gas limits in the equipment room Maximum concentration (mg/m 0.006 0.05 0.01 0.04 To control harmful gases, use the following guidelines:... -
Page 7: Power Supply
Power supply Power supply system A good power supply system is essential for correct operation of the router. The router supports AC and DC power inputs. Make sure the equipment room meets the following requirements for the power supply systems. •... -
Page 8: Space
• Depth—979 mm (38.54 in) × 600 × 1200 mm (86.61 × 23.62 × 47.24 in) Chassis—857 mm (33.74 in) CR19000-16 • A minimum of 105 mm (4.13 in) Cable management bracket—92 mm (3.62 in) between the front rack posts and the front door. - Page 9 Model Chassis dimensions Rack requirements rear door. Figure1-3 Chassis dimensions Figure1-4 Rack dimensions...
-
Page 10: Unpacking And Inspecting The Router
Table1-6 Physical specifications Model Shipping weight Dimensions (H × W × D) CR19000-16 119.3 kg (263.01 lb) 931 × 440 × 857 mm (36.65 × 17.32 × 33.74 in) NOTE: The shipping weight of the router includes the chassis and packaging material. You can determine a moving method for the chassis based on its shipping weight. - Page 11 Figure1-5 Cutting the strap on the carton Lift the top cap from the carton, take out the accessory box, and remove the packaging materials such as the packaging carton and foam cushion. Verify that the accessory box package is intact. Check the accessories against the packing list. 1-10...
- Page 12 Figure1-6 Removing the top cap from the carton Use a Phillips screwdriver and an adjustable wrench to remove the screws on the L-type brackets so that you can separate the router from the pallet. 1-11...
-
Page 13: Installation Tools
Figure1-7 Separating the router form the pallet Verify that the router is intact without any signs of water soaking or corrosion and the labels on the chassis are correct, clear, and complete. Installation tools Installation tools are required when installing the router. Prepare installation tools as required. Figure1-8 provides installation tools for your reference. -
Page 14: Pre-Installation Checklist
Figure1-8 Installation tools Pre-installation checklist Table1-7 Pre-installation checklist Item Requirements Result • The floor or ground at the installation site can support the combined weight of the router and the rack. Load bearing • The slide rails can support the actual weight of the router. - Page 15 Item Requirements Result off when an accident occurs. • The grounding specifications for the equipment room comply with national and industry standards. • All communication devices in the equipment room are reliably grounded. Grounding • The working earthing and protective earthing systems of the communication power supplies use the same earthing conductor set with the protective earthing system of the communication devices.


Need help?
Do you have a question about the CR19000-16 and is the answer not in the manual?
Questions and answers