Table of Contents
Advertisement
Hobart Bakery Systems
Phone
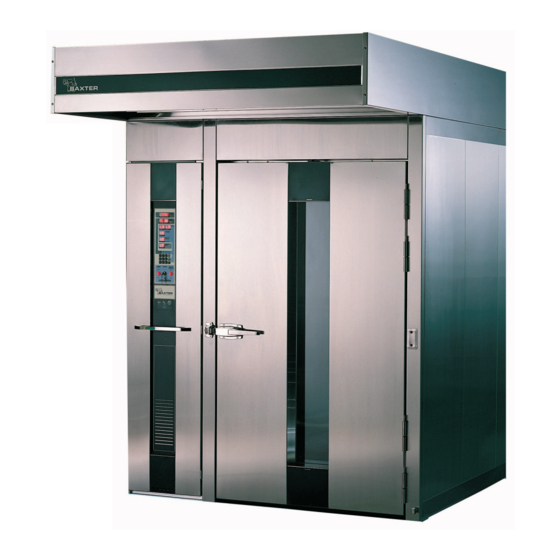
OV210 SERIES
OV210 SERIES
OV210 SERIES
OV210 SERIES
OV210 SERIES
RACK OVENS
RACK OVENS
RACK OVENS
RACK OVENS
RACK OVENS
WITH ELECTRONIC
WITH ELECTRONIC
WITH ELECTRONIC
WITH ELECTRONIC
WITH ELECTRONIC
OVEN CONTROL
OVEN CONTROL
OVEN CONTROL
OVEN CONTROL
OVEN CONTROL
FORM 31204 Rev. A (Sep. 2003)
A
Advertisement
Table of Contents


Need help?
Do you have a question about the OV210 Series and is the answer not in the manual?
Questions and answers