Table of Contents
Advertisement
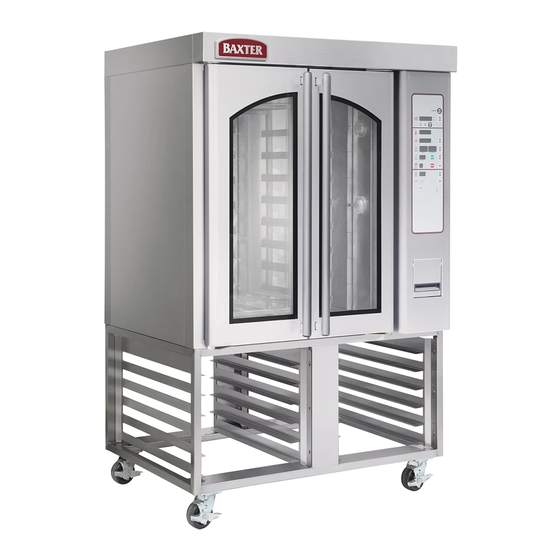
MODEL
OV310E (ELECTRIC)
OV310G (GAS)
Model Number:
Serial Number:
Date of Installation:
Baxter Mfg, a Division of ITW FEG, LLC • 19220 State Route 162 East • Orting, WA 98360-9236
ML-132516
ML-132515
___________
___________
___________
Phone: (360) 893-5554 • Fax: (360) 893-1337
www.baxterbakery.com
Operation
OV310G & OV310E
MINI ROTATING
RACK OVENS
Manual
FORM 36807 (March 2017)
Advertisement
Table of Contents


Need help?
Do you have a question about the OV310E and is the answer not in the manual?
Questions and answers