
Subscribe to Our Youtube Channel
Related Manuals for Belling DESIGN COLLECTION BDO606BK


Summary of Contents for Belling DESIGN COLLECTION BDO606BK
- Page 1 BDO606BK 6 Function Electric Oven with 90L Capacity INSTRUCTION MANUAL PLEASE READ THE INSTRUCTION MANUAL CAREFULLY BEFORE USING THE UNIT. www.belling.com.au www.belling.co.nz...
- Page 2 Thank you for selecting this oven from the Belling Design Collection This Instruction Manual contains important safety information and instructions on the operation and maintenance of your appliance. Please take the time to read this User Manual before using your appliance and keep this book for future reference.
-
Page 3: Table Of Contents
CONTENTS 1.SAFETY INSTRUCTIONS ....................4 1.1 General Safety Warnings ....................4 1.2 Installation Warnings ......................6 1.3 During Use ........................7 1.4 During Cleaning and Maintenance .................8 2.INSTALLATION AND PREPARATION FOR USE ............10 2.1 Instructions for the Installer ..................10 2.2 Installation of the Oven ....................10 2.3 Electrical Connection and Safety.................. -
Page 4: Safety Instructions
1. SAFETY INSTRUCTIONS • Carefully read all instructions before using your appliance and keep them in a convenient place for reference when necessary. • This manual has been prepared for more than one model therefore your appliance may not have some of the features described within. - Page 5 • Handles may get hot after a short period during use. • Do not use harsh abrasive cleaners or scourers to clean the oven door glass and other surface. They can scratch the surfaces which may result in shattering of the door glass or damage to surfaces. •...
-
Page 6: Installation Warnings
heating a room. • Do not use the oven door handles to lift or move the appliance. • All possible measures have been taken to ensure your safety. Since the glass may break, care should be taken while cleaning to avoid scratching. Avoid hitting or knocking the glass with accessories. -
Page 7: During Use
• Any materials (i.e. cabinets) around the appliance must be able to withstand a minimum temperature of 100°C. • The appliance must not be installed behind a decorative door, in order to avoid overheating. 1.3 DurinG uSe • When you first use your oven you may notice a slight smell. -
Page 8: During Cleaning And Maintenance
• Make sure the appliance control knobs are always in the “0” (stop) position when it is not in use. • The trays incline when pulled out. Take care not to spill or drop hot food while removing it from the ovens. - Page 9 Disposal of your old machine This symbol on the product or on its packaging indicates that this product should not be treated as household waste. Instead it should be handed over to the applicable collection point for the recycling of electrical and electronic equipment.
-
Page 10: Installation And Preparation For Use
2. INSTALLATION AND do not use it and contact an authorised service person or qualified technician PREPARATION FOR USE immediately. WARNING : This appliance must be • Make sure that there are no flammable installed by an authorised service or combustible materials in the close person or qualified technician, according to vicinity, such as curtains, oil, cloth etc. -
Page 11: Electrical Connection And Safety
Installation in a wall unit After making the electrical connections, appliance’s power rating (also indicated insert the oven into the cabinet by pushing on the identification plate). it forward. Open the oven door and insert • During installation, please ensure 2 screws in the holes located on the oven that isolated cables are used. - Page 12 • Fix the supply cable in the cable clamp and then close the cover. • The terminal box connection is placed on the terminal box. Blue Brown Yellow+Green EN - 12...
-
Page 13: Product Features
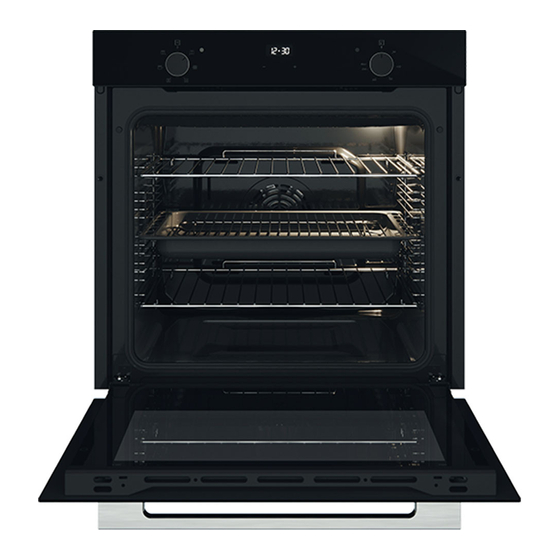
3. PRODUCT FEATURES Important: Specifications for the product vary and the appearance of your appliance may differ from that shown in the figures below. List of Components 1. Control Panel 2. Oven Door Handle 3. Oven Door Control Panel 4. Timer 5. -
Page 14: Use Of Product
4. USE OF PRODUCT function. Fan Function: The oven’s thermostat and 4.1 oven ControlS warning lights will Oven function control knob switch on, and the Turn the knob to the corresponding symbol upper and lower of the desired cooking function. For the heating elements and details of different functions see ´Oven fan will start operating. -
Page 15: Cooking Table
4.2 CookinG table seconds. To unlock the timer buttons, press and hold the “+” and “-” buttons simultaneously for 3 seconds. The desired operation can then be carried out. Dishes Audible warning time adjustment The audible warning time can be set to Puff Pastry 2-3-4- 170-190... -
Page 16: Accessories
4.4 aCCeSSorieS The EasyFix Wire Rack Clean the accessories thoroughly with warm water, detergent and a soft clean cloth on first use. The Deep Tray The deep tray is best used for cooking stews. Put the tray into any rack and push it to the end to make sure it is placed correctly. -
Page 17: Cleaning And Maintenance
wipe the oven over again with a wet The Water Collector cloth and dry it. In some cases of cooking, condensation • You may need to use a liquid cleaning may appear on the inner glass of the oven material occasionally to completely door. -
Page 18: Maintenance
location bracket (y), in the direction of B. by pulling it towards you. 3. Place the glass under the location bracket (x) in the direction of C. Removal of the Wire Shelf To remove the wire rack, pull the wire rack as shown in the figure. -
Page 19: Troubleshooting&Transport
illumination. 6. TROUBLESHOOTING&TRANSPORT 6.1 troubleShootinG If you still have a problem with your appliance after checking these basic troubleshooting steps, please contact an authorised service person or qualified technician. Problem Possible Cause Solution Check whether there is power supplied. Oven does not switch Power is switched off. -
Page 20: Warranty
5 years from the date the product is purchased as a brand- new product from a retailer located in Australia / New Zealand. b) In the case of Belling Design products used for purposes other than personal, domestic or household purposes (including business or commercial use), a period of 90 days from the date the product is purchased as a brand-new product from a retailer located in Australia / New Zealand. - Page 21 b) The product requires repairs due to damage resulting from accident, misuse, incorrect installation, insect or vermin infestation, improper liquid spillage, cleaning or maintenance, unauthorised modification, use on an incorrect voltage, power surges and dips, voltage supply problems, tampering or unauthorised repairs by any persons, use of defective or incompatible accessories or exposure to abnormally corrosive conditions, events independent of human control which occurred after the goods left the control of Glen Dimplex;...
- Page 22 d) If required by us, provide us (or any person nominated by us) with access to the premises at which the product is located at times nominated by us (so that we can inspect the product). 5. Warranty claims If you make a valid claim under this warranty and none of the exclusions set out in section 2 apply, we will, at our election, either repair the product or replace the product with a product of identical specification (or where the product is superseded or no longer in stock, with a product of as close a specification as possible).
- Page 23 READ THE INSTRUCTION BOOKLET BEFORE INSTALLING AND USING THE APPLIANCE. The manufacturer will not be responsible for any damage to property or to persons caused by incorrect installation or improper use of the appliance. The manufacturer is not responsible for any inaccuracies, due to printing or transcription errors, contained in this manual.
Need help?
Do you have a question about the DESIGN COLLECTION BDO606BK and is the answer not in the manual?
Questions and answers