Advertisement
Do you have a question about the BI90FP and is the answer not in the manual?
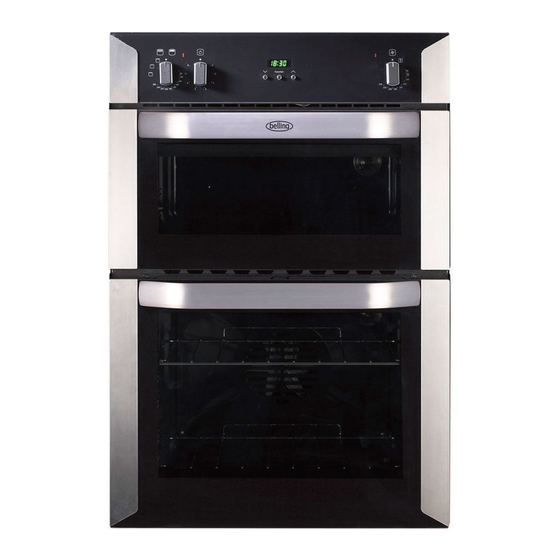
When no power to oven it is still intermittently beeping not sure what this is telling me


Need help?
Do you have a question about the BI90FP and is the answer not in the manual?
Questions and answers
When no power to oven it is still intermittently beeping not sure what this is telling me