Table of Contents
Advertisement
Quick Links
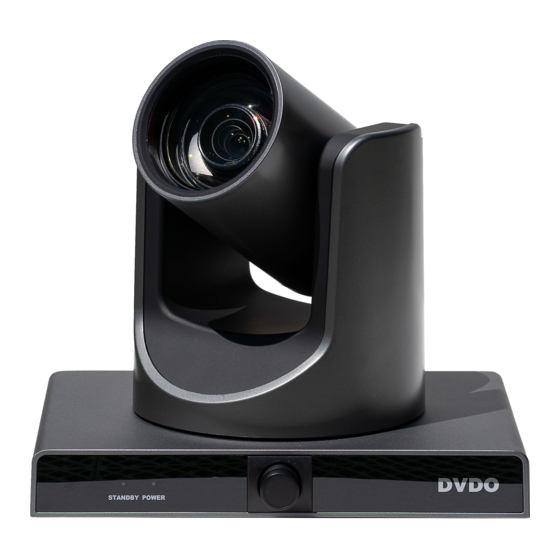
DVDO-C3-1 Tracking Function Instructions
Introduction
DVDO-C3-1 camera analyzes movements and faces and adjusts its position based on settings. The following
configuration is ideal for teaching or presentation purposes.
Language Selection
Connect the camera's HDMI output to a display, then press *, #, 1 keys in sequence on the remote to select English, or
press *, #, 3 for Chinese. Check the on-screen display (OSD) language by pressing [Menu] on the remote.
Note: please exit OSD by pressing [Menu] again before changing the language. OSD language selection can also be
performed within the OSD menu under Setup. Once the camera is connected, its web UI language can also be selected
on the bottom left of the UI screen.
Network Setup
The network can be set up in two ways. The factory default IP setting is (192.168.100.82). The current IP setting can be
obtained by connecting the camera's HDMI output to a display, then pressing the * # 4 keys on the remote.
Network Setup Method 1 – Connecting Camera Directly to PC via Ethernet Cable
Web Interface Home Screen
Once camera IP address is verified, launch web browser (Internet Explorer preferred) and enter the camera IP address*.
Reminder: Connect camera directly to computer via Ethernet Cable
Input username and password to enter web interface. (Note: Default login is user: admin / password: admin) (See
instructions "In case.." below if IP address is outside of network IP range)
Reminder: Language selection is at the bottom left of window.
In the web interface, click on [Network] on left-side menu bar of home screen to make changes in the Network Screen.
Click [Apply] then restart the camera by clicking [System] and [Reboot] under the [Initialize] option. The camera may
also be restarted using the rear power switch.
*In case 192.168.100.82 is not responsive, it may be necessary to update your PC's IP address to match the camera's
gateway.
•
Open the Control Panel and access "Network and Internet", then "Network and Sharing Center."
Select "Change adapter settings" on the left-hand navigation bar.
•
Double click on "Ethernet" to open the dialog box and open Properties for IPv4:
•
DVDO
Network Screen
DVDOC3TRACK_V1.0
Advertisement
Table of Contents

Related Manuals for DVDO DVDO-C3-1


Summary of Contents for DVDO DVDO-C3-1
- Page 1 DVDO DVDO-C3-1 Tracking Function Instructions Introduction DVDO-C3-1 camera analyzes movements and faces and adjusts its position based on settings. The following configuration is ideal for teaching or presentation purposes. Language Selection Connect the camera’s HDMI output to a display, then press *, #, 1 keys in sequence on the remote to select English, or press *, #, 3 for Chinese.
- Page 2 DVDO DVDO-C3-1 Tracking Function Instructions • Enter IP address as shown below. • The camera’s Web Interface can now be accessed via Internet Explorer at its default IP address of 192.168.100.82 Network Setup Method 2 – Changing IP from Tracking Tool Software Tracking Tool Software Screens Open Tracking Config app and click on [Upgrade] tab.
- Page 3 DVDO DVDO-C3-1 Tracking Function Instructions When using this camera for the first time, VLC player software must be installed. Please visit http://www.videolan.org/vlc/#download and install VLC player software. Once VLC is installed, log in via Internet Explorer again to view camera.
- Page 4 The DVDO-C3-1 tracks within the window of the pano picture. Set tracking area by clicking [Show] to bring up the current area, then use left mouse button click in image to draw tracking area.
- Page 5 DVDO DVDO-C3-1 Tracking Function Instructions Set shield area (areas within the tracking area such as windows, doors, or TV that you don’t want camera to track) by clicking in [Shield] circle to bring up the current shield area. Click to checkmark one of the 8 boxes. Up to 8 shield areas are supported.
- Page 6 DVDO DVDO-C3-1 Tracking Function Instructions 10. Multi Objects Action sets tracking status when camera is tracking multiple targets in the area. You can choose to track original moving object or return to panorama view. When the number of moving targets changes from multiple to single, the single target is tracked after a five second delay.
- Page 7 DVDO DVDO-C3-1 Tracking Function Instructions Camera Placement We recommend installation height of the tracker at 2-3 meters; with optimal height between 2.2-2.4 meters. Installation distance from camera to presenter is recommended between 6-10 meters. DVDOC3TRACK_V1.0...
Need help?
Do you have a question about the DVDO-C3-1 and is the answer not in the manual?
Questions and answers